 Save
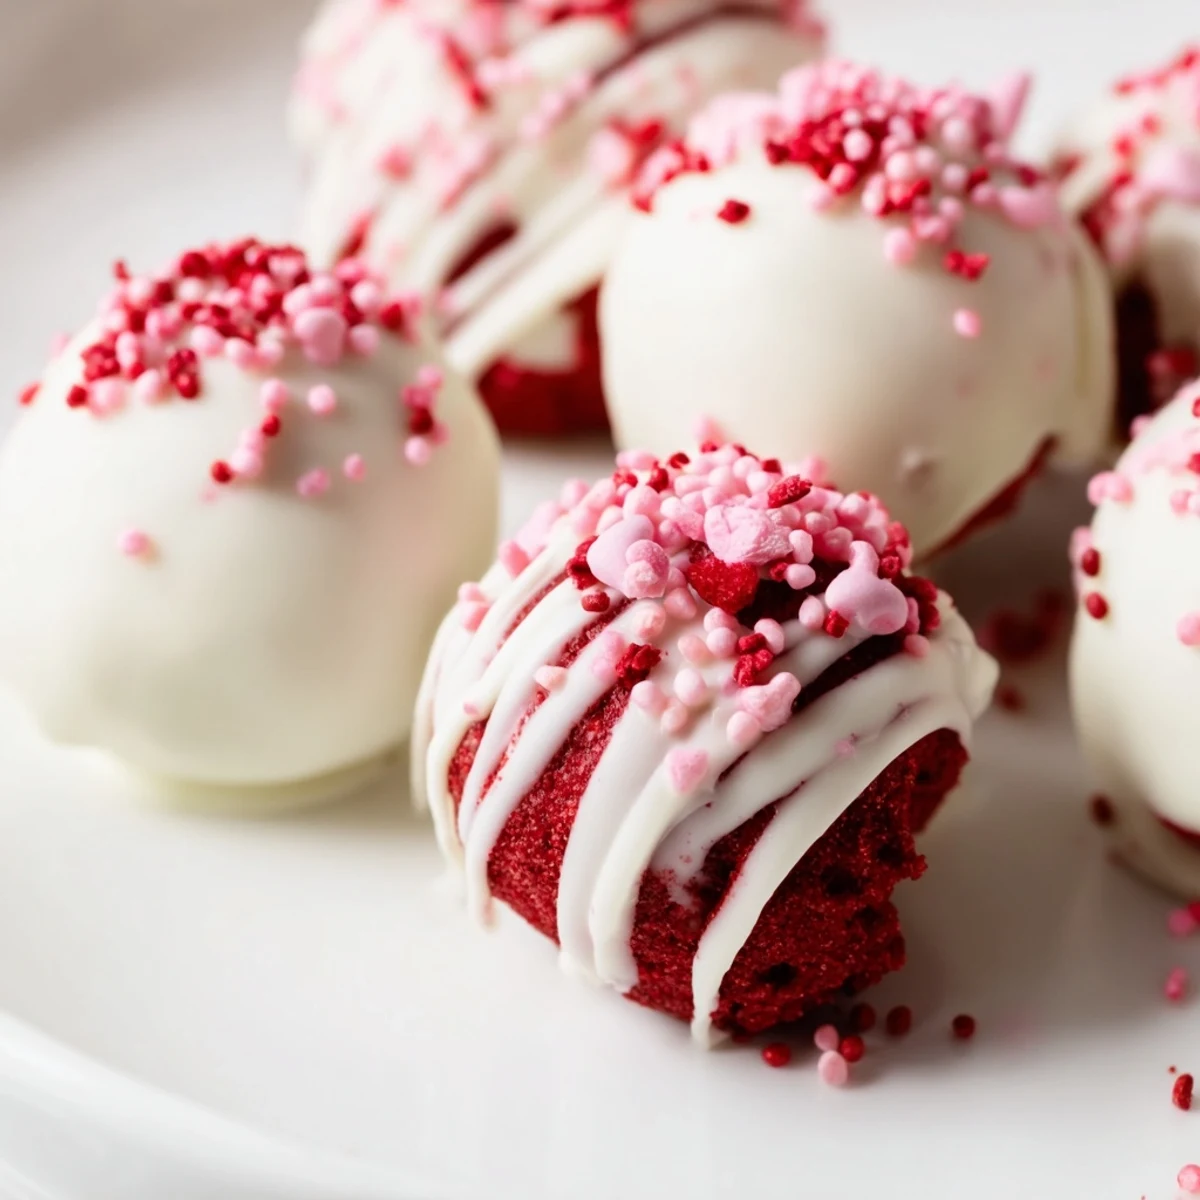
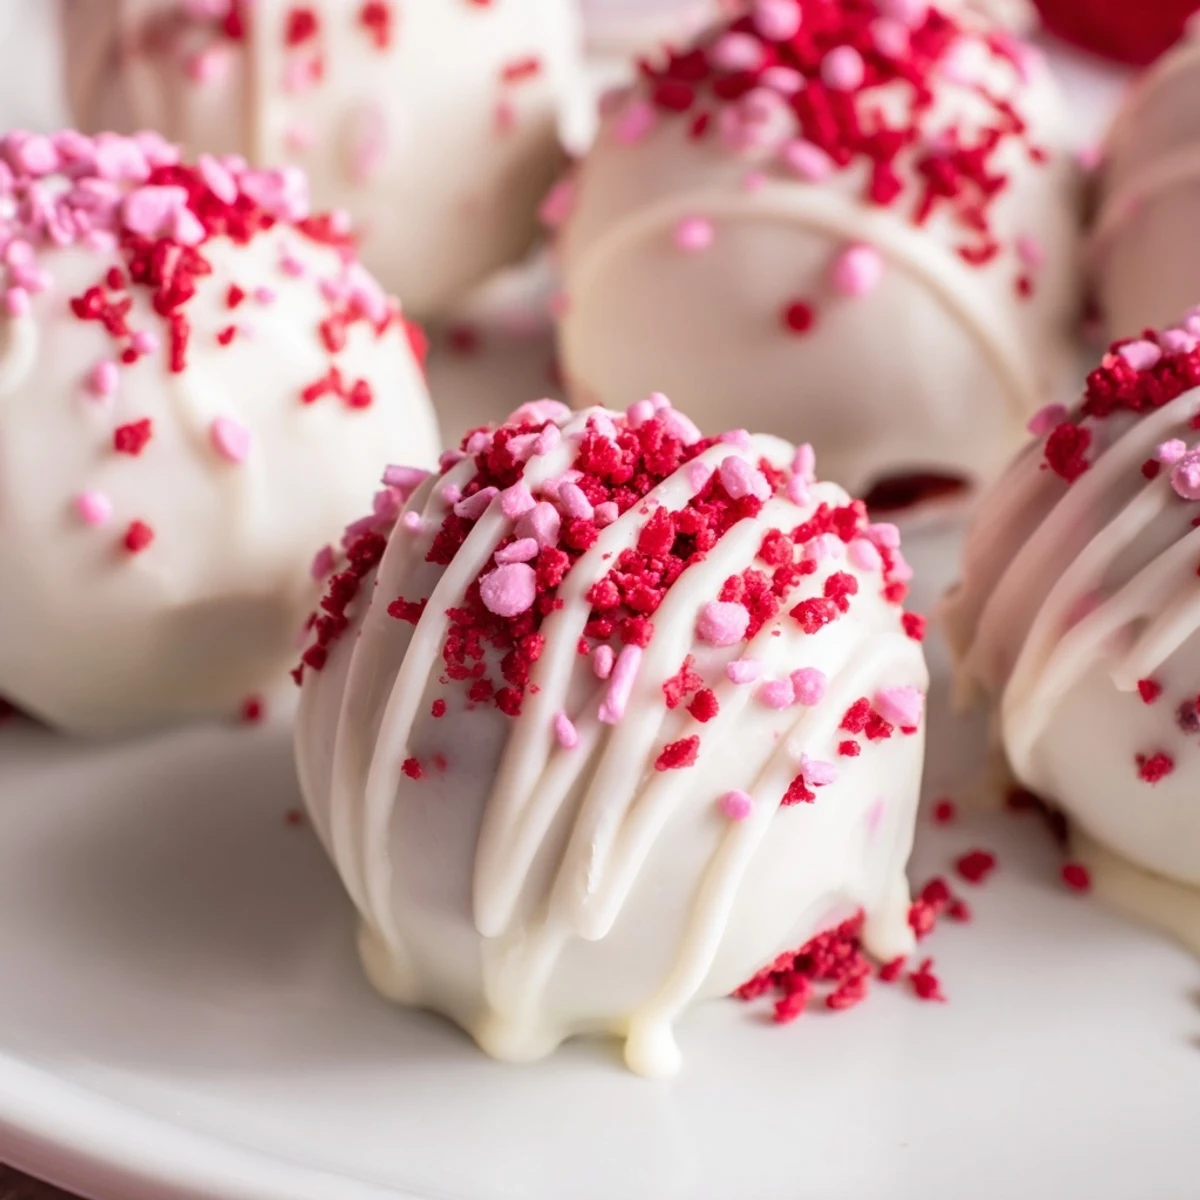
Save These indulgent red velvet cake truffles combine moist cake crumbs with creamy cheese filling, creating a fudgy center that's enrobed in silky white chocolate. The process involves baking a simple red velvet cake, crumbling it once cooled, and mixing with softened cream cheese until a dough-like consistency forms. After chilling, the mixture is rolled into uniform balls and dipped in melted white chocolate for a stunning finish.
Perfect for parties, Valentine's Day, or holiday gift-giving, these truffles offer all the classic red velvet flavors in poppable form. The white chocolate coating balances the slight cocoa tang, while optional sprinkles add festive flair. Store them chilled for up to five days, though they rarely last that long.
The first time I made red velvet truffles was actually by accident. I had baked a cake for a party that got postponed, and instead of letting all that gorgeous red velvet go stale, I started experimenting. My kitchen counter looked like a confetti explosion with cake crumbs everywhere, but when those first white chocolate coated bites came out of the fridge, I knew I'd stumbled onto something better than the original cake. Now they're my go to when I need something that looks impressive but secretly comes together in under an hour.
Last Christmas, I made three dozen of these for my office cookie exchange and they disappeared before my traditional sugar cookies even got touched. My coworker Sarah confessed she ate four during her morning break and had to go back for more. There's something about that red and white contrast that makes people think you're some kind of pastry wizard, even though the hardest part is waiting for the cake balls to firm up in the freezer.
Ingredients
- Red velvet cake mix: I keep a box in my pantry specifically for these truffles because the texture and color turn out perfectly every single time
- Large eggs: Room temperature eggs incorporate better into the batter, so set them out while you're preheating the oven
- Cream cheese: Make sure this is completely softened or you'll end up with lumps in your truffle filling that nobody wants
- White chocolate chips: I prefer melting wafers over chips because they're specifically designed to stay smooth and glossy when melted
- Coconut oil: This little trick makes the white coating thin enough for easy dipping and creates that gorgeous professional sheen
Instructions
- Bake your cake base:
- Preheat your oven to 350 degrees F and prep a 9x13 inch pan with grease and parchment paper. Whisk together the cake mix, eggs, oil, and water until everything is completely smooth and no dry pockets remain. Pour the batter into your prepared pan and bake for about 25 to 30 minutes until a toothpick inserted in the center comes out clean. Let the cake cool completely because even slight warmth will make your truffles fall apart later.
- Create the truffle filling:
- Crumble your completely cooled cake into fine crumbs in a large mixing bowl. In a separate bowl, beat the softened cream cheese and powdered sugar until it's smooth and creamy. Add the cream cheese mixture to the cake crumbs and mix thoroughly until everything comes together into a dough like consistency that holds its shape when you squeeze it.
- Form and freeze the balls:
- Scoop out tablespoon sized portions of the mixture and roll them into smooth balls between your palms. Place each ball on a parchment lined baking sheet and freeze them for 20 to 30 minutes until they're firm to the touch. Don't skip this step because frozen balls are much easier to coat without having them slide off your fork.
- Coat in white chocolate:
- Melt the white chocolate chips with the coconut oil in a microwave safe bowl, heating in 20 second intervals and stirring between each to prevent seizing. Drop each frozen cake ball into the melted chocolate, use a fork to lift it out, and gently tap the fork against the bowl edge to let excess chocolate drip off. Transfer back to clean parchment and immediately add sprinkles before the coating sets.
- Set and serve:
- Chill the coated truffles in the refrigerator for at least 30 minutes until the white chocolate is completely firm. Store them in an airtight container between layers of parchment paper to prevent sticking. These actually taste better after a day in the fridge because the flavors have time to meld together.
 Save
Save My sister in law still talks about the baby shower where I served these instead of a traditional cake. The moms to be could grab them easily between conversations, and something about that pop of red against white chocolate made them look far more fancy than the thirty minutes of active work they actually required. Seeing little powdered sugar fingerprints on the serving platter at the end of the party is exactly the kind of success I measure my recipes by.
Mastering the Chocolate Coating
I ruined my first three batches of truffles by overheating the white chocolate until it turned into a thick grainy mess. The secret is low and slow heating with frequent stirring, and never walk away from the microwave. White chocolate is more finicky than dark or milk chocolate because it has cocoa solids but no chocolate liquor, making it much more sensitive to temperature changes. If you do end up with seized chocolate, don't panic and toss it because a splash of coconut oil can often bring it back from the brink.
Flavor Variations to Try
After making these dozens of times, I started playing around with different coatings and fillings. Dark chocolate creates this sophisticated mocha like flavor profile that my husband actually prefers over the classic white version. Sometimes I'll add a teaspoon of vanilla or almond extract to the cream cheese mixture for subtle depth that people notice but can't quite put their finger on. A friend of mine rolls the outsides in crushed graham crackers instead of chocolate coating, which gives them this cookies and cream vibe that's honestly dangerous to have around the house.
Make Ahead and Storage Tips
These truffles are my secret weapon for holiday entertaining because they freeze beautifully for up to three months. I'll make a double batch in November and pull them out for Christmas parties, New Year's Eve, and unexpected guests throughout the season. When you're ready to serve frozen truffles, just transfer them to the refrigerator for a few hours to thaw slowly.
- Place truffles in a single layer on a baking sheet to freeze initially, then transfer to freezer bags to prevent them from sticking together
- If you're giving these as gifts, layer them between parchment paper in a cute tin or box to keep them looking pristine
- The white chocolate coating might develop slight condensation spots when thawing, but they'll disappear as the truffles come to refrigerator temperature
 Save
Save There's something deeply satisfying about transforming a simple boxed cake mix into these elegant little bites that make people think you have hidden professional baking skills. Watch them disappear and enjoy the well earned compliments.
Recipe FAQs
- → Can I make these truffles ahead of time?
-
Absolutely. Prepare the truffle mixture and roll into balls, then freeze for up to a month. When ready to serve, thaw slightly before dipping in melted white chocolate. You can also store completed truffles in the refrigerator for 5 days or freeze for longer storage.
- → What's the best way to melt white chocolate for coating?
-
Melt white chocolate in 20-second intervals in the microwave, stirring between each interval. Adding a tablespoon of coconut oil or vegetable shortening helps create a smoother, dippable consistency. Avoid overheating, as white chocolate can seize and become grainy.
- → Can I use homemade cake instead of a mix?
-
Yes, homemade red velvet cake works beautifully. Simply bake your favorite from-scratch red velvet cake, let it cool completely, and proceed with crumbling. You'll need roughly 9-10 cups of cake crumbs, equivalent to one 9x13-inch cake.
- → Why did my truffles crack after dipping?
-
Cracking occurs when the cold truffle center expands too quickly against the warm chocolate coating. Ensure your cake balls are thoroughly chilled but not frozen solid before dipping. Work in small batches and let the chocolate cool slightly before coating.
- → Can I substitute the white chocolate coating?
-
Certainly. Dark, milk, or semi-sweet chocolate create delicious variations. White chocolate offers classic color contrast, but dark chocolate provides a sophisticated bittersweet balance that complements the sweet red velvet interior.
- → How do I get perfectly round truffles?
-
Use a cookie scoop for uniform portions, then roll between your palms to smooth. If the mixture feels too sticky, chill for 10-15 minutes. The cold mixture holds its shape better, resulting in smooth, professional-looking spheres.
