 Save
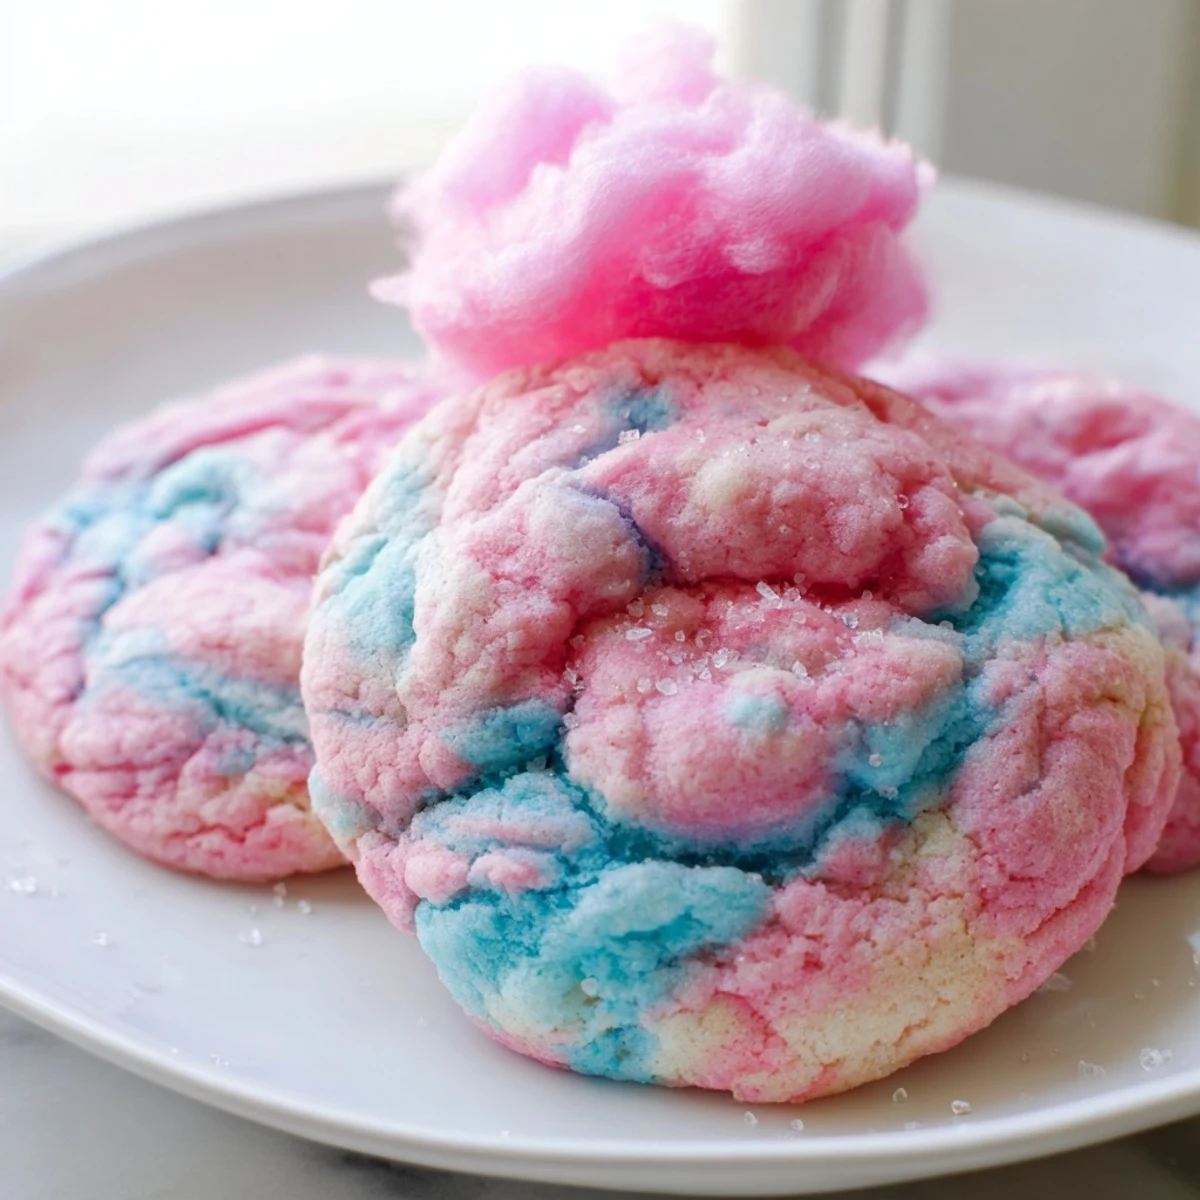
Save These cotton candy cookies bring a whimsical, carnival-inspired twist to classic homemade cookies. The dough is split and tinted pink and blue, then gently swirled together for a beautiful marbled effect.
Cotton candy flavoring infuses each bite with that nostalgic fairground taste, while the cookies stay irresistibly soft and chewy. They're surprisingly simple to make and always a hit with kids and adults alike.
Top them with a fluffy tuft of real cotton candy just before serving for an extra magical presentation that's perfect for birthday parties, baby showers, or any festive gathering.
My niece gasped so loudly when she saw these that her mother came running from the other room convinced something was wrong. Something was wrong, I suppose, if you consider a grown woman elbow deep in pastel cookie dough on a random Tuesday afternoon unusual. The cotton candy flavoring had arrived in the mail that morning and restraint was simply not an option. By the time the first batch emerged from the oven, the whole kitchen smelled like a carnival had set up in my countertops.
I brought a plate of these to a backyard birthday party and three separate parents asked if I ran a bakery. The truth is the swirl technique takes about as much skill as playing with playdough, which is to say none at all. The real trick is restraint with the food coloring, a lesson I learned after my first batch came out looking more nuclear than pastel.
Ingredients
- All purpose flour (2 1/2 cups, 315 g): Spoon and level it rather than scooping straight from the bag, because packed flour will leave you with dense, cakey cookies that never spread properly.
- Baking powder (1 tsp): Gives the cookies their gentle lift without making them puff into little domes.
- Baking soda (1/2 tsp): Works alongside the baking powder for that perfect slight chew around the edges.
- Salt (1/2 tsp): Do not skip this even in a sweet cookie, because salt is what stops cotton candy flavor from tasting like pure sugar water.
- Unsalted butter, softened (3/4 cup, 170 g): Leave it out for about an hour before baking so it creams smoothly without melting into a puddle.
- Granulated sugar (1 cup, 200 g): Provides structure and that satisfying slight crunch on the very bottom edge.
- Light brown sugar, packed (1/2 cup, 100 g): The molasses notes add depth that keeps these from tasting one dimensional.
- Large eggs (2): Room temperature eggs blend into the butter mixture without seizing or creating weird streaks.
- Pure vanilla extract (2 tsp): Rounds out the cotton candy flavoring so it tastes nostalgic rather than chemical.
- Cotton candy flavoring (1/2 tsp): A little goes a long way and mimics that spun sugar essence beautifully when baked.
- Pink and blue gel food coloring: Gel is non negotiable here because liquid coloring will thin your dough into a sticky mess.
- Cotton candy for garnish (1/2 cup, 60 g, optional): Adds a whimsical cloud on top but absolutely must go on at the last second since moisture melts it fast.
Instructions
- Get the oven ready:
- Preheat to 350 degrees Fahrenheit and line two baking sheets with parchment paper. The parchment prevents spreading issues and makes cleanup nearly effortless.
- Whisk the dry team:
- In a medium bowl, whisk together the flour, baking powder, baking soda, and salt until evenly combined. Set it aside so it is ready when the wet mixture calls for it.
- Cream butter and sugars:
- Beat the softened butter, granulated sugar, and brown sugar in a large bowl with an electric mixer until the mixture turns pale and fluffy, about two to three minutes. You want it to look noticeably lighter than when you started.
- Add the wet magic:
- Drop in the eggs one at a time, then pour in the vanilla extract and cotton candy flavoring. Beat until everything is smooth and the batter smells like a fairground.
- Bring it all together:
- Gradually add the dry ingredient mixture to the wet ingredients on low speed, mixing just until a soft dough forms and you no longer see dry flour streaks. Overmixing at this stage makes tough cookies.
- Split and color:
- Divide the dough evenly between two bowls. Add a few drops of pink gel coloring to one bowl and blue to the other, then mix each until the color is uniform throughout. Start with less coloring than you think you need because you can always add more.
- Swirl and roll:
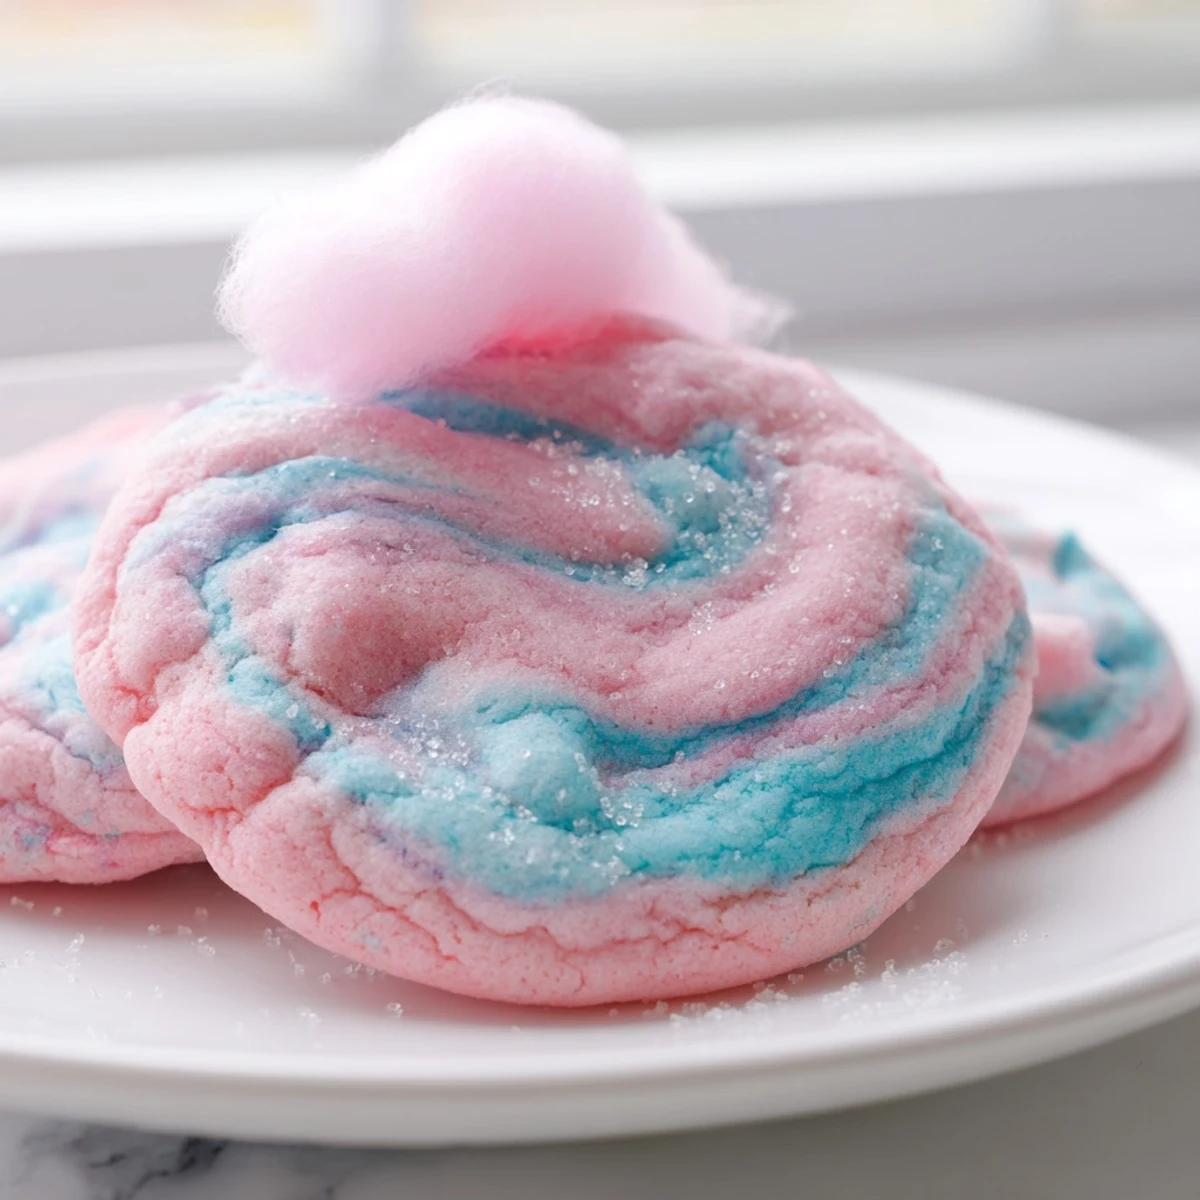
- Pinch off a small piece from each colored dough and gently press them together in your palms, rolling into a 1.5 inch ball with a visible marble pattern. Place on the prepared sheets about two inches apart so they have room to spread.
- Bake until just set:
- Slide the trays into the oven for 9 to 11 minutes, pulling them out when the edges look set but the centers still appear slightly soft and underdone. They will continue firming up as they cool.
- Cool properly:
- Let the cookies rest on the baking sheet for five full minutes before transferring to a wire rack. This resting time is what gives you that perfectly chewy center.
- Garnish if desired:
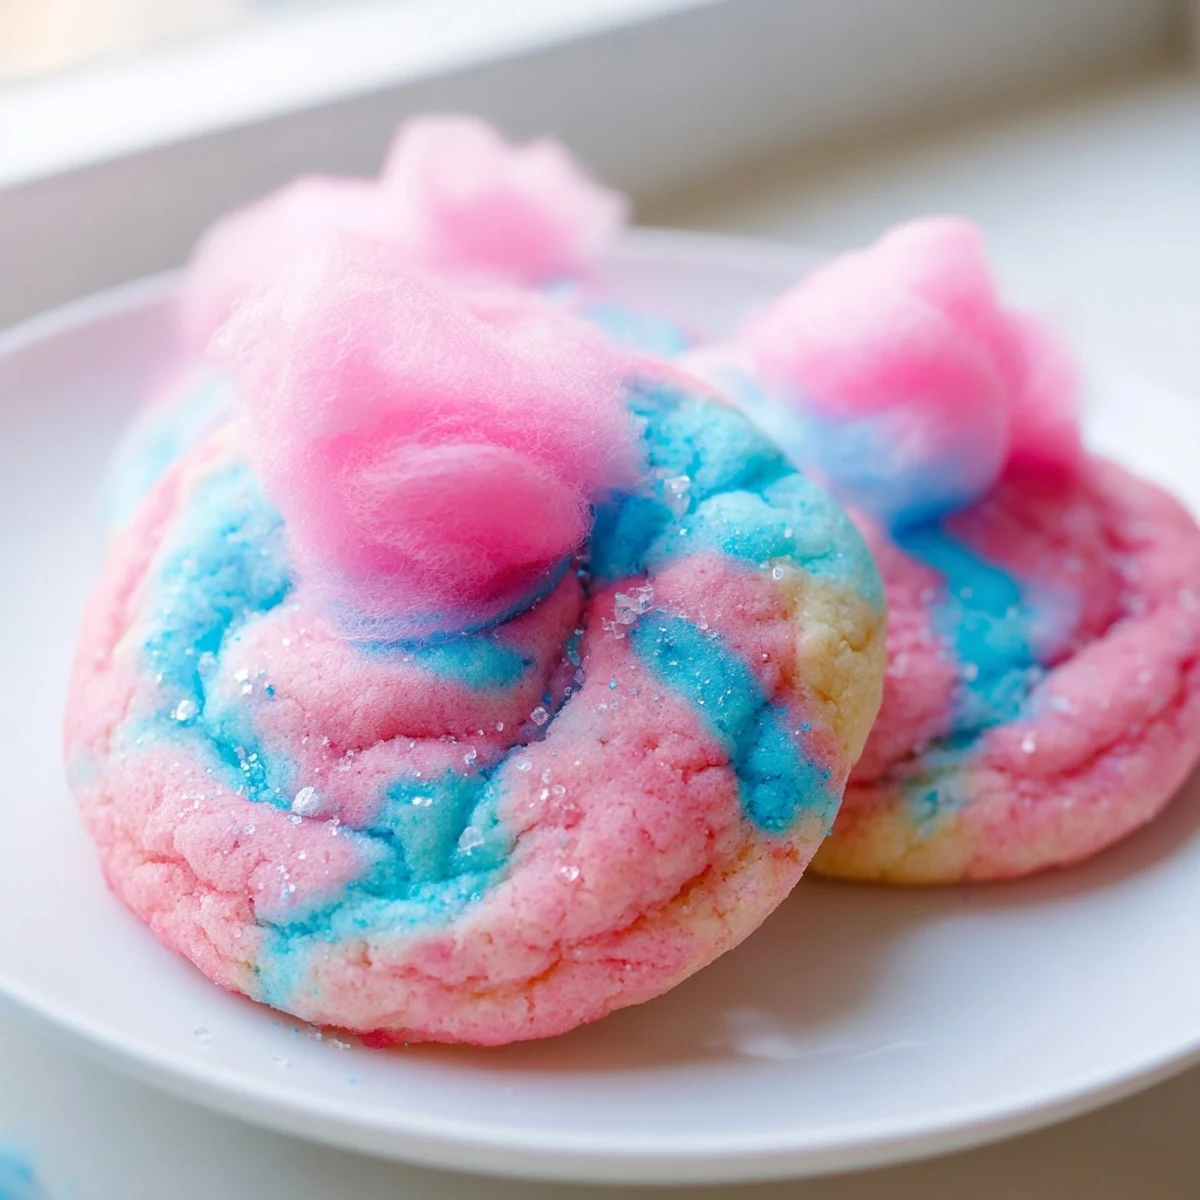
- Right before serving, gently press a small tuft of cotton candy onto the top of each cooled cookie for a cloud like finish. Serve immediately because the cotton candy begins dissolving within minutes.
 Save
Save The moment that sold me on this recipe forever was watching my niece hold a cookie up to the window light, turning it slowly to study the swirl pattern like it was a gemstone. She declared it too beautiful to eat, then ate four of them in under ten minutes.
Storing Your Cotton Candy Cookies
These stay wonderfully soft in an airtight container at room temperature for up to five days, though in my house they never survive past day two. If you plan to garnish with cotton candy, do it in small batches right as you serve them. The cotton candy melts into a sticky puddle almost immediately when exposed to the moisture in the cookie, which is a sad sight after all that beautiful swirling work.
Making These for a Crowd
For parties I like to make the dough a day ahead and keep the colored halves wrapped in plastic in the fridge. Cold dough is actually easier to handle when you are rolling dozens of marble balls, and the chilled butter gives you a slightly thicker cookie with cleaner swirl definition. Just let the dough sit at room temperature for about fifteen minutes before portioning so your hands do not freeze while rolling.
A Few Final Thoughts Before You Bake
These cookies are forgiving in all the ways that matter and finicky in only one, which is the cotton candy garnish timing. Everything else is play. Trust your eyes more than the timer when it comes to pulling them from the oven.
- If your dough feels too sticky to roll, pop it in the fridge for twenty minutes and it will firm right up.
- Wet your hands slightly between every few rolls to keep the dough from sticking to your palms.
- Remember that slightly underbaked is always better than overdone with these soft cookies.
 Save
Save Roll up your sleeves, embrace the colorful mess, and let these little swirl cookies bring out the kid in everyone at your table. They are proof that sometimes the most joyful baking projects are the ones that look like a tiny wonderful accident.
Recipe FAQs
- → Can I make cotton candy cookies without cotton candy flavoring?
-
Yes, you can omit the cotton candy flavoring and use additional vanilla extract instead. The cookies will still have the beautiful pastel swirled appearance but will have a classic vanilla butter cookie taste.
- → How do I get the marbled swirl effect?
-
Divide the dough in half and tint one portion pink and the other blue. Take a small piece from each colored dough and gently roll them together in your hands without over-mixing. The less you work the dough together, the more defined the swirl pattern will be.
- → Why do my cookies spread too much while baking?
-
Over-spreading usually means the dough is too warm. Try chilling the shaped dough balls on the baking sheet for 15–20 minutes before baking. Also ensure you measured the flour correctly using the spoon-and-level method.
- → How should I store leftover cotton candy cookies?
-
Store baked cookies in an airtight container at room temperature for up to 5 days. If you've added cotton candy garnish, only add it right before serving since it dissolves quickly when exposed to moisture.
- → Can I freeze the cookie dough for later use?
-
Absolutely. Shape the swirled dough balls and freeze them on a baking sheet until solid, then transfer to a freezer bag for up to 3 months. Bake from frozen, adding 1–2 extra minutes to the baking time.
