 Save
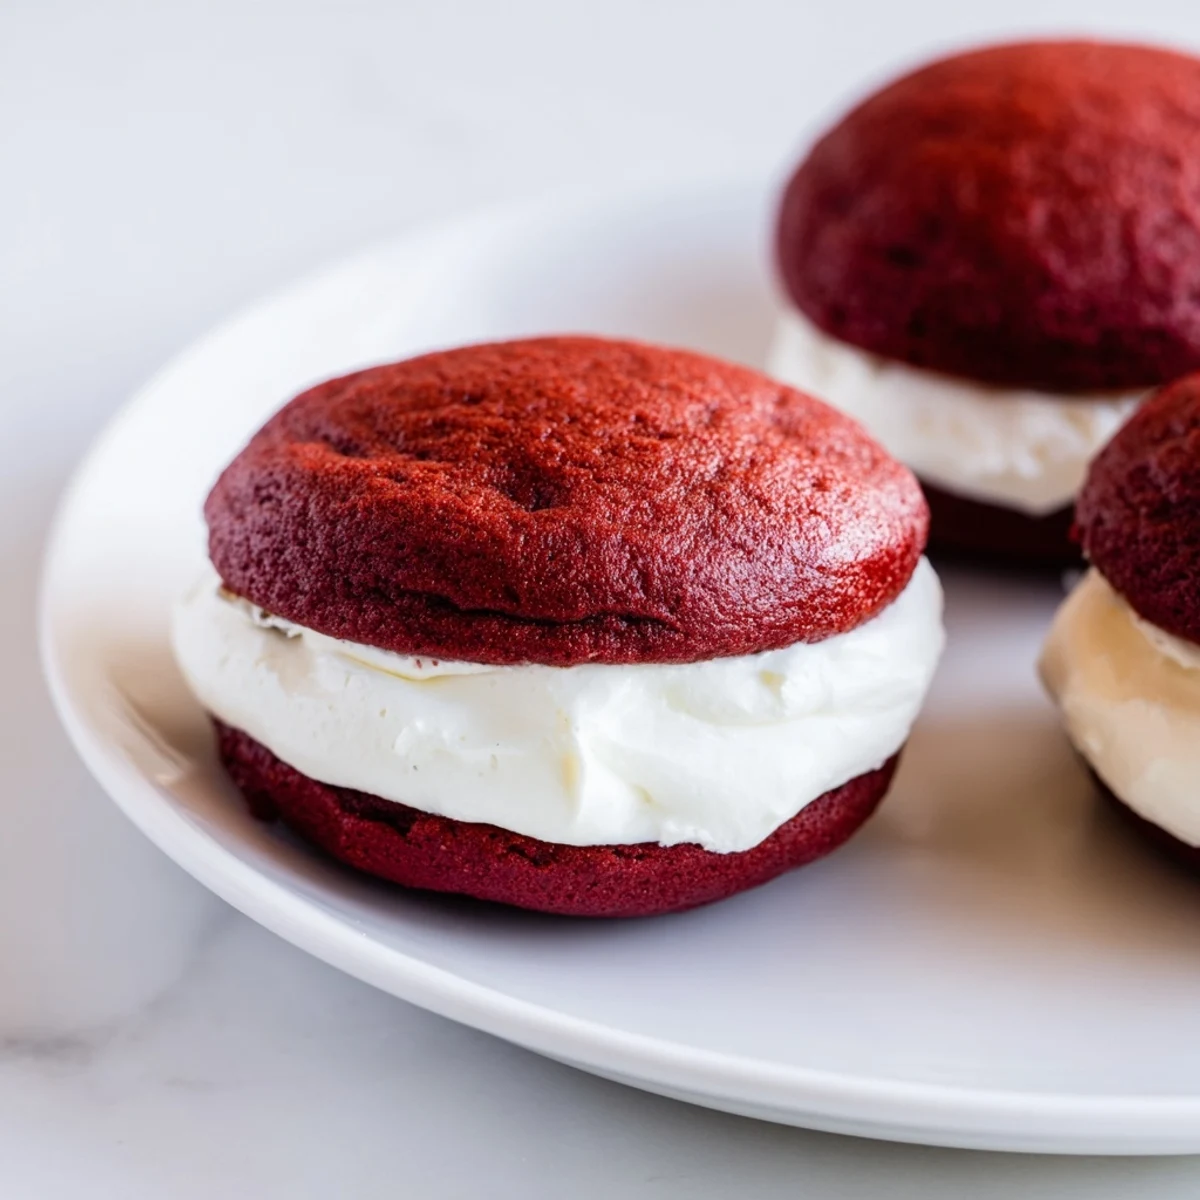
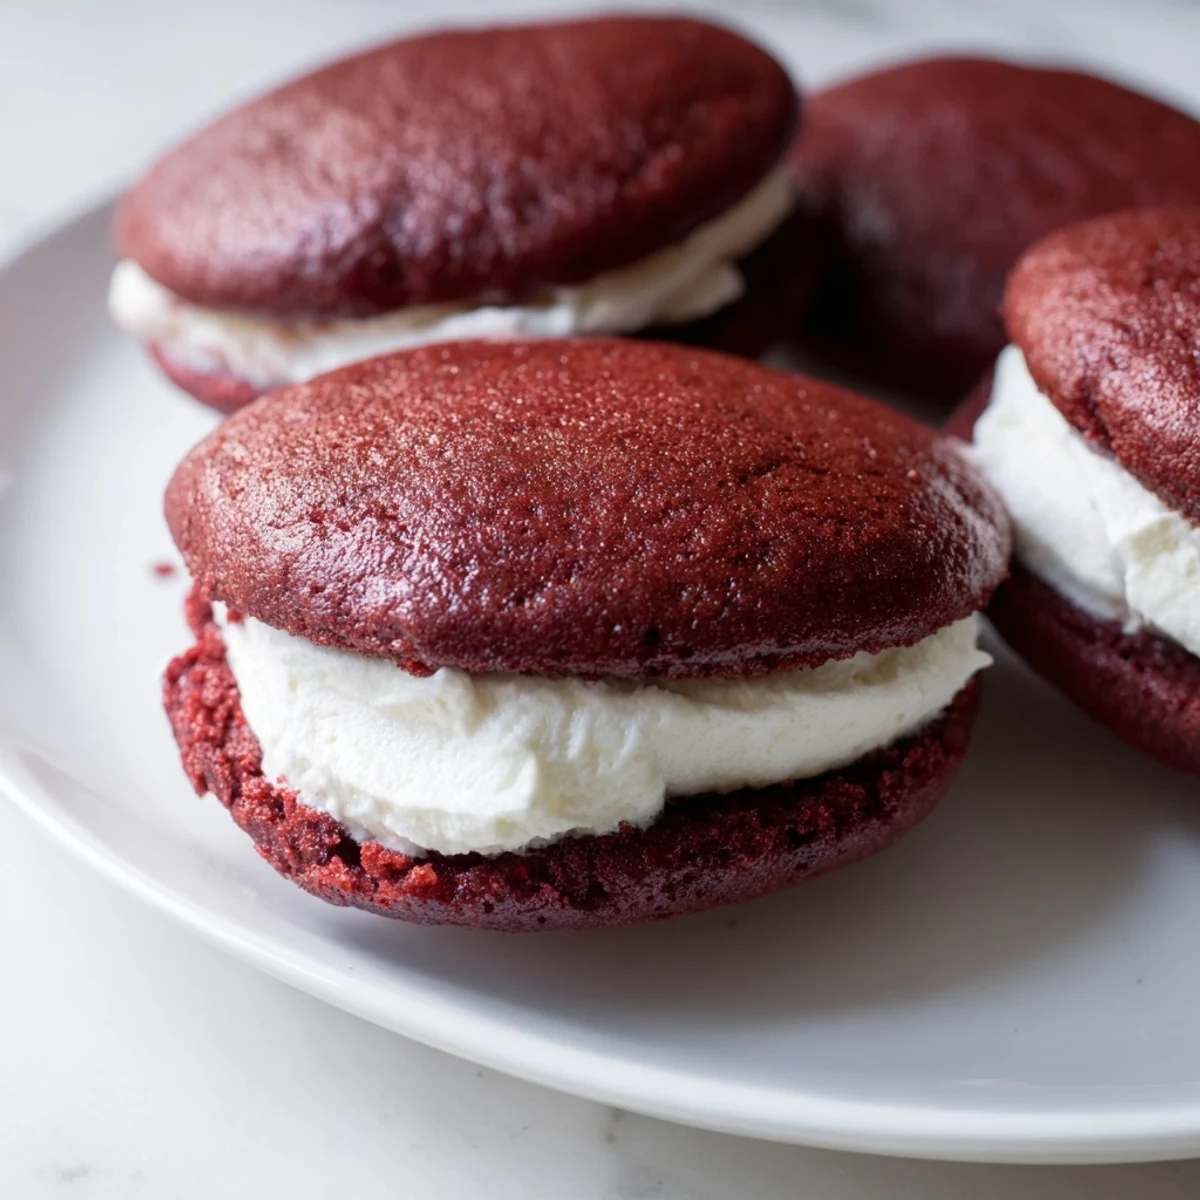
Save Soft, cake-like red velvet cookies are baked to perfection, then paired with a fluffy, smooth marshmallow cream filling. This nostalgic treat combines rich cocoa and a hint of vanilla, offering a delicate balance of flavors and textures. Preparation involves mixing dry and wet ingredients separately, careful folding to maintain softness, and a quick baking time. The marshmallow filling is whipped to a light, creamy consistency and spread between cookie pairs for a crowd-pleasing delight.
The kitchen smelled like pure happiness when I first pulled these red velvet whoopie pies from the oven, that distinctive cocoa scent mingling with something sweet and nostalgic. My roommate wandered in, attracted by the aroma like a cartoon character floating toward a pie on a windowsill, and immediately asked what special occasion I was cooking for. The truth was I just wanted to make something that felt like a hug in food form, and these sandwich cookies delivered exactly that.
I brought a batch to a potluck last winter and watched them disappear in record time. My friend Sarah took one bite and declared these better than any bakery version she had ever tasted, then proceeded to ask if I could teach her how to make them for her daughters birthday. There is something universally appealing about the combination of chocolate cake and marshmallow cream that brings out the kid in everyone.
Ingredients
- 2 cups all-purpose flour: The foundation that gives these cookies their cakey structure without becoming too dense
- 2 tablespoons unsweetened cocoa powder: Just enough to create that classic red velvet chocolate undertone without overpowering the delicate flavor
- 1 teaspoon baking powder: Helps the cookies puff up beautifully for that perfect whoopie pie shape
- ½ teaspoon baking soda: Works with the buttermilk to create the tender crumb we are after
- ½ teaspoon salt: Balances the sweetness and enhances the chocolate notes
- ½ cup unsalted butter softened: Room temperature butter incorporates properly for fluffy cookies every time
- 1 cup granulated sugar: Sweetens the cookies while helping them stay soft and moist
- 1 large egg: Provides structure and richness to the cookie batter
- 1 teaspoon vanilla extract: Pure vanilla extract makes all the difference in the final flavor
- 1 tablespoon red food coloring: Liquid or gel both work perfectly for that signature vibrant red hue
- ½ cup buttermilk: The secret ingredient that makes these cookies incredibly tender and adds a subtle tang
- ½ cup unsalted butter softened: Creates a stable yet silky base for the marshmallow filling
- 1 ½ cups powdered sugar sifted: Sifting prevents lumps and ensures the smoothest possible filling texture
- 1 jar marshmallow crème: The star of the filling that provides that irresistible fluffiness we all love
- 1 teaspoon vanilla extract: Rounds out the filling with warm aromatic sweetness
- Pinch of salt: A tiny amount that keeps the filling from becoming cloyingly sweet
Instructions
- Get your oven ready:
- Preheat to 350°F and line two baking sheets with parchment paper so nothing sticks
- Whisk the dry ingredients:
- Combine flour cocoa powder baking powder baking soda and salt in a medium bowl
- Cream the butter and sugar:
- Beat until light and fluffy which takes about 2 to 3 minutes and creates the perfect texture
- Add the egg and vanilla:
- Mix until everything is well combined and the batter looks smooth
- Make it red:
- Pour in the food coloring and mix until the batter is evenly colored throughout
- Combine wet and dry:
- Alternate adding the flour mixture and buttermilk in three additions starting and ending with the flour mixing just until combined
- Scoop the batter:
- Drop 24 evenly sized mounds onto the prepared sheets leaving 2 inches of space between each
- Bake to perfection:
- Cook for 10 to 12 minutes until the cookies are set and spring back lightly when touched
- Cool completely:
- Let them rest on the baking sheets for 5 minutes then move to a wire rack
- Make the filling:
- Beat butter until smooth then gradually add powdered sugar until fluffy
- Add the marshmallow:
- Mix in the marshmallow crème vanilla and salt until completely smooth
- Assemble the pies:
- Pair cookies by size and spread 1 to 2 tablespoons of filling on one then top with its match
- Serve or chill:
- Enjoy right away or refrigerate for 15 minutes to help the filling set
 Save
Save My niece helped me make these last summer and insisted on being the official red food coloring mixer. She took her job so seriously tongue sticking out in concentration as she watched the batter transform from pale to that stunning crimson. Now whenever I see red velvet anything I think of her stained red hands and the pride she felt when everyone praised our whoopie pies.
Making Them Ahead
You can bake the cookies up to two days before assembling and store them in an airtight container at room temperature. The filling also keeps well in the refrigerator for up to three days though it will need to come to room temperature and be beaten briefly before spreading. I actually think the flavors meld together even better after sitting for a day.
Getting The Size Right
Using a cookie scoop ensures uniform portions which helps them bake evenly and makes pairing them for assembly so much easier. If you do not have a scoop two tablespoons work perfectly fine. Just try to keep them similar in size so each whoopie pie has matching halves.
Customizing Your Filling
The marshmallow filling is delicious as written but there are so many ways to make it your own. You can fold in mini chocolate chips or crushed graham crackers for added texture and flavor.
- Try adding a tablespoon of cream cheese for a tangier twist on the classic filling
- Mix in some freeze dried strawberries for a fruity variation that complements the red velvet perfectly
- A splash of almond extract instead of vanilla creates a sophisticated flavor profile adults love
 Save
Save These red velvet whoopie pies have become my go to whenever I need to bring smiles to a gathering. Something about that nostalgic combination of cake and marshmallow just works every single time.
