 Save
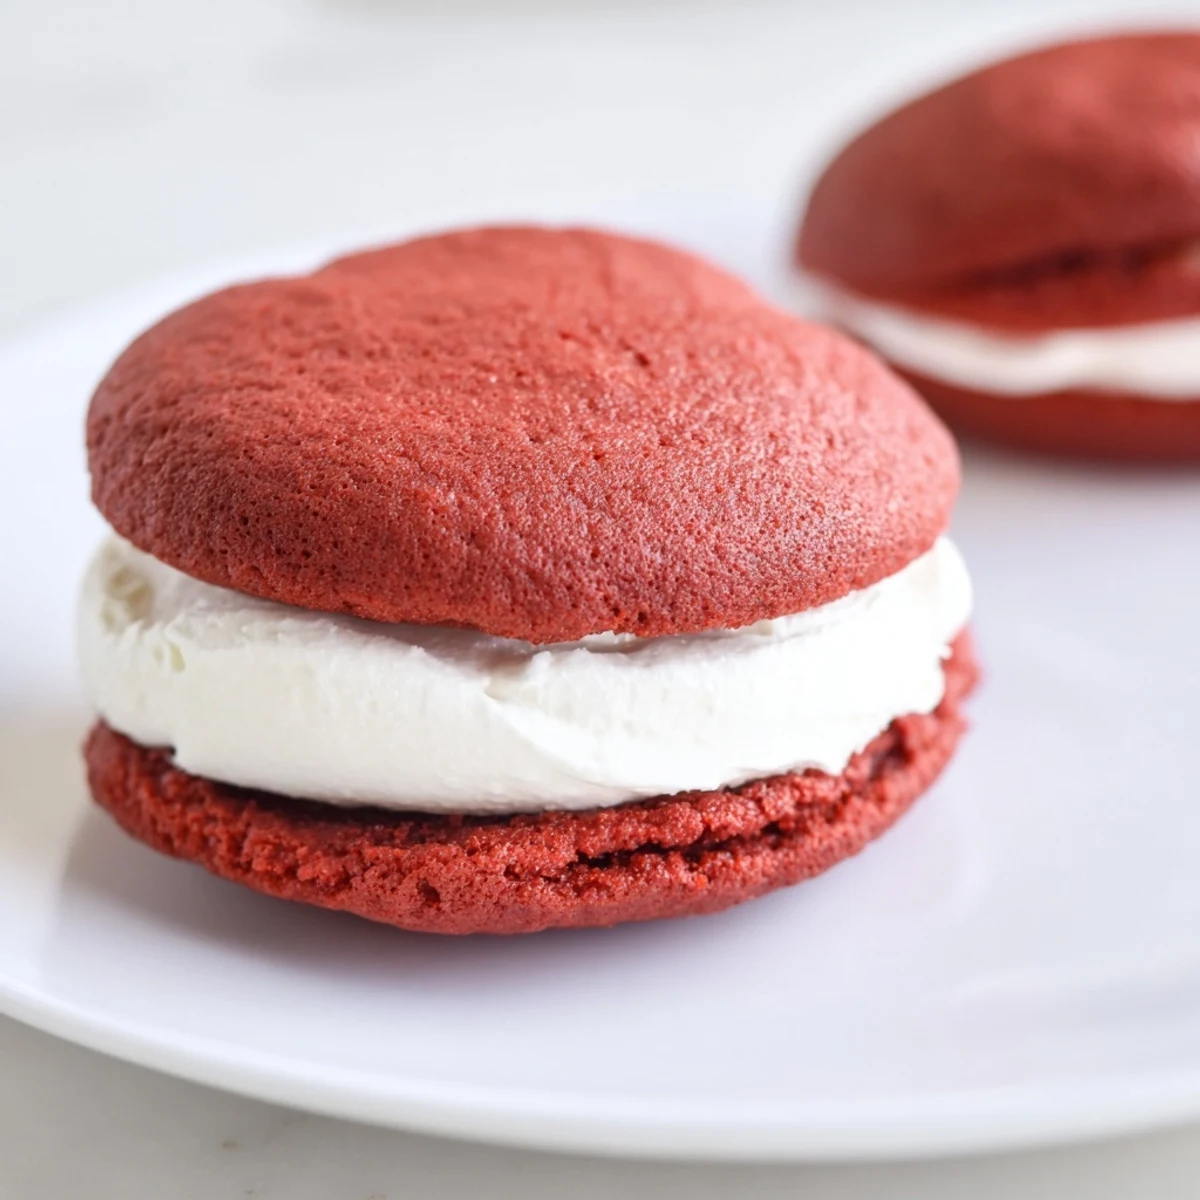
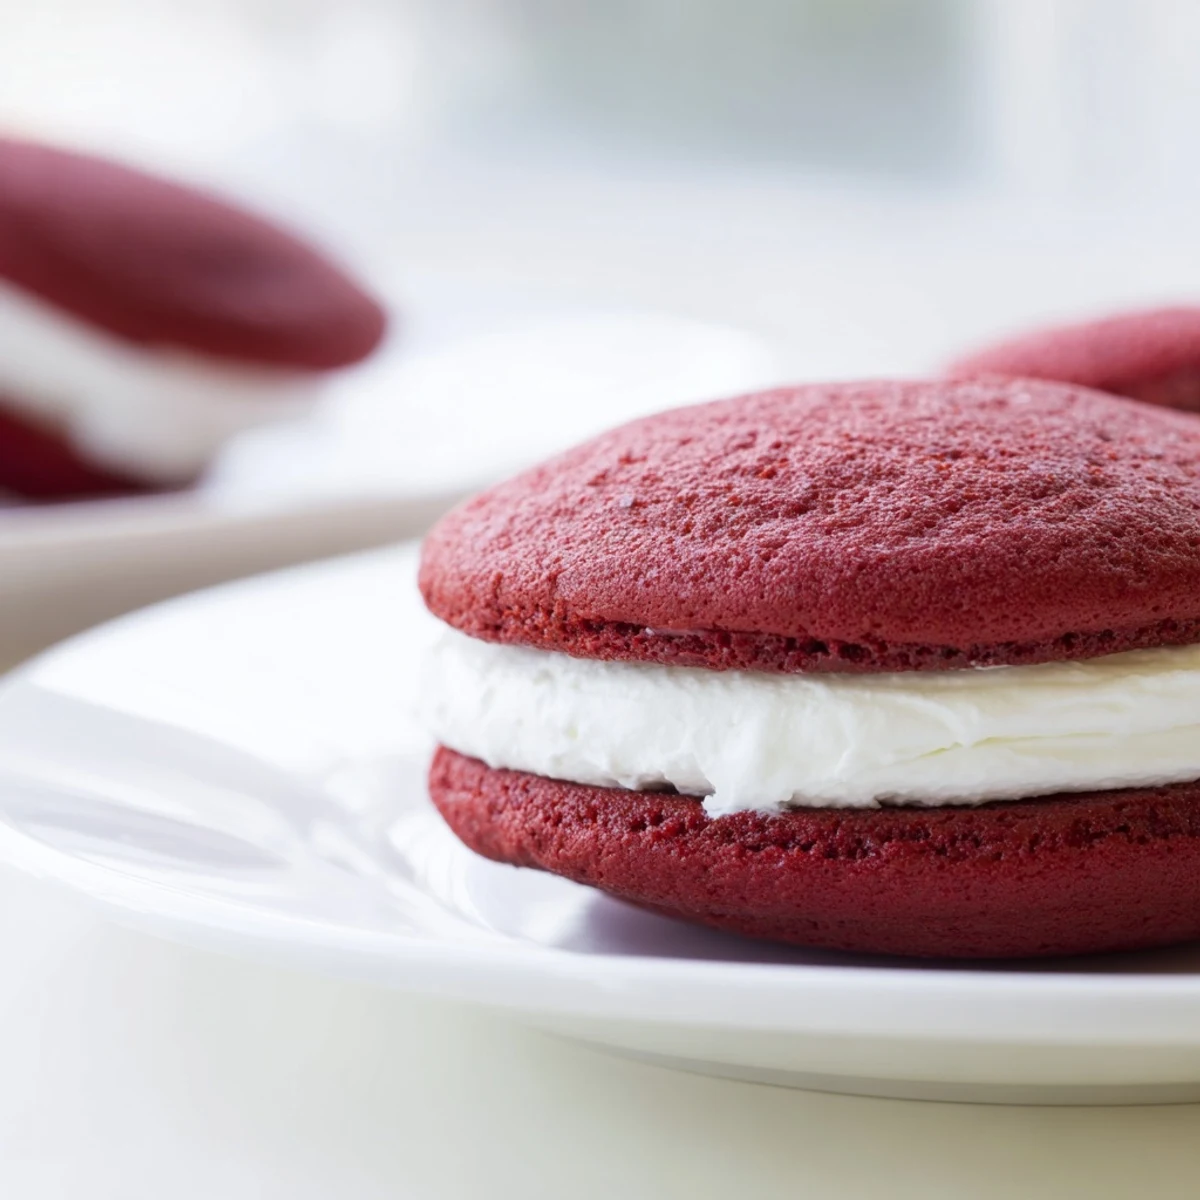
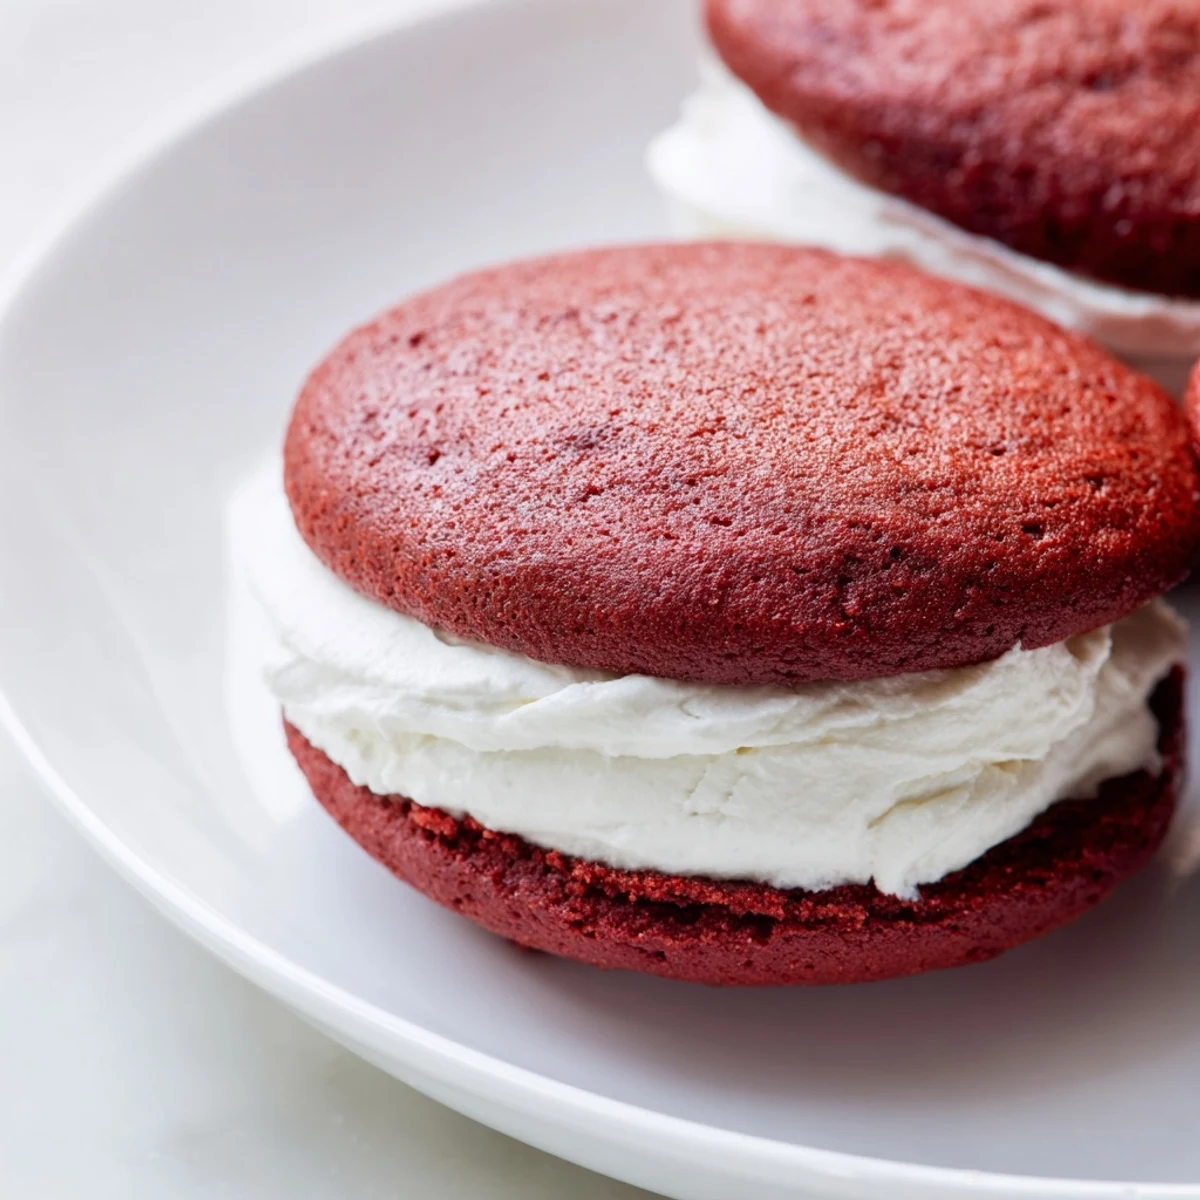
Save Experience the rich, soft texture of red velvet chocolate cakes layered with a fluffy marshmallow cream filling. This luscious combination creates a sweet, moist treat perfect for dessert lovers seeking a balance of chocolate richness and light, creamy sweetness. The cakes bake quickly and are paired with an airy, whipped filling that adds a delightful contrast in texture and flavor. Ideal for sharing at any event or enjoying as a cozy indulgence.
The first time I attempted red velvet whoopie pies, I accidentally dyed my kitchen counter bright pink. My roommate walked in, took one look at the crime scene, and asked if we were hosting a murder mystery party. Those pies turned out incredible though, with that velvety crumb that makes red velvet so irresistible, and the marshmallow filling was like eating a cloud.
I made these for my nieces birthday last spring and watched six kids argue over who got the last one. The birthday girl informed me quite seriously that these were better than the bakery version her mom usually orders, which might be the highest compliment Ive ever received.
Ingredients
- All purpose flour: The foundation that gives these little cakes their structure while staying tender
- Unsweetened cocoa powder: Just enough to give that signature red velvet depth without overpowering the delicate chocolate notes
- Baking powder and baking soda: The dynamic duo that creates those beautiful domed tops and soft centers
- Unsalted butter: Always use softened butter, it creates the perfect texture for both the cakes and the filling
- Granulated sugar: Sweetens and tenderizes while helping create that velvety crumb we love
- Large egg: Adds structure and richness, make sure it is at room temperature for proper emulsification
- Vanilla extract: Pure vanilla makes all the difference in both the cake and filling
- Buttermilk: The secret ingredient that keeps these incredibly moist and adds a subtle tang
- Red food coloring: Gel coloring gives you that dramatic red without adding extra liquid to the batter
- Powdered sugar: Sifting prevents lumps in your silky smooth marshmallow filling
- Marshmallow creme: Creates that irresistible fluffiness that sets this filling apart from buttercream
- Pinch of salt: Balances the sweetness and makes all the flavors pop
Instructions
- Preheat and prep:
- Get your oven to 350°F and line two baking sheets with parchment paper, this prevents sticking and makes cleanup so much easier
- Whisk the dry ingredients:
- In a medium bowl, combine flour, cocoa powder, baking powder, baking soda, and salt until well blended
- Cream butter and sugar:
- Beat butter and sugar together for about 3 minutes until light and fluffy, this step creates the tender texture
- Add egg and vanilla:
- Beat in the egg and vanilla extract until fully incorporated, scraping down the sides of the bowl
- Make it red:
- Mix in the food coloring until the batter is evenly colored, no streaks remaining
- Combine wet and dry:
- Alternate adding dry ingredients and buttermilk, starting and ending with the dry mix, stop as soon as everything comes together
- Scoop and space:
- Drop 24 mounds of batter onto your prepared sheets, leaving 2 inches between each for spreading
- Bake to perfection:
- Bake for 10 to 12 minutes until the tops spring back when touched, then cool completely on wire racks
- Make the filling:
- Beat butter until creamy, blend in powdered sugar, then fold in marshmallow creme, vanilla, and salt until smooth
- Assemble the pies:
- Spread filling on half the cakes and top with the remaining ones, pressing gently to create sandwiches
 Save
Save My dad called me after trying these, demanding to know what made the filling so light. He is been a baker for forty years and was genuinely stumped by the marshmallow creme magic, which I consider a personal victory.
Getting The Perfect Red
Gel food coloring is absolutely worth the extra trip to the baking aisle. Liquid coloring throws off your ratios and you will end up adding twice as much to get that deep red we associate with red velvet.
Making Them Ahead
These actually taste better on day two, something about the filling and cake getting to know each other. Store them in the fridge and bring to room temperature 20 minutes before serving.
Common Questions About Whoopie Pies
After making dozens of batches, I have learned a few things that might help troubleshoot. The size of your scoop matters more than you would think.
- Use a cookie scoop for uniform sizing, this ensures even baking and nice presentation
- Let the cakes cool completely before filling or the marshmallow will melt right off
- Rolling the edges in sprinkles or mini chips adds professional flair and hides any imperfect filling edges
 Save
Save There is something joyful about biting into these little sandwich cakes, that combination of velvet soft cake and dreamy marshmallow filling never fails to make people smile.
Recipe FAQs
- → What gives the cakes their red color?
-
The vibrant red hue comes from the addition of red food coloring, which enhances the traditional red velvet flavor.
- → How can I make the cakes more moist?
-
Incorporating buttermilk into the batter adds moisture and tenderness, resulting in a soft crumb.
- → What is the best way to assemble the whoopie pies?
-
Once cooled, spread or pipe the marshmallow filling generously on one cake and sandwich it with another to create even layers.
- → Can I substitute the marshmallow filling?
-
Yes, alternatives like cream cheese frosting or buttercream can be used for different flavor profiles.
- → How should these treats be stored?
-
Store in an airtight container in the refrigerator for up to three days to keep them fresh and maintain texture.
