 Save
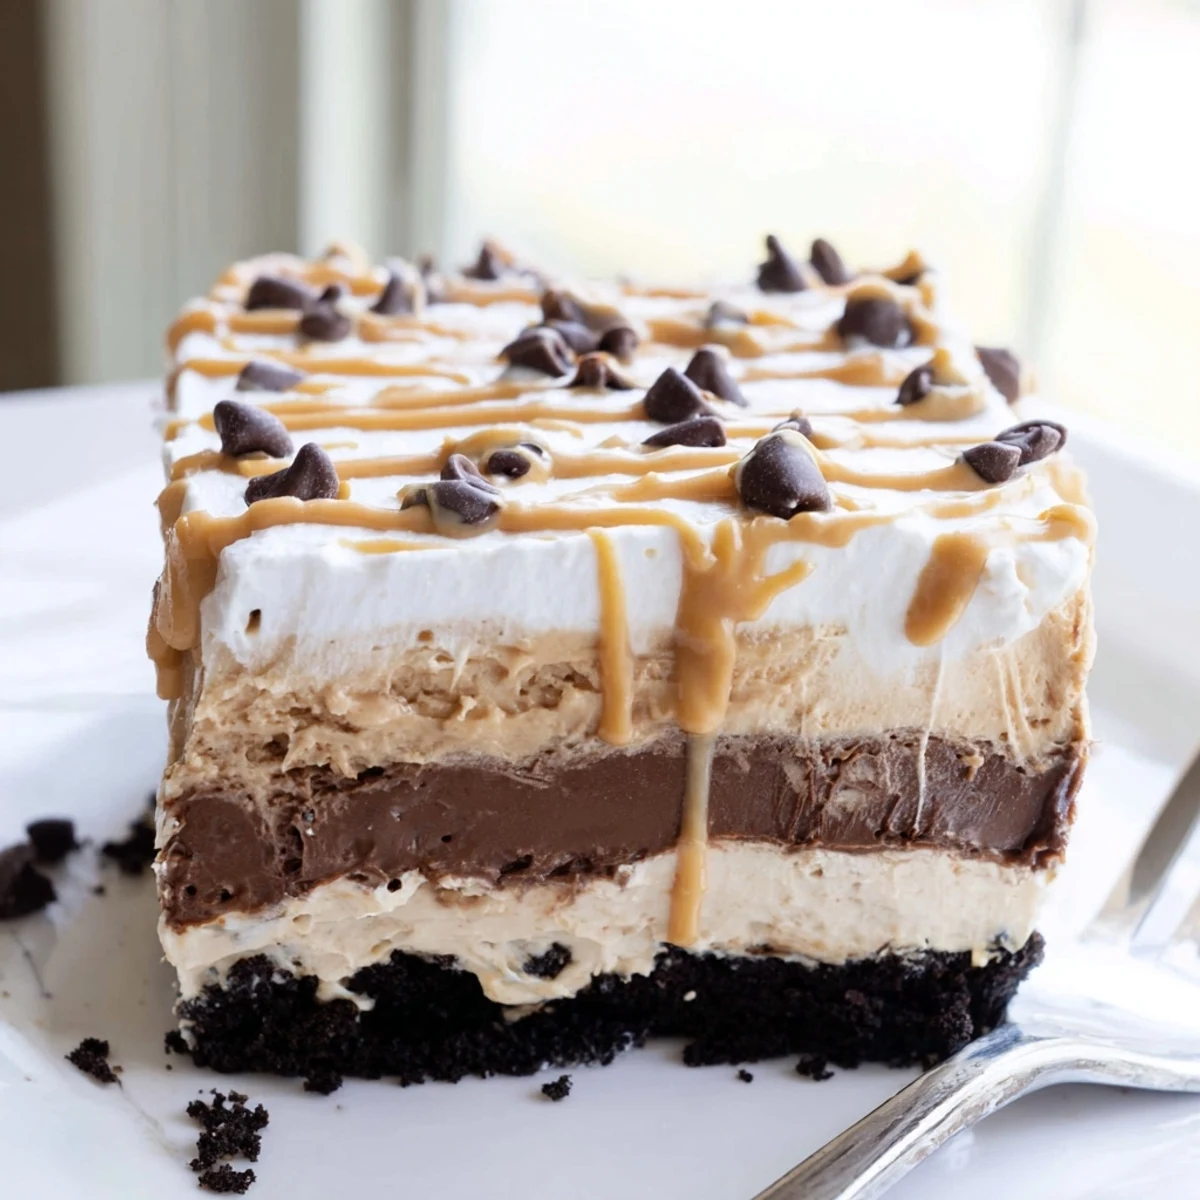
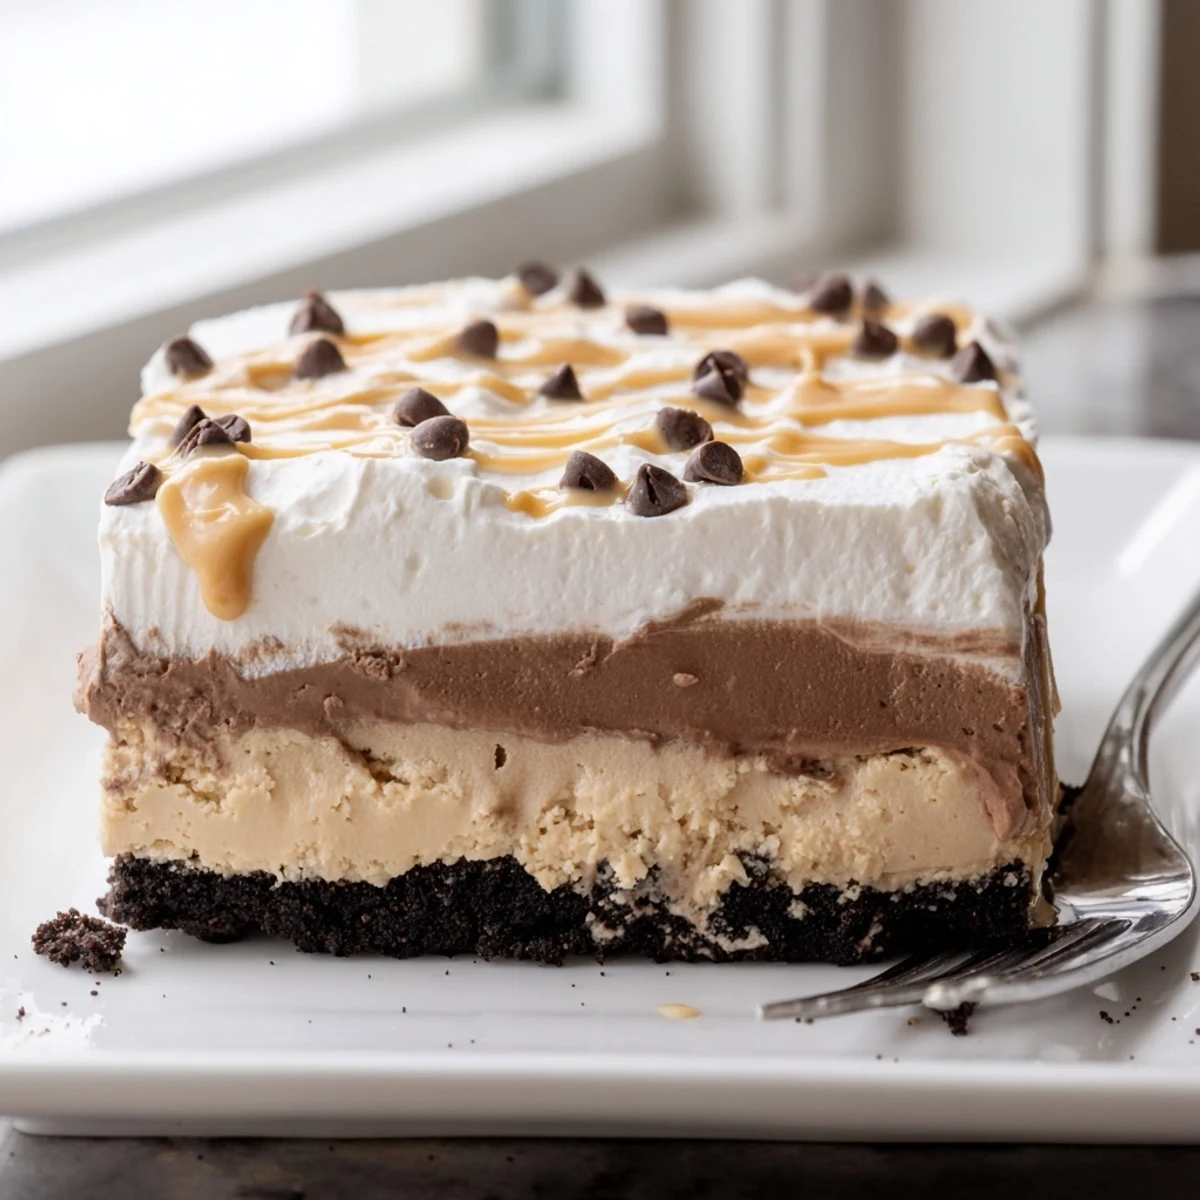
Save This no-bake peanut butter layered delight is a dream dessert for anyone who loves the combination of peanut butter and chocolate. It starts with a buttery chocolate cookie crust, followed by a creamy peanut butter and cream cheese layer, then a rich chocolate pudding layer, all topped with fluffy whipped topping.
With just 25 minutes of prep time and no oven required, it's an easy make-ahead dessert that feeds a crowd. Simply assemble, chill for at least 3 hours, and slice into squares for a decadent treat that's sure to impress at any gathering.
The smell of peanut butter and chocolate together has always been my weakness, and this layered delight is the proof that some cravings deserve their own dessert. I threw it together one rainy Saturday when the pantry offered nothing but cookies, peanut butter, and a box of instant pudding, and it disappeared by Sunday brunch. No oven required, no fancy technique, just patience while the fridge does the real work. It is the kind of dessert that makes guests think you tried far harder than you actually did.
I brought this to a potluck thinking it would be a humble contribution, but the pan came back licked clean and three people texted me for the recipe that same evening.
Ingredients
- Chocolate sandwich cookies (200 g): Crushed finely for the crust, they provide a bittersweet foundation that balances the sweet layers above.
- Unsalted butter (75 g), melted: Binds the crumbs together so the crust holds firm when you slice.
- Cream cheese (225 g), softened: The secret to a peanut butter layer that tastes like mousse rather than a sugar bomb, so let it sit out until completely soft.
- Creamy peanut butter (120 g): Use the regular kind, not natural or stirred, because the stabilized texture blends seamlessly into the filling.
- Powered sugar (100 g): Sweetens the peanut butter layer without adding graininess.
- Whipped topping (480 ml total, divided): Half gets folded into the peanut butter mixture and half crowns the whole dessert in pillowy clouds.
- Instant chocolate pudding mix (100 g): The middle layer that makes this dessert unforgettable, and instant is non negotiable because cooked pudding would melt the layers below.
- Cold milk (375 ml): Whole milk gives the richest pudding texture, but any milk works in a pinch.
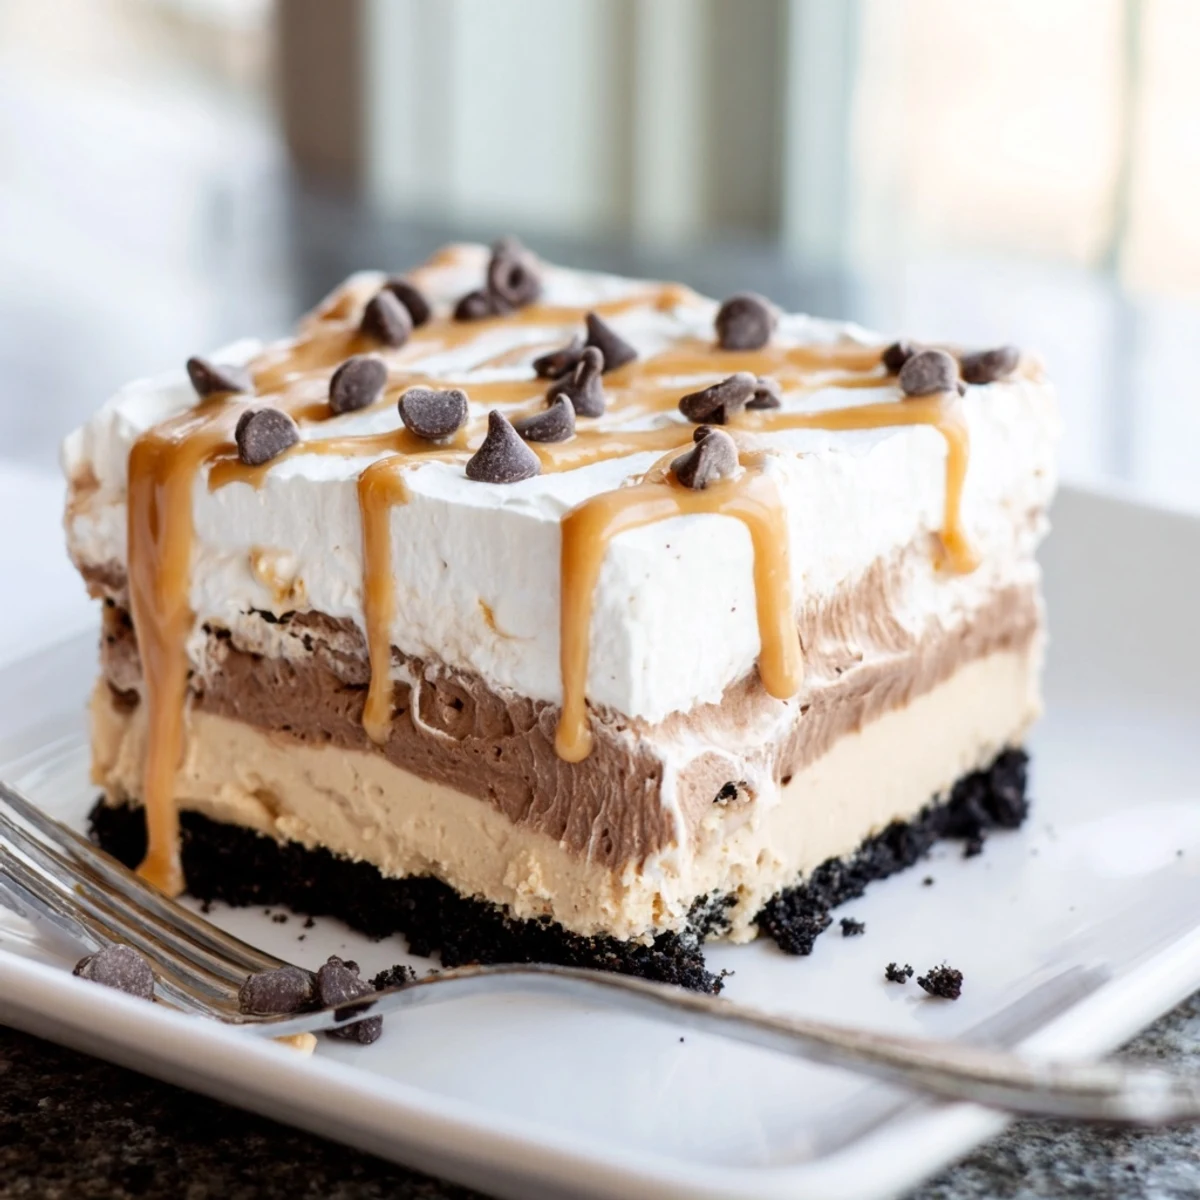
- Melted peanut butter (2 tbsp) and chocolate shavings (optional): For drizzling and sprinkling on top, they turn a casual pan dessert into something that looks bakery worthy.
Instructions
- Build the crust:
- Toss the crushed cookies with melted butter until every crumb glistens, then press the mixture firmly and evenly into your baking dish. Pop it into the fridge so it sets while you work on the next layer.
- Whip up the peanut butter mousse:
- Beat the cream cheese, peanut butter, and powdered sugar until completely smooth with no lumps hiding in the corners. Gently fold in the whipped topping with a spatula, keeping as much air in the mixture as you can, then spread it over the chilled crust.
- Make the chocolate pudding layer:
- Whisk the pudding mix and cold milk together for about two minutes until it thickens noticeably. Pour and spread it gently over the peanut butter layer, taking care not to disturb what is underneath.
- Crown and garnish:
- Spread the remaining whipped topping over the pudding in even sweeps. Drizzle with melted peanut butter and scatter chocolate shavings if you are feeling festive.
- Chill patiently:
- Cover the dish tightly and refrigerate for at least three hours so every layer firms up and becomes sliceable. Overnight is even better if you can wait that long.
 Save
Save Slicing into this dessert for the first time and seeing those clean, distinct layers felt like a small kitchen victory that I will never forget.
A Note on the Crust
I learned the hard way that pressing the crust too thinly in the center means it crumbles when you serve it, so really pack it in there firmly and dont be shy about using the bottom of a measuring cup to tamp it down.
Swapping for Gluten Free
Gluten free chocolate sandwich cookies work beautifully in the crust and nobody at the table will ever notice the switch.
Serving and Storing
Use a sharp knife dipped in hot water and wiped clean between cuts for the neatest squares. This dessert holds well in the fridge for up to three days, though the crust softens slightly over time.
- Cover the surface directly with plastic wrap to prevent the whipped topping from absorbing fridge odors.
- Add chopped roasted peanuts between the peanut butter and pudding layers if you want a surprise crunch.
- Always let the pan sit at room temperature for about ten minutes before slicing so the crust does not crack.
 Save
Save Every time I make this dessert I am reminded that the simplest recipes often leave the biggest impression. Keep it chilled, share it generously, and watch it vanish.
Recipe FAQs
- → Can I make this peanut butter layered delight ahead of time?
-
Yes, this dessert is perfect for making ahead. You can prepare it up to 24 hours in advance and keep it refrigerated until ready to serve. The layers actually set and firm up nicely with extended chilling time.
- → Can I substitute homemade whipped cream for the whipped topping?
-
Absolutely. You can replace the whipped topping with an equal amount of freshly whipped heavy cream. Just be sure to whip it to stiff peaks so the layers hold their structure. Keep in mind the dessert should still be served chilled.
- → How should I store leftovers?
-
Cover the baking dish tightly with plastic wrap or transfer individual slices to an airtight container. Store in the refrigerator for up to 3 days. The cookie crust may soften slightly over time but the flavors will continue to develop.
- → Can I make this dessert gluten-free?
-
Yes, simply swap the chocolate sandwich cookies for a gluten-free variety. Many brands offer gluten-free chocolate sandwich cookies that work perfectly for the crust. Also check the pudding mix label to ensure it is gluten-free.
- → What can I add for extra texture and crunch?
-
Chopped roasted peanuts sprinkled between the peanut butter and pudding layers add a wonderful crunch. You could also mix crushed toffee bits into the crust or top with chopped Reese's cups for an even more indulgent finish.
- → Can I use natural peanut butter instead of creamy peanut butter?
-
It's best to use conventional creamy peanut butter for the smoothest texture. Natural peanut butters tend to separate and can make the layer oily or grainy. If you do use natural peanut butter, make sure it's well-stirred and at room temperature.
