 Save
Save These whimsical scones combine warm autumn spices with tender pumpkin for a seasonal treat that's as fun to decorate as it is delicious. The dough comes together in minutes, requiring just 20 minutes of prep before baking until golden brown.
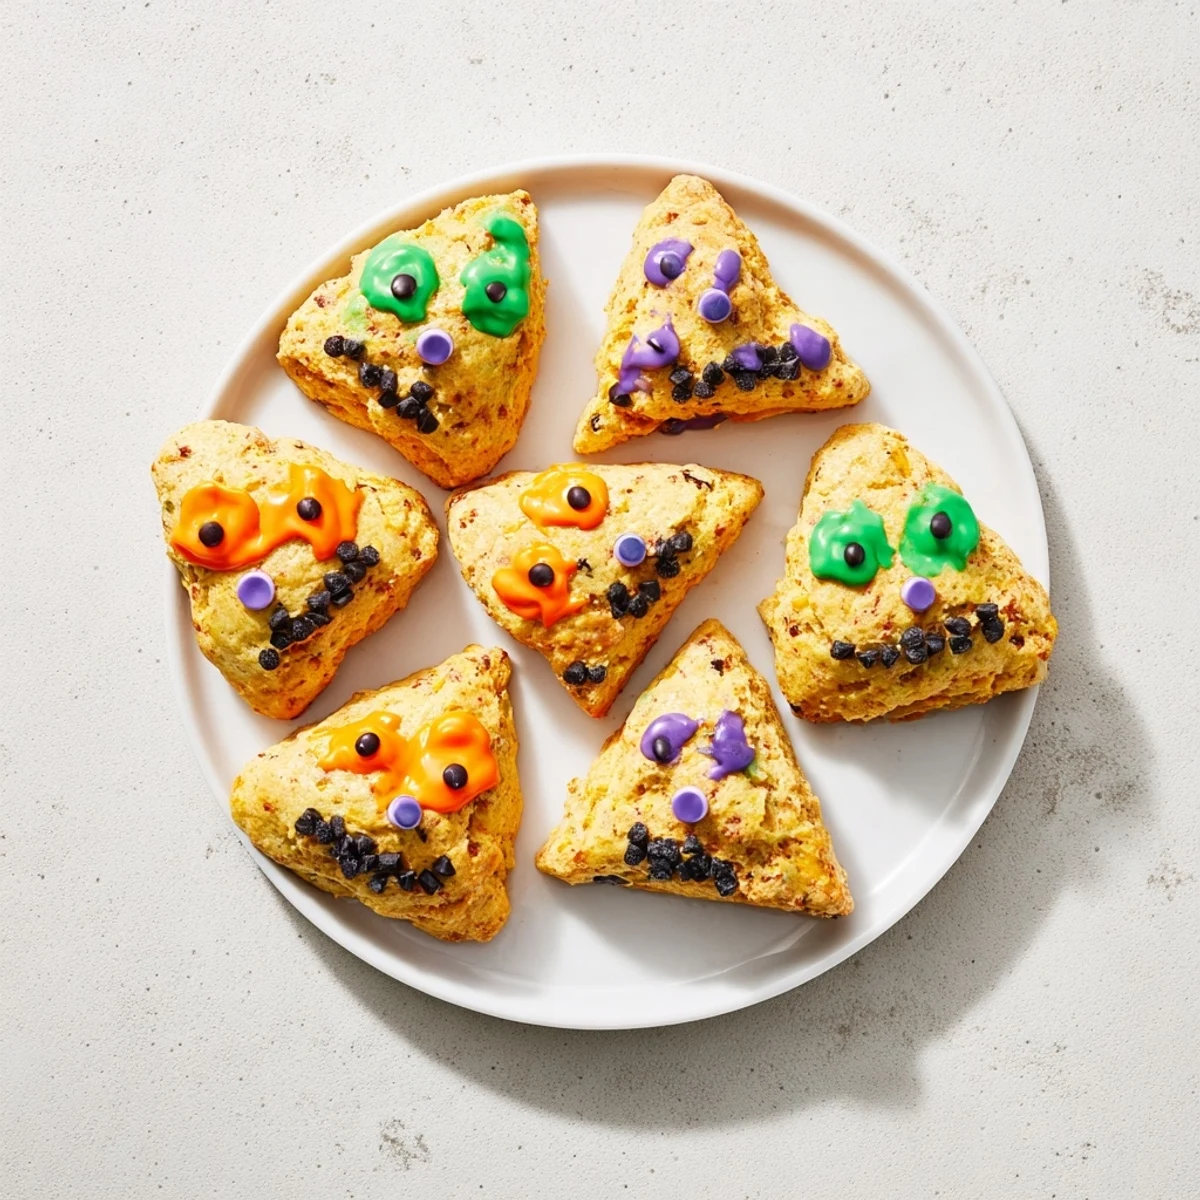
Once cooled, let creativity take over with colorful glazes and candy decorations to bring each monster to life. Kids and adults alike will enjoy customizing their own unique faces using candy eyes, chocolate chips, and vibrant icing.
The result is a perfectly spiced, moist scone that captures everything cozy about fall while adding playful charm to any Halloween spread or festive gathering.
The first time I made these was on a rainy Sunday afternoon when my niece came over and we were both feeling that autumn restlessness. We decided to turn the kitchen into a monster laboratory, and honestly, the way her face lit up when she piped purple glaze eyebrows on a pumpkin scone was better than any fancy dinner party I have ever hosted. Now it is just not October without a batch of these goofy, spiced treats cooling on the counter.
Last year I brought these to my book club meeting and before we even started discussing the novel, everyone was crowded around the platter making up backstories for their monster scones. My friend Sarah insisted hers was a vampire scone because of the red glaze, while someone else made a three eyed alien creation. The conversation flowed so naturally that I realized food does not have to be elegant to bring people together.
Ingredients
- All-purpose flour: The structure that holds everything together, do not pack it down when measuring
- Light brown sugar: Adds moisture and a subtle molasses depth that white sugar cannot match
- Baking powder and baking soda: The lift team that makes scones rise instead of turning into hockey pucks
- Ground cinnamon, ginger, nutmeg, and cloves: This quartet creates that classic pumpkin pie spice warmth
- Cold butter: Keep it chilled and work quickly, those little butter pockets make for flaky layers
- Pumpkin purée: Use the pure stuff, not pumpkin pie filling which has spices already added
- Whole milk: Creates a tender crumb, though any milk you have on hand works fine
- Egg: Binds the dough and provides richness for a satisfying texture
- Vanilla extract: Rounds out all the spices and makes everything taste balanced
- Powdered sugar: Creates the blank canvas glaze that makes colors pop
- Food coloring: Gel colors work best for vibrant hues without thinning the glaze too much
- Candy eyes and decorations: The fun part that turns ordinary scones into characters
Instructions
- Get your oven ready:
- Preheat to 400°F and line a baking sheet with parchment paper so nothing sticks later
- Whisk the dry team:
- In a large bowl, combine flour, brown sugar, baking powder, baking soda, salt, and all those cozy spices until everything is evenly distributed
- Cut in the butter:
- Add cold butter cubes and work them into the flour with a pastry cutter or your fingers until the mixture looks like coarse crumbs with some pea sized pieces remaining
- Mix the wet ingredients:
- In another bowl, whisk together pumpkin purée, milk, egg, and vanilla extract until smooth
- Bring it together:
- Pour the wet mixture into the dry ingredients and stir just until combined, the dough will look shaggy and that is perfectly okay
- Shape the scones:
- Turn the dough onto a floured surface, pat it into a 1 inch thick circle, and cut into 8 wedges like a pizza
- Bake until golden:
- Place wedges on your prepared sheet and bake for 16 to 18 minutes until they are firm and lightly golden on top
- Make the glaze:
- Whisk powdered sugar with just enough milk to reach a smooth, drizzle able consistency
- Create your monsters:
- Divide the glaze into bowls, tint each with food coloring, and let creativity take over with candy eyes and silly faces
 Save
Save My toddler nephew helped decorate a batch last Halloween and his monsters somehow ended up looking more like happy clouds than scary creatures, which honestly made them even better. He was so proud pointing out each one he had made, and the adults were just as enthusiastic about claiming their favorites.
Making These Ahead
I learned through experience that you can freeze the unbaked scones on a baking sheet, then transfer them to a bag once frozen solid. Bake them straight from frozen, just add a couple minutes to the cooking time. This has saved me more than once when unexpected guests show up or I suddenly need a treat for a school event.
Decoration Ideas That Work
Beyond the basic candy eyes, try using colored sugar for hairy monster texture or drizzle contrasting glaze colors for a wild look. Mini chocolate chips make great warts or spots, and I have even used fruit roll ups cut into goofy mouths. The messier and more creative, the better these turn out.
Serving Suggestions
These shine at Halloween parties but they are also perfect for autumn brunches or school bake sales. I like setting up a decorating station and letting guests create their own monsters, which doubles as both activity and dessert. They are best the day they are made but will stay decent in an airtight container for two days.
- Set out bowls of different colored glazes and let everyone go wild
- Pair with apple cider or hot coffee for the ultimate fall snack
- Take photos of the creations before they disappear because they are too fun not to document
 Save
Save There is something joyful about food that does not take itself too seriously, and these monster scones have become one of those recipes I return to every autumn when I need a reminder that baking should be fun.
Recipe FAQs
- → Can I make the dough ahead of time?
-
Yes, prepare and cut the dough into wedges, then freeze unbaked on a parchment-lined tray. Once solid, transfer to a freezer bag. Bake from frozen, adding 2-3 extra minutes.
- → What type of pumpkin works best?
-
Use canned purée or homemade roasted pumpkin. Avoid pumpkin pie filling, which contains spices and sweeteners that alter the flavor balance.
- → How should I store decorated scones?
-
Keep in an airtight container at room temperature for up to 2 days. The glaze may soften slightly over time. For longer storage, freeze undecorated scones and add frosting after thawing.
- → Can I use fresh decorations instead of candy?
-
Natural alternatives include raisins, currants, or chopped dried fruit for features. For coloring, use fruit juices like pomegranate or beet mixed into the glaze instead of food coloring.
- → What's the trick for tender scones?
-
Keep butter cold and avoid overmixing the dough. Work quickly when incorporating butter, and mix wet and dry ingredients just until combined for flaky, tender results.
- → Can I make these dairy-free?
-
Substitute cold plant-based butter cubes and your preferred non-dairy milk. The texture remains similar, though chill time may vary slightly depending on the butter alternative used.
