 Save
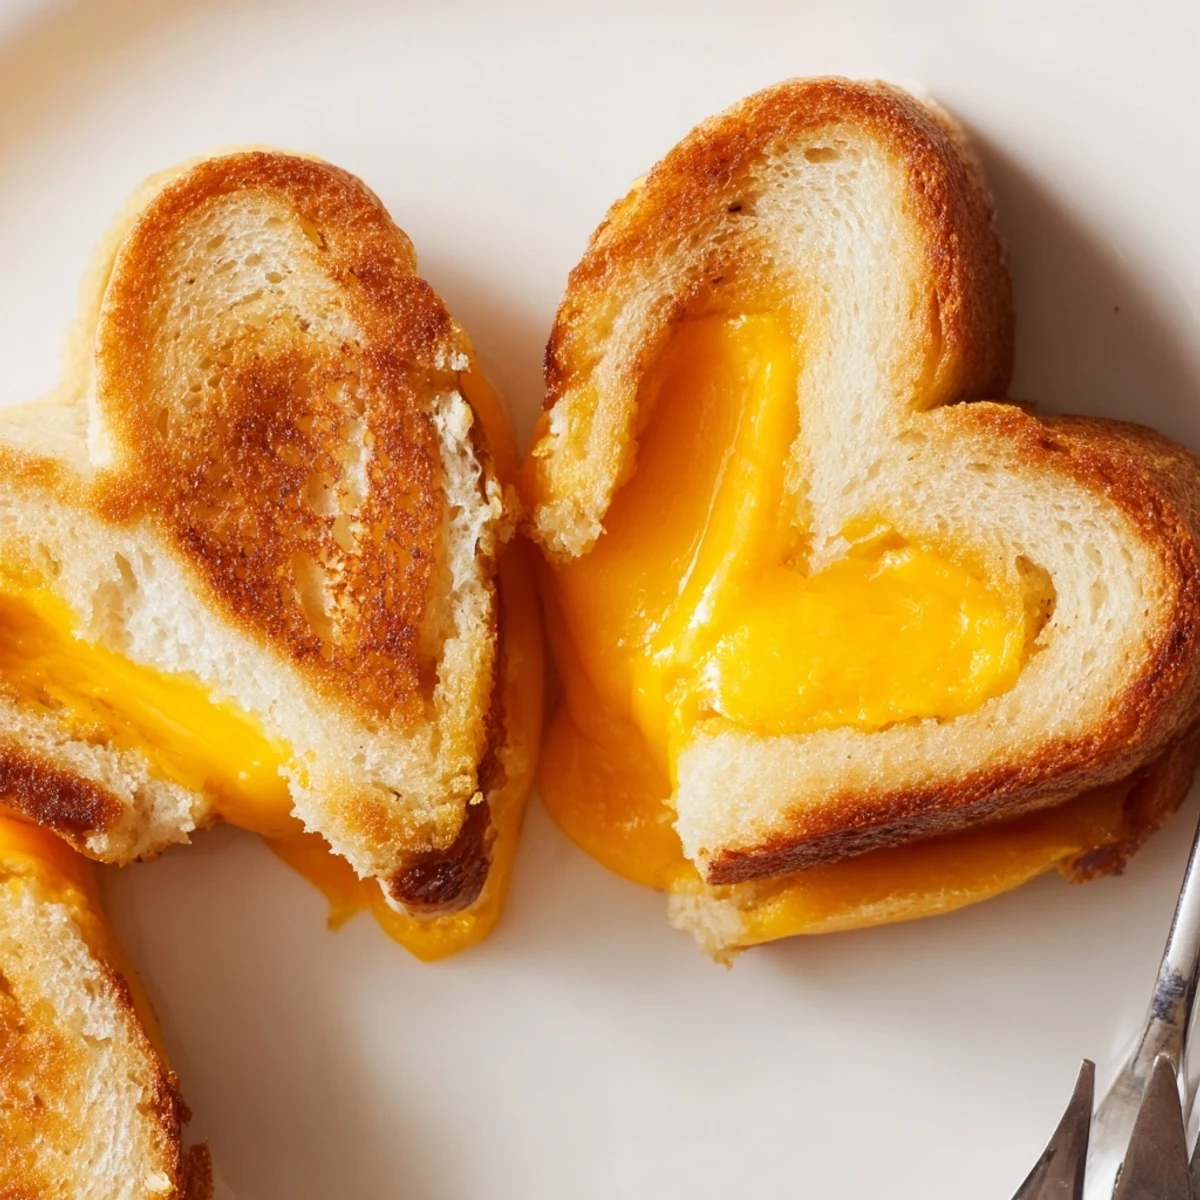
Save These adorable mini grilled cheese hearts are perfect for parties, snacks, or lunchboxes. Using a small heart-shaped cookie cutter, you'll create 12 bite-sized sandwiches in just 20 minutes. The simple preparation involves cutting bread and cheese into heart shapes, assembling the sandwiches, buttering the outside, and cooking until golden brown and crispy. These cute treats work great with various cheeses and can be customized with extra ingredients like tomato or herbs.
It started with a rainy Sunday and a toddler who refused to eat anything that wasn't cute. I grabbed the heart cookie cutter from the back of the drawer, mostly as a desperate attempt to make lunch interesting. Something about those tiny golden hearts sizzling in the pan changed everything — suddenly grilled cheese wasn't just food anymore, it was a little moment of joy.
Last Valentine's Day I made three dozen of these for my daughter's class party. The teacher sent me a photo afterward of all the kids holding up their heart sandwiches with cheese smiles. Sometimes the simplest touches create the lasting memories.
Ingredients
- Soft white or whole wheat sandwich bread: Fresh bread works best here — slightly stale slices make cutting through the hearts frustrating and the final texture tough
- Cheddar American or melting cheese: Pre sliced cheese matches the bread thickness perfectly but if slicing from a block aim for about 1/8 inch thick
- Unsalted butter softened: Room temperature butter spreads more evenly without tearing the delicate heart shapes
Instructions
- Cut your hearts:
- Press the cookie cutter firmly through each bread slice and wiggle gently to release. Do the same with the cheese — if the cheese sticks to the cutter, run it under warm water for a second between cuts.
- Build the sandwiches:
- Lay one bread heart butter side down, add a cheese heart, top with another bread heart butter side up. Keep everything aligned so the cheese stays contained while melting.
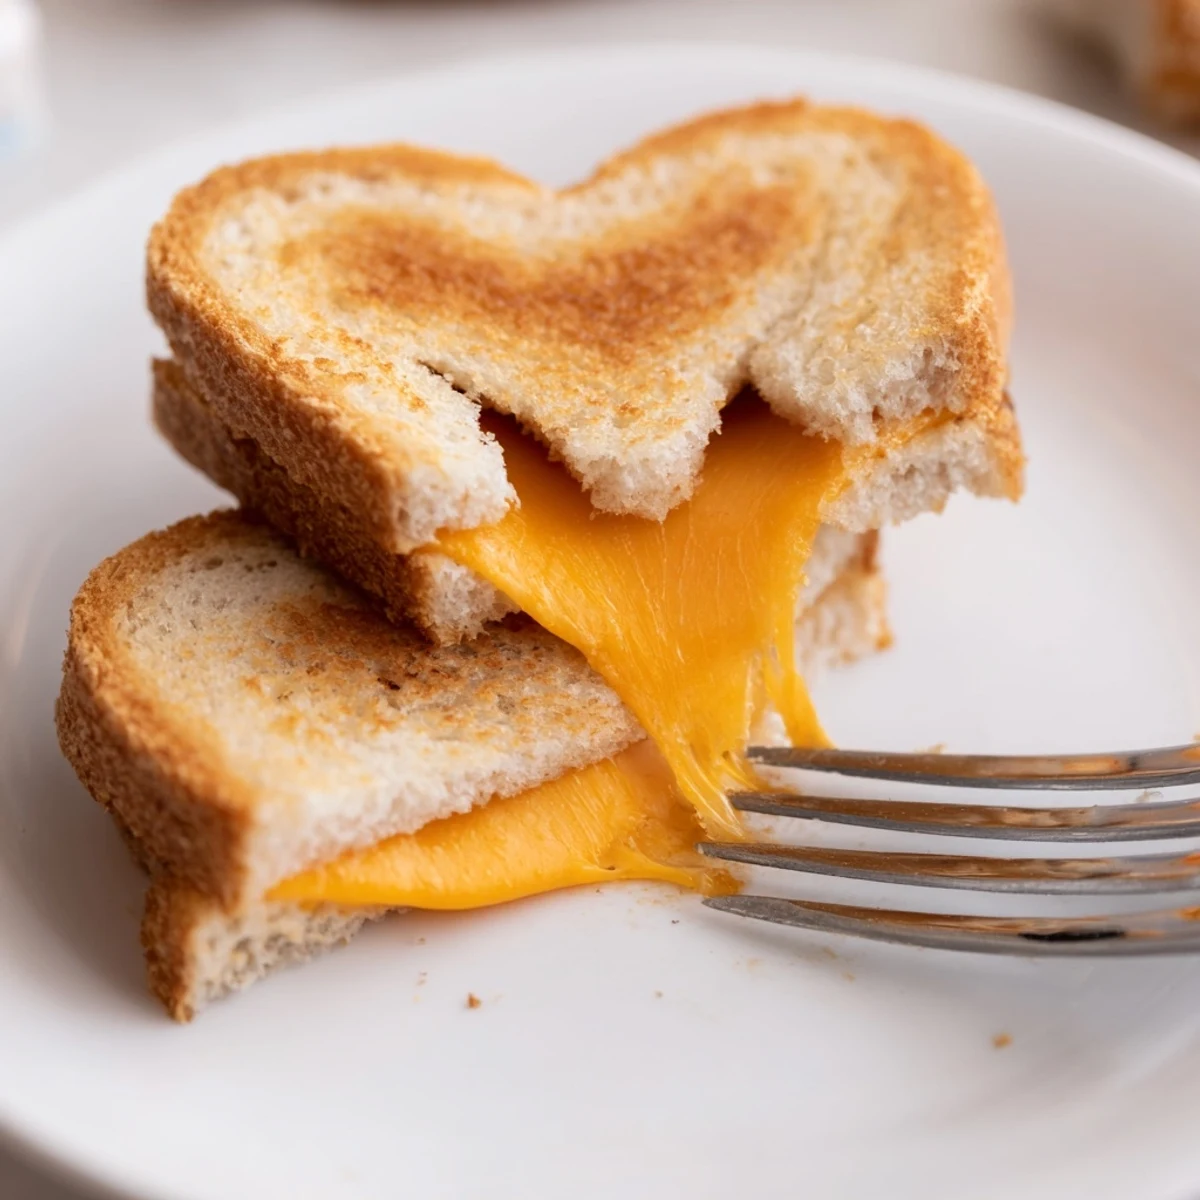
- Get them ready for the pan:
- Spread that softened butter generously on the outside of each sandwich. Don't miss the edges — those get the most beautifully crispy and golden.
- Grill to perfection:
- Cook over medium heat for about 2 to 3 minutes per side. Watch for the cheese to start bubbling out slightly — that's when you know they're done.
- Serve them warm:
- These are best straight from the pan but hold in a 200°F oven if making a big batch. Arrange them on a platter and watch them disappear.
 Save
Save My mom stumbled upon my lunch prep while I was making these once and immediately demanded I teach her the technique. Now she sends me photos of her own heart shaped creations, usually with some creative twist she discovered.
Making Them Your Own
The beauty of these mini sandwiches is how easily they adapt to whatever you have in the fridge. Sometimes I'll tuck a tiny basil leaf inside or use a sharp aged cheddar when I want something more grownup for a wine night with friends.
Party Planning Secrets
I've learned through trial and error that people eat way more of these than you'd expect. Plan on at least three to four hearts per person if they're the main snack. You can assemble and butter everything ahead of time then just grill them as guests arrive.
Common Questions
Can I make these ahead? Yes, cook them fully then reheat at 350°F for 5 minutes. Can I use a different cutter? Absolutely, stars or flowers work just as well. What about gluten free bread? It works but be extra gentle when pressing down the cutter.
- Let the butter soften completely for at least 30 minutes before starting
- If the cheese hearts break while cutting, piece them together between the bread — no one will notice
- These freeze beautifully after cooking — just reheat in a toaster oven
 Save
Save Hope these little hearts bring as much joy to your kitchen as they've brought to mine.
Recipe FAQs
- → What type of bread works best for these mini grilled cheese hearts?
-
Soft white or whole wheat sandwich bread works best as it's easy to cut with the cookie cutter and toasts nicely. The bread should be fresh but not too dense to ensure clean heart shapes.
- → Can I use different types of cheese for these mini sandwiches?
-
Absolutely! Cheddar, American, mozzarella, or gouda all work well. Different cheeses will give you varying meltability and flavor profiles. For a creamier result, try mozzarella, while cheddar provides a sharper taste.
- → How do I prevent the cheese from oozing out while cooking?
-
Make sure your cheese slices are the same size as your bread hearts and not too thick. Using a cheese that melts well rather than one that's overly stringy can help. Cooking over medium heat rather than high heat also prevents the cheese from oozing excessively.
- → What's the best way to cut perfect heart shapes?
-
Use a small, sharp heart-shaped cookie cutter and press firmly but gently. For cleaner cuts, you can slightly compress the bread slice first. If the bread is too soft, chilling it for a few minutes can help achieve cleaner shapes.
- → Can these be made ahead of time?
-
These are best served fresh and warm, but you can prepare them ahead and reheat. Store assembled but uncooked sandwiches in the refrigerator, then cook just before serving. Reheated versions won't be as crispy as freshly made ones.
- → Are there any variations I can try?
-
Yes! Add a thin slice of tomato, a sprinkle of herbs, or a bit of mustard between the cheese layers. You can also use different bread types like sourdough or brioche for variety. For a gluten-free option, use gluten-free bread.
