 Save
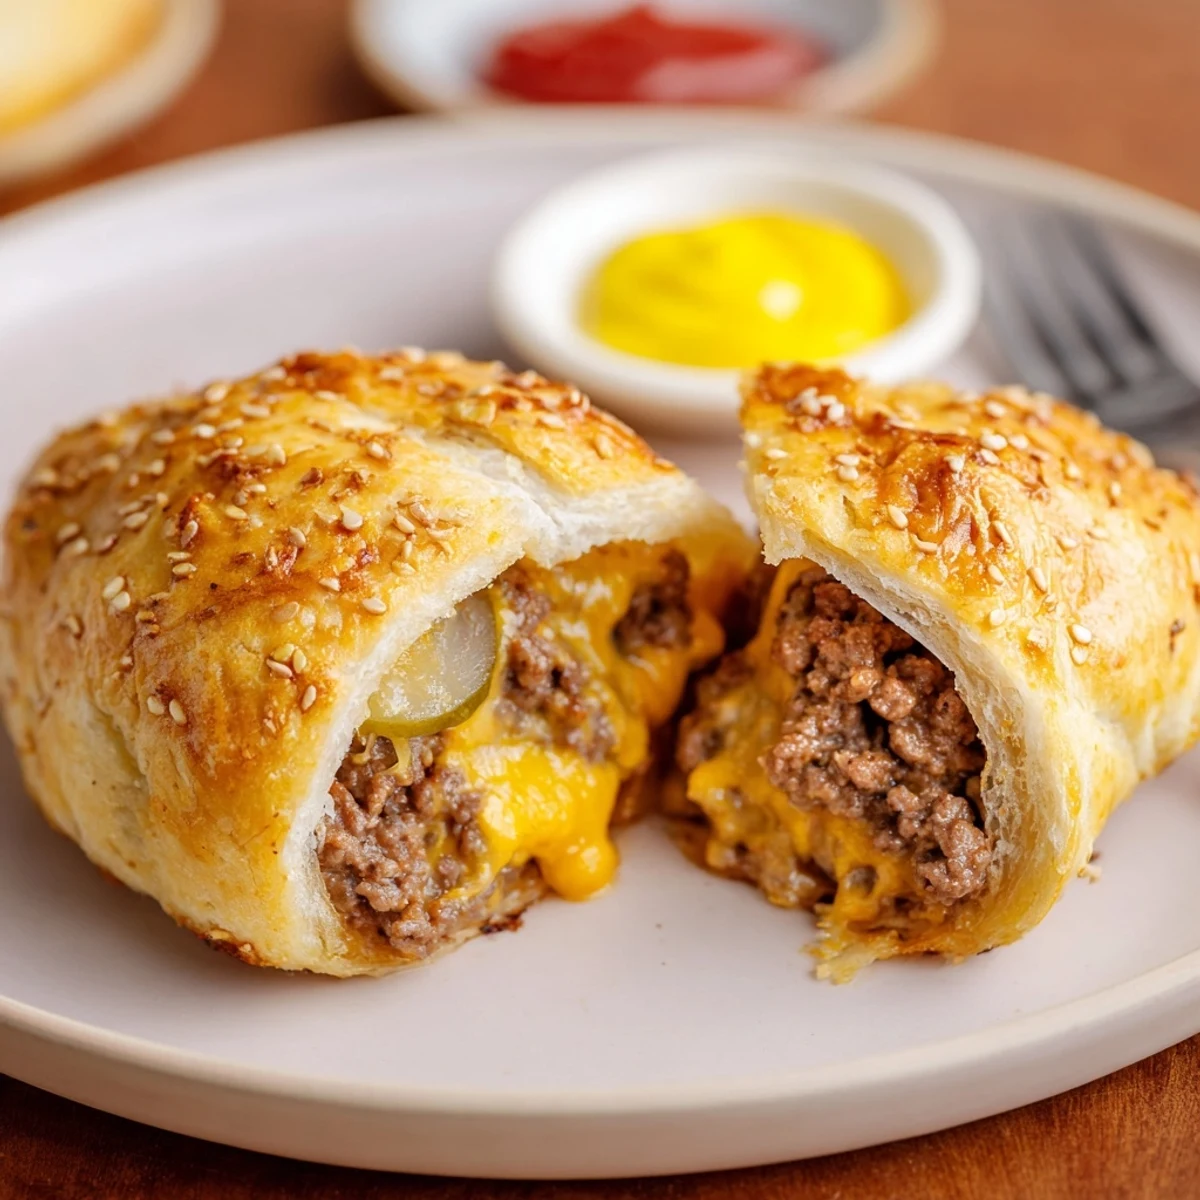
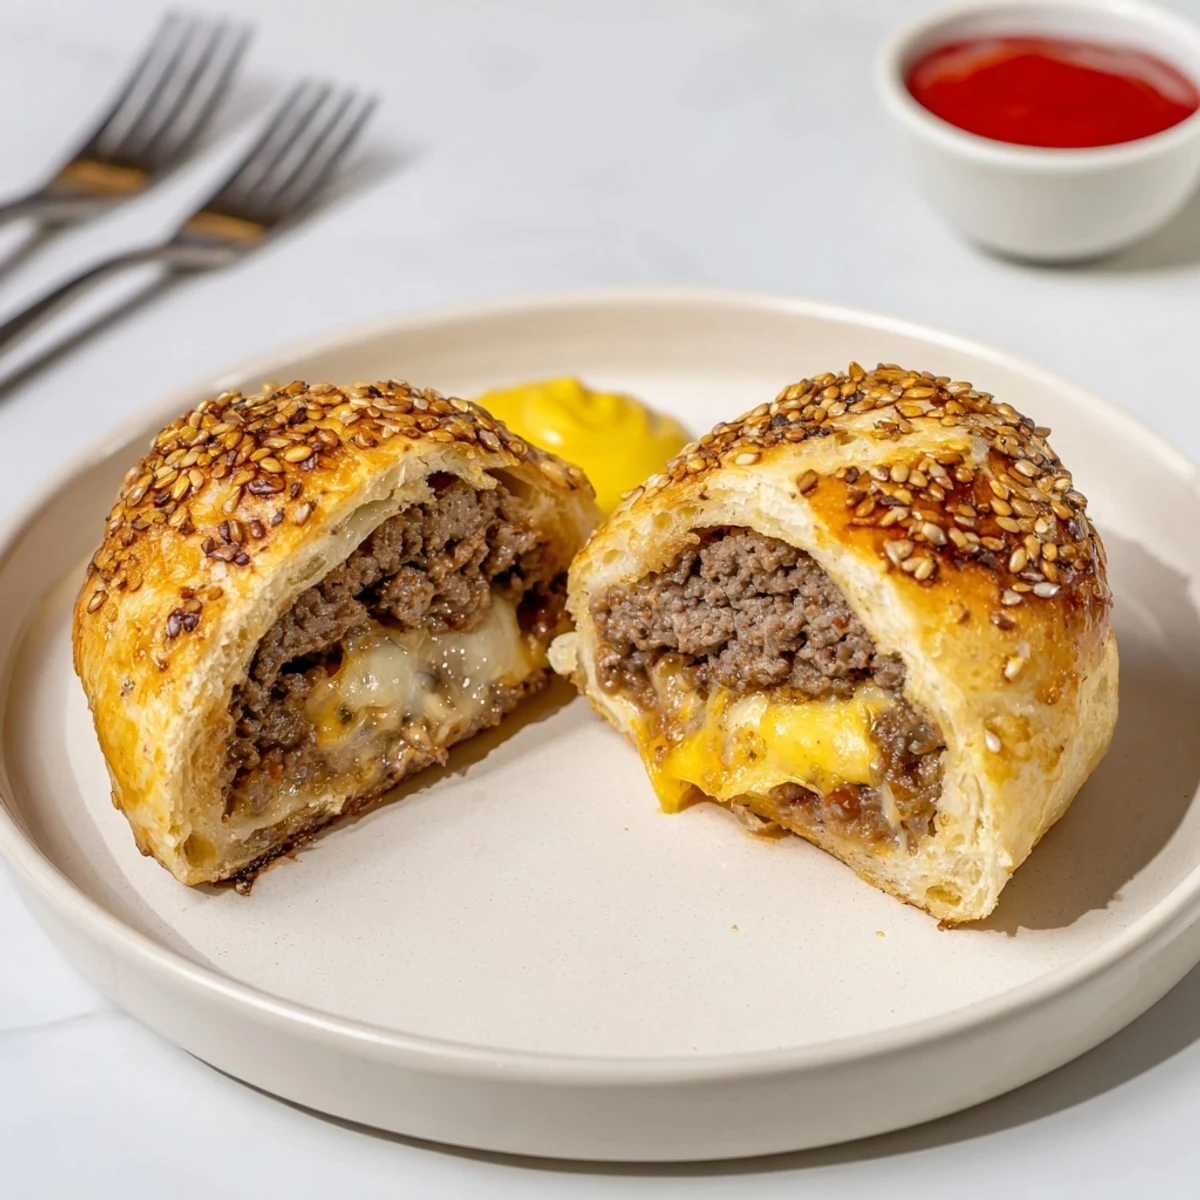
Save Cheesy cheeseburger bombs are biscuit rounds filled with seasoned browned beef, diced onion, ketchup, mustard and optional pickle, layered with shredded cheddar and a mozzarella cube. After sealing, brush with egg wash, sprinkle sesame seeds and bake at 200°C (400°F) for 15–18 minutes. Total time ~50 minutes; yields eight satisfying, handheld bites—swap cheeses or add bacon for variation.
If you had walked into my kitchen one Friday night, you'd have caught me giggling at the surprise of gooey cheese stretching out of a biscuit-wrapped burger bite. The scent of toasted sesame and sizzling beef had neighbors knocking, drawn by curiosity more than polite intent. There’s a ridiculous, joyful energy when your dinner pops with cheesy explosions at every bite. No one expects burgers like this, and that’s half the fun.
Once, my friend Sam and I tried stuffing these bombs with extra cheese, bravely ignoring the risk of overflow. We ended up laughing by the oven door, watching tiny rivers of cheese try to escape, deciding that chasing flavor is always worth the clean-up. These became our signature game night treat after that escapade.
Ingredients
- Ground beef: Get 80/20 for extra juiciness—don't crowd the pan when browning so it crisps, not steams.
- Shredded cheddar cheese: Freshly shredded melts better and packs richer flavor into each bite.
- Mozzarella cubes: Tuck them deep in the center for that dramatic cheese pull effect—don’t skimp on size.
- Onion: A quick sauté brings out sweet, mellow flavors that balance the savory beef.
- Pickle: Optional, but the tang gives a classic burger kick that always surprises the skeptics.
- Refrigerated biscuit dough: Go for a sturdy brand; chilled dough is easier to shape without tearing.
- Ketchup, yellow mustard, Worcestershire sauce: These transform basic beef into a craveable burger filling—don’t skip any.
- Garlic powder, salt, black pepper: The trinity that wakes everything up—taste your filling before stuffing.
- Egg (for wash): Brushing with beaten egg turns your bombs deeply golden and mouthwateringly shiny.
- Sesame seeds: They mimic burger buns and add a nutty crunch—sprinkle plenty for extra allure.
Instructions
- Set the stage:
- Let your oven warm to 200°C while you line up a baking sheet with parchment, which will save you a world of sticking grief later.
- Sizzle the filling:
- Toss diced onion into a hot skillet, stirring until glossy and soft before ground beef joins in, hissing on contact—let it brown evenly, then season with garlic powder, salt, and pepper before draining away any extra fat.
- Burger magic:
- Splash ketchup, mustard, Worcestershire, and pickles into your cooked beef—when it smells like a burger shop, set it aside to cool, unless you like molten cheese chaos.
- Biscuit prep:
- Press each biscuit into a flat circle in your palm; heap a spoonful of cooled beef mix and cheddar in the center, then hide a mozzarella cube in the pile like hidden treasure.
- Shape into bombs:
- Draw up the dough edges to seal the filling in a pouch, pinching firmly—roll gently to ensure even seams, and nestle seams down on your baking sheet.
- Ready for baking:
- Brush your bombs with a shiny coat of egg; sprinkle each with sesame seeds—they’ll toast up deliciously as your kitchen fills with mouthwatering aromas.
- Bombs away:
- Bake for 15 to 18 minutes until they bronze up all over; try not to eat them straight from the oven while the cheese is still lava-hot.
- Serve and savor:
- Let the bombs cool just long enough for everyone to circle round, then dip generously into sauce and watch the cheese ooze out.
 Save
Save My little cousin once declared these bombs 'better than a drive-thru cheeseburger' after his very first bite. The pride in making something together that people actually request every visit—that’s what landed these in our family’s regular lineup.
How to Keep the Cheese from Escaping
Don’t rush sealing the dough—pinch and twist the seams with a damp fingertip to create a tight seal. Any tiny gap is an open escape route for molten cheese, and catching stray oozes before they harden on the tray is a real game changer.
Easy Swaps and Fun Add-Ins
Sometimes we play 'kitchen roulette'—pressing bacon bits or jalapeño slices inside with the cheese for spicy or smoky surprises. Pepper jack or smoked gouda make these bombs even more dramatic, and a swipe of barbecue sauce in the filling goes over especially well at summer cookouts.
Serving Suggestions and Dipping Sauces
Sliders on a platter never last, but arrange these bombs with a trio of sauces and they vanish twice as fast. We love dipping in classic ketchup, creamy ranch, or burger sauce for that nostalgic drive-in taste—just don’t forget napkins.
- Brush on extra egg wash for the glossiest tops.
- Let kids help press the dough for more fun (and fewer explosions).
- Serve hot, because the cheese pull is half the thrill.
 Save
Save I hope making these brings you the same burst of laughter and satisfaction that fills my kitchen every time. There’s something about those first cheesy bites that always makes the night a little brighter.
Recipe FAQs
- → What oven temperature and time work best?
-
Bake at 200°C (400°F) for 15–18 minutes, until the biscuit is golden and cheese begins to ooze. Times vary slightly by oven and biscuit brand, so watch for even browning.
- → How do I prevent leaks while sealing?
-
Press edges firmly and pinch or fold the dough to seal. Chill the filled rounds briefly if dough gets too soft; that helps maintain shape during baking.
- → Can I change the cheeses used?
-
Yes—swap cheddar for pepper jack for heat, use provolone for a milder profile, or increase mozzarella for extra stretch. A mix of sharp and melty cheeses balances flavor and texture.
- → Is there a gluten-free option?
-
Use a certified gluten-free biscuit or pastry dough to make a gluten-free version. Check labels for other allergens in sauces and condiments.
- → How should leftovers be stored and reheated?
-
Refrigerate in an airtight container for up to 3 days. Reheat in a 180°C (350°F) oven for 8–10 minutes to regain crispness, or microwave briefly if short on time (may soften the exterior).
- → Can these be prepared ahead or frozen?
-
Assemble and freeze on a tray until firm, then transfer to a bag. Bake from frozen, adding a few extra minutes to the baking time. Alternatively, assemble and refrigerate for a few hours before baking.
