 Save
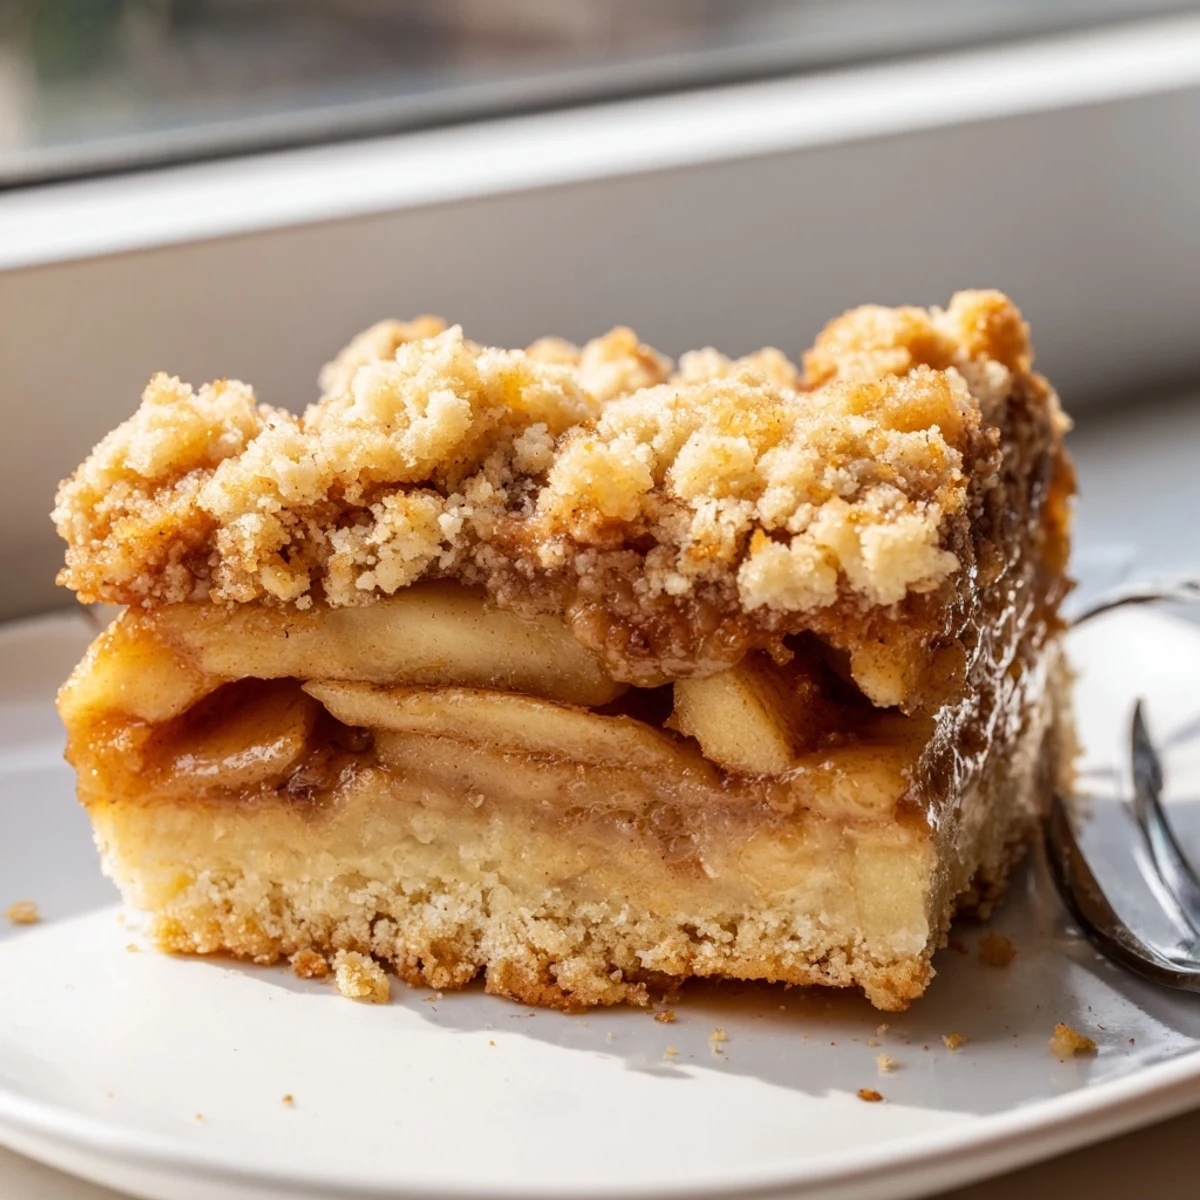
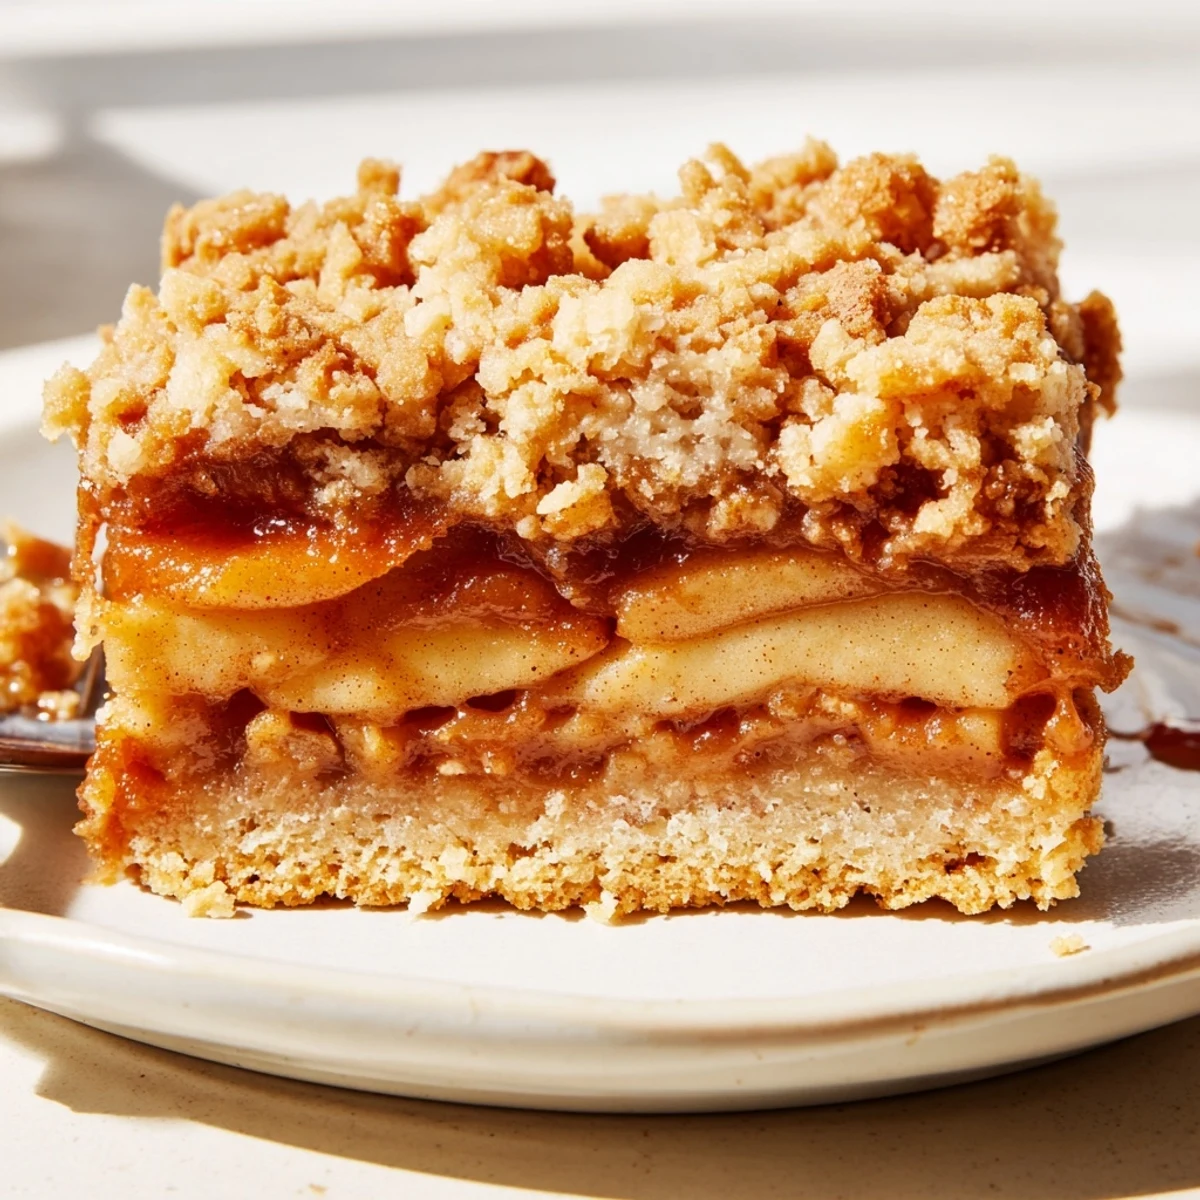
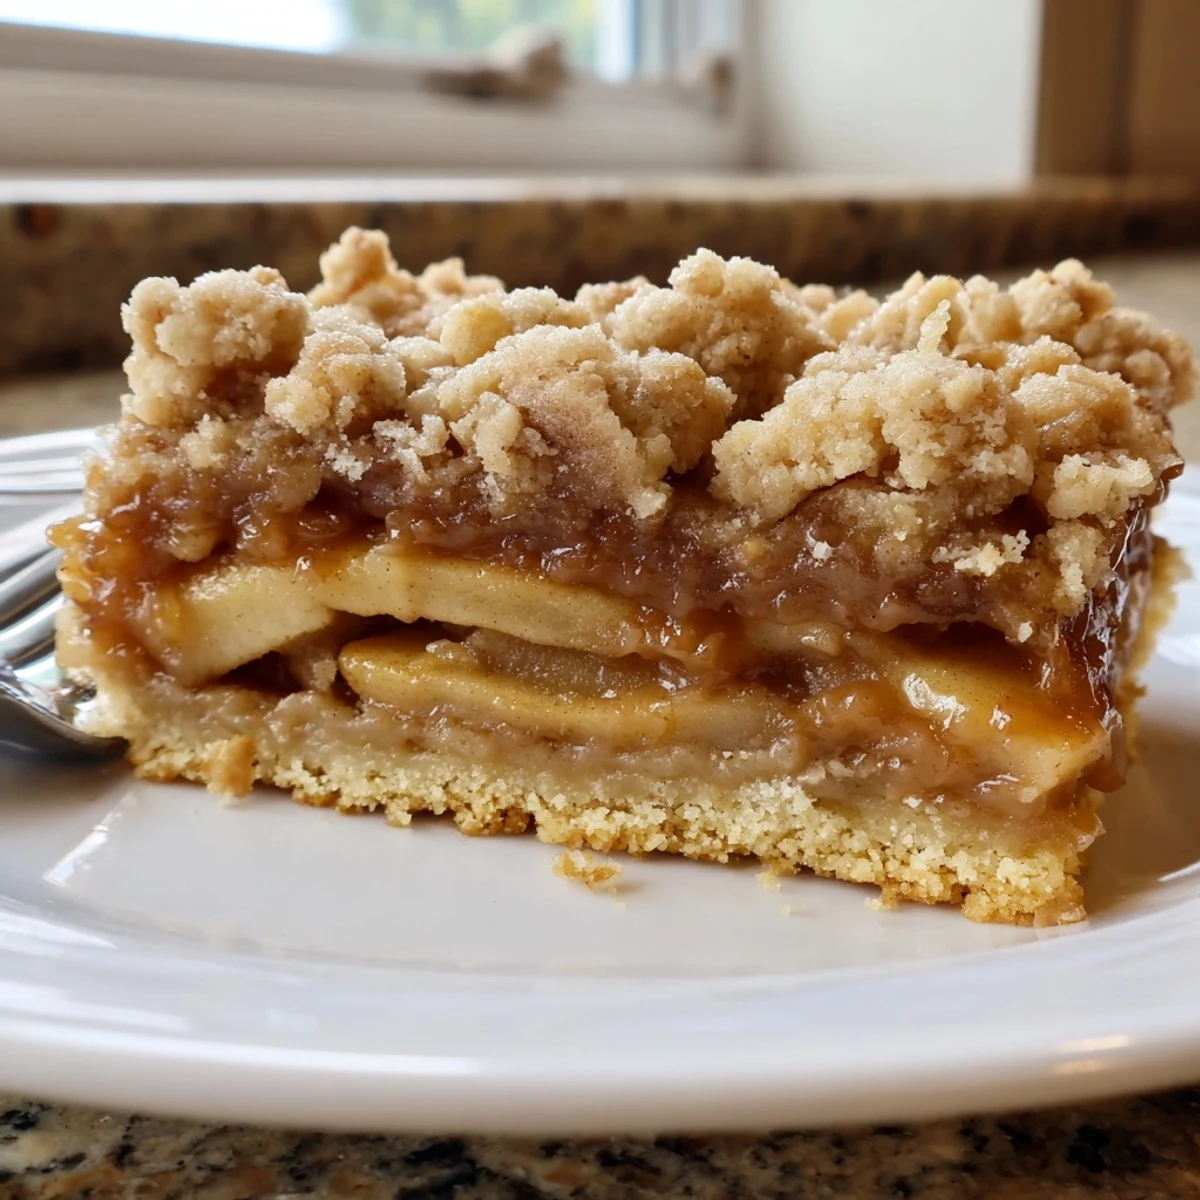
Save These bars start with a tender, buttery shortbread crust that gets partially baked before layering on thinly sliced apples tossed with cinnamon and sugar. A generous drizzle of rich caramel sauce bridges the fruit and the final layer of buttery crumble topping. After baking until golden, the apples become tender and sweet while the crust stays crisp beneath. The combination of textures—crisp bottom, soft fruit, gooey caramel, and crunchy topping—makes these bars irresistible. They cut cleanly and hold their shape beautifully, making them ideal for gatherings, bake sales, or autumn entertaining.
The smell of cinnamon apples bubbling away in the oven takes me back to my grandmother's tiny kitchen, where she'd let me stand on a chair to watch whatever magical thing was baking that day. These caramel apple crumb bars became my way of recreating that warmth in my own apartment, especially on those crisp October weekends when the windows fog up from the oven heat and everything feels cozy.
I brought these to a Friendsgiving last year and watched my friend's boyfriend, who claims to hate desserts, go back for thirds. There's something about the combination of tart apples against all that buttery sweetness that wins people over before they even realize what's happening.
Ingredients
- 2 1/2 cups all-purpose flour: The foundation of both crust and crumb, giving these bars their tender shortbread texture that holds everything together
- 1 cup unsalted butter, cold and cubed: Keeping it cold is what creates those gorgeous buttery pockets and crumbly texture we're after
- 3/4 cup granulated sugar: Just enough sweetness to balance the tart apples without overpowering them
- 1/2 teaspoon salt: This tiny amount makes all the difference in bringing out the butter flavor and keeping things from tasting one dimensional
- 1 teaspoon vanilla extract: The warm background note that makes everything taste homemade and special
- 3 medium apples: I love using Honeycrisp for their crisp texture and natural sweetness that holds up beautifully during baking
- 2 tablespoons lemon juice: Keeps the apples from browning and adds a bright pop that cuts through all the richness
- 1/3 cup granulated sugar: Coats the apples and creates that luscious syrupy filling as everything bakes together
- 1 tablespoon all-purpose flour: Thickens the apple juices just enough so they don't make the crust soggy
- 1 teaspoon ground cinnamon: The classic fall spice that makes the whole house smell like memories
- 1/2 cup caramel sauce: The secret sticky layer that takes these from good to absolutely unforgettable
Instructions
- Get everything ready:
- Preheat your oven to 350°F and line a 9x9-inch pan with parchment paper, letting the edges hang over like a little sling that'll help you lift the bars out later.
- Make the dough:
- Mix the flour, sugar, and salt in a big bowl, then work in that cold butter with your fingers until it looks like coarse crumbs. Stir in the vanilla and set aside 1 1/2 cups of this mixture for the topping.
- Build the foundation:
- Press the remaining dough into the bottom of your pan and pop it in the oven for 12 minutes while you prep everything else.
- Prep the apples:
- Toss those sliced apples with lemon juice, sugar, flour, and cinnamon until every piece is coated and fragrant.
- Layer it up:
- Spread the apples over your hot crust, drizzle with caramel sauce, then scatter that reserved crumb topping all over like you're tucking everything in for a nap.
- Bake to golden perfection:
- Slide it back into the oven for 28 to 32 minutes until the top is golden brown and you can see those apples bubbling up through the crumbs.
 Save
Save My neighbor knocked on my door the first time I made these, following the caramel smell up the stairs, and ended up staying for coffee and warm bars fresh from the pan. Sometimes food is just how we make friends.
Making These Your Own
I've experimented with adding a handful of chopped pecans to the crumb topping for extra crunch, and once I swapped half the white sugar for brown sugar in the filling which gave it this gorgeous molasses depth. The recipe is forgiving enough that you can play around without risking disaster.
Serving Suggestions
These are magnificent on their own, but a tiny scoop of vanilla ice cream melting into the warm center transforms them into dinner party worthy. I've also served them alongside a sharp cheddar plate at fall gatherings, and the sweet savory combination is unexpectedly perfect.
Storage and Make Ahead Tips
The bars keep beautifully at room temperature for three days, though they rarely last that long in my house. You can also wrap the whole uncut slab tightly and freeze it for up to a month, then thaw and slice whenever you need something homemade in a pinch.
- Cut them while slightly chilled for the cleanest edges
- Warm individual pieces for 15 seconds in the microwave to recreate that fresh baked experience
- The parchment paper sling is your best friend for easy lifting and serving
 Save
Save There's something profoundly satisfying about a dessert that tastes like it took all day but comes together in about an hour. I hope these become part of your autumn traditions too.
Recipe FAQs
- → What type of apples work best for these bars?
-
A mix of tart and sweet apples like Granny Smith, Honeycrisp, or Braeburn provides the best flavor balance and texture. The tart apples hold their shape well during baking while sweet varieties add natural sweetness.
- → Can I use homemade caramel sauce?
-
Absolutely! Homemade caramel sauce works wonderfully and allows you to control the sweetness level. Just ensure it has cooled slightly before drizzling over the hot apple layer so it spreads evenly.
- → How should I store these bars?
-
Store in an airtight container at room temperature for up to 3 days. For longer storage, refrigerate for up to a week, though the crust may soften slightly. Bring to room temperature before serving for best texture.
- → Can I freeze these bars?
-
Yes, freeze individual portions wrapped tightly in plastic wrap and placed in a freezer-safe container for up to 3 months. Thaw overnight in the refrigerator or at room temperature for 2-3 hours.
- → Why do I need to partially bake the crust first?
-
Pre-baking the crust for 12 minutes creates a firm foundation that prevents the bottom from becoming soggy when the juicy apples are added. This step ensures the bars maintain their structure and the crust stays crisp.
- → Can I make these in a different size pan?
-
A 9x13-inch pan will work, though the bars will be thinner and may require 5-10 minutes less baking time. An 8x8-inch pan will yield thicker bars that may need additional time to fully set.
