 Save
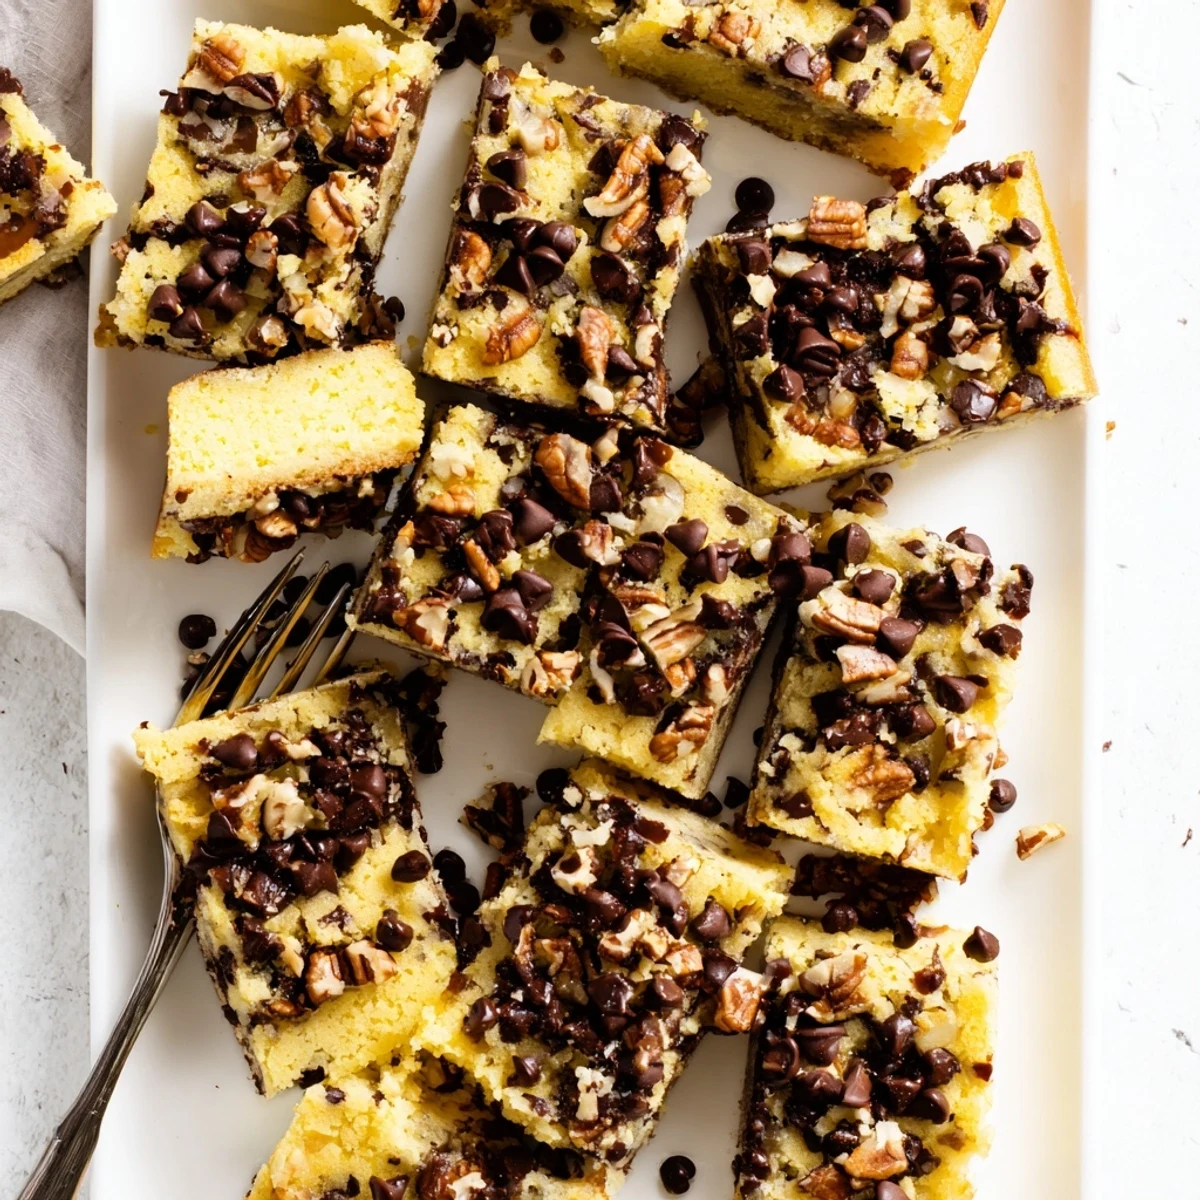
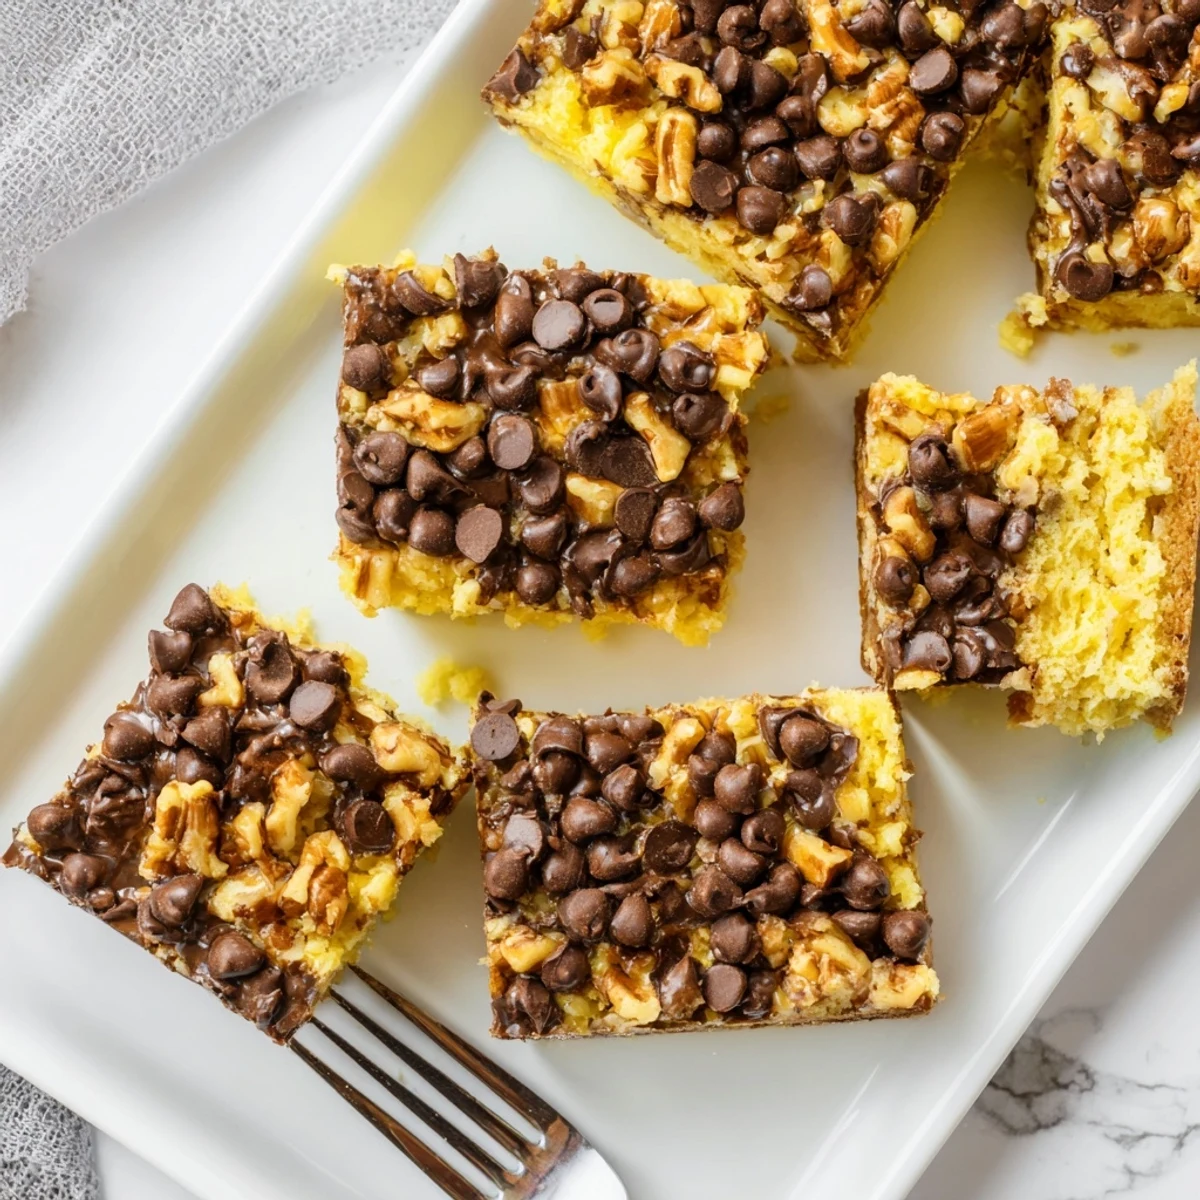
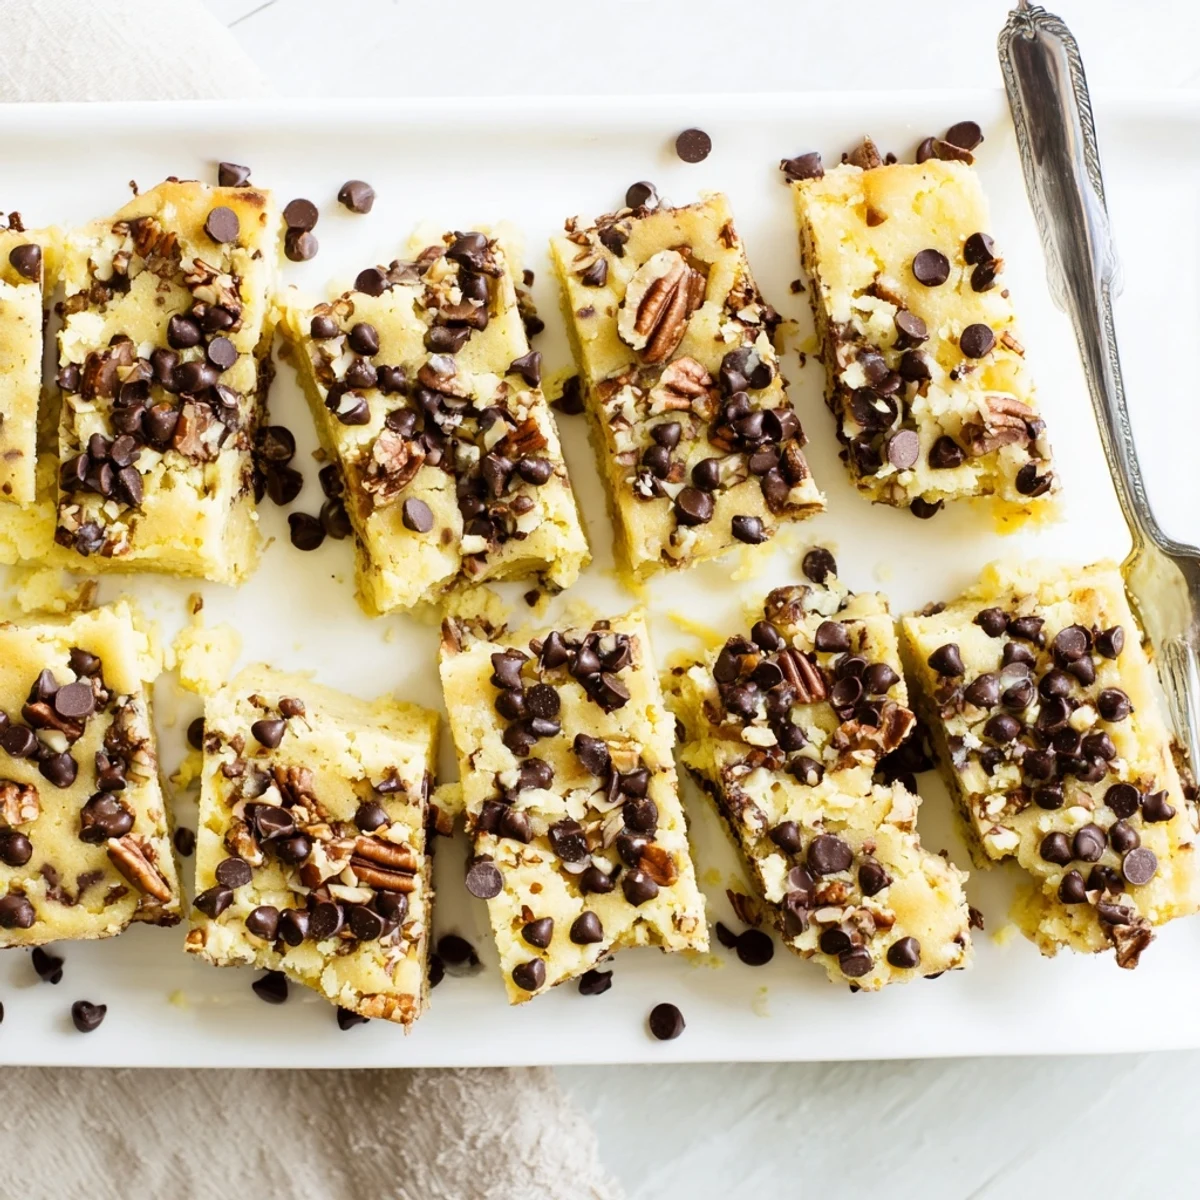
Save These buttery, chewy bars feature a soft cake mix base topped with melted chocolate chips, crunchy toffee bits, and optional pecans. The entire preparation takes just 10 minutes, followed by 25 minutes of baking. The result is a decadent three-layer bar with a tender bottom, rich chocolate middle, and caramelized toffee topping. Perfect for potlucks, bake sales, or whenever you need a quick dessert that tastes homemade.
The smell of these bars baking takes me back to my college apartment kitchen where I first discovered that cake mix could transform into something completely unexpected. My roommate had bought a box of yellow cake mix for a birthday cake that never happened, and I started experimenting with what else I could create. That afternoon produced these gloriously messy toffee bars that disappeared within hours during our study group. Now they're my go-to when I need something impressive but absolutely foolproof.
I made these for my sister's baby shower last spring when I was completely overwhelmed with planning and had zero energy for complicated baking. Everyone kept asking where I bought them from some fancy bakery, and I had to laugh explaining they started with a basic box of cake mix. Since then, they've become my secret weapon for every potluck, office party, or Tuesday night chocolate craving.
Ingredients
- Yellow cake mix: The base that creates such a tender crumb, yellow cake mix has just the right sweetness to complement the rich toffee topping without being overwhelming.
- Unsalted butter, melted: Use real butter here, not margarine, because the flavor really comes through in the simple dough.
- Large egg: This binds the cake mix and butter into a soft, pressable dough that holds together beautifully after baking.
- Semi-sweet chocolate chips: These provide the perfect balance of sweetness against the buttery base and salty toffee.
- Toffee bits: Look for bits that will stay slightly crunchy even after the second bake, creating that irresistible texture throughout every bite.
- Chopped pecans: Completely optional but add such a lovely nutty crunch that makes these feel more like a specialty treat.
Instructions
- Get everything ready:
- Preheat your oven to 350°F and grease a 9x13 inch pan with butter or line it with parchment paper for easy removal later.
- Make the base dough:
- Dump the cake mix into a large bowl, pour in the melted butter, crack in the egg, and stir until everything comes together into a soft dough that holds its shape when pressed.
- Press it in:
- Transfer the dough to your prepared pan and use your hands to press it evenly across the bottom, creating a smooth, uniform layer.
- First bake:
- Bake for 15 minutes until the base is just set and starting to lose its raw look but hasn't begun to brown yet.
- Add the chocolate:
- Remove the pan from the oven and immediately sprinkle the chocolate chips over the hot base, letting them sit for 2-3 minutes until glossy and melted, then gently spread with a spatula.
- Top with toffee and nuts:
- Sprinkle the toffee bits evenly over the melted chocolate, followed by chopped pecans if you're using them, and return to the oven.
- Final bake:
- Bake for another 8-10 minutes until you see the toffee getting slightly bubbly around the edges and everything looks golden and fragrant.
- Cool completely:
- This is the hardest part, but let the bars cool completely in the pan before cutting into squares, or the chocolate layer will slide right off the warm base.
 Save
Save My neighbor texted me at 11pm one night, desperate for something to bring to her office meeting the next morning, and I whipped up a batch of these bars in my pajamas. She called me later that day laughing that people were actually arguing over who got the last square. Since then, I've learned to always keep the ingredients on hand for those moments when you need to show up with something amazing.
Making These Your Own
I've discovered that swapping semi-sweet chocolate for white chocolate creates an entirely different but equally delicious bar, especially if you add dried cranberries to the topping. Milk chocolate makes these sweeter and more kid-friendly, while dark chocolate appeals to the serious chocolate lovers in your life. The beauty of this recipe is how adaptable it is to whatever you have in your pantry.
Storage and Serving
These bars actually improve after sitting overnight, as the flavors meld together and the texture becomes even more satisfying. I store them layered between parchment paper in an airtight container, where they stay perfectly fresh for up to five days. They also freeze beautifully, wrapped individually in plastic wrap and tucked into a freezer bag, for those emergency dessert situations.
Perfect Presentation
For a cleaner cut, place the cooled pan in the refrigerator for 30 minutes before slicing, and wipe your knife with a damp cloth between each cut. A light dusting of sea salt over the top just before serving elevates these from casual to company-worthy in seconds. I also love serving them slightly warmed, with the chocolate still soft and gooey, alongside a cold glass of milk or hot coffee.
- Use a sharp knife and make slow, steady cuts for the cleanest squares
- These bars travel well if you pack them flat with parchment between layers
- Room temperature is best for serving, but warm is absolutely divine
 Save
Save These bars have saved me more times than I can count, turning ordinary moments into something special with almost no effort. There's something magical about how such simple ingredients can create something that makes people close their eyes and savor every single bite.
Recipe FAQs
- → Can I use different types of cake mix?
-
Yes, yellow cake mix works best, but you can also use butter, vanilla, or spice cake mix for different flavor variations.
- → How do I know when the bars are done baking?
-
The bars are ready when the toppings are slightly bubbly and the edges are golden brown. The chocolate should be fully melted and spreadable.
- → Can I make these ahead of time?
-
Absolutely. These bars store well in an airtight container at room temperature for up to 5 days, making them perfect for preparing in advance.
- → What if I don't have pecans?
-
Pecans are optional. You can substitute with walnuts, almonds, or omit nuts entirely for a nut-free version.
- → Can I freeze these bars?
-
Yes, cut the bars and freeze them in a single layer, then transfer to a freezer-safe container. They'll keep for up to 3 months.
