 Save
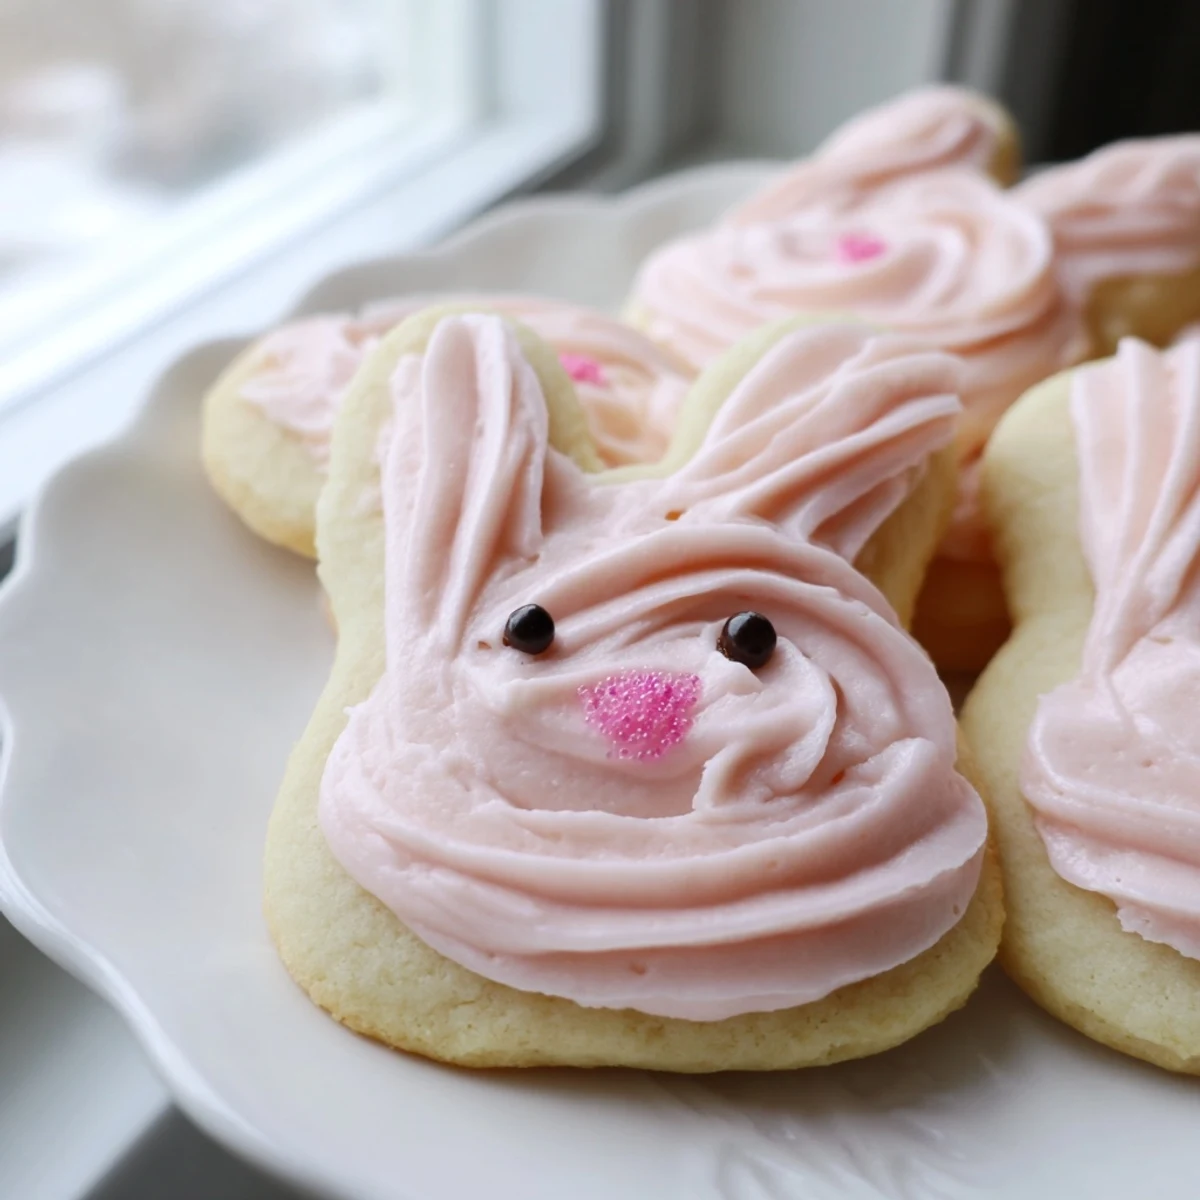
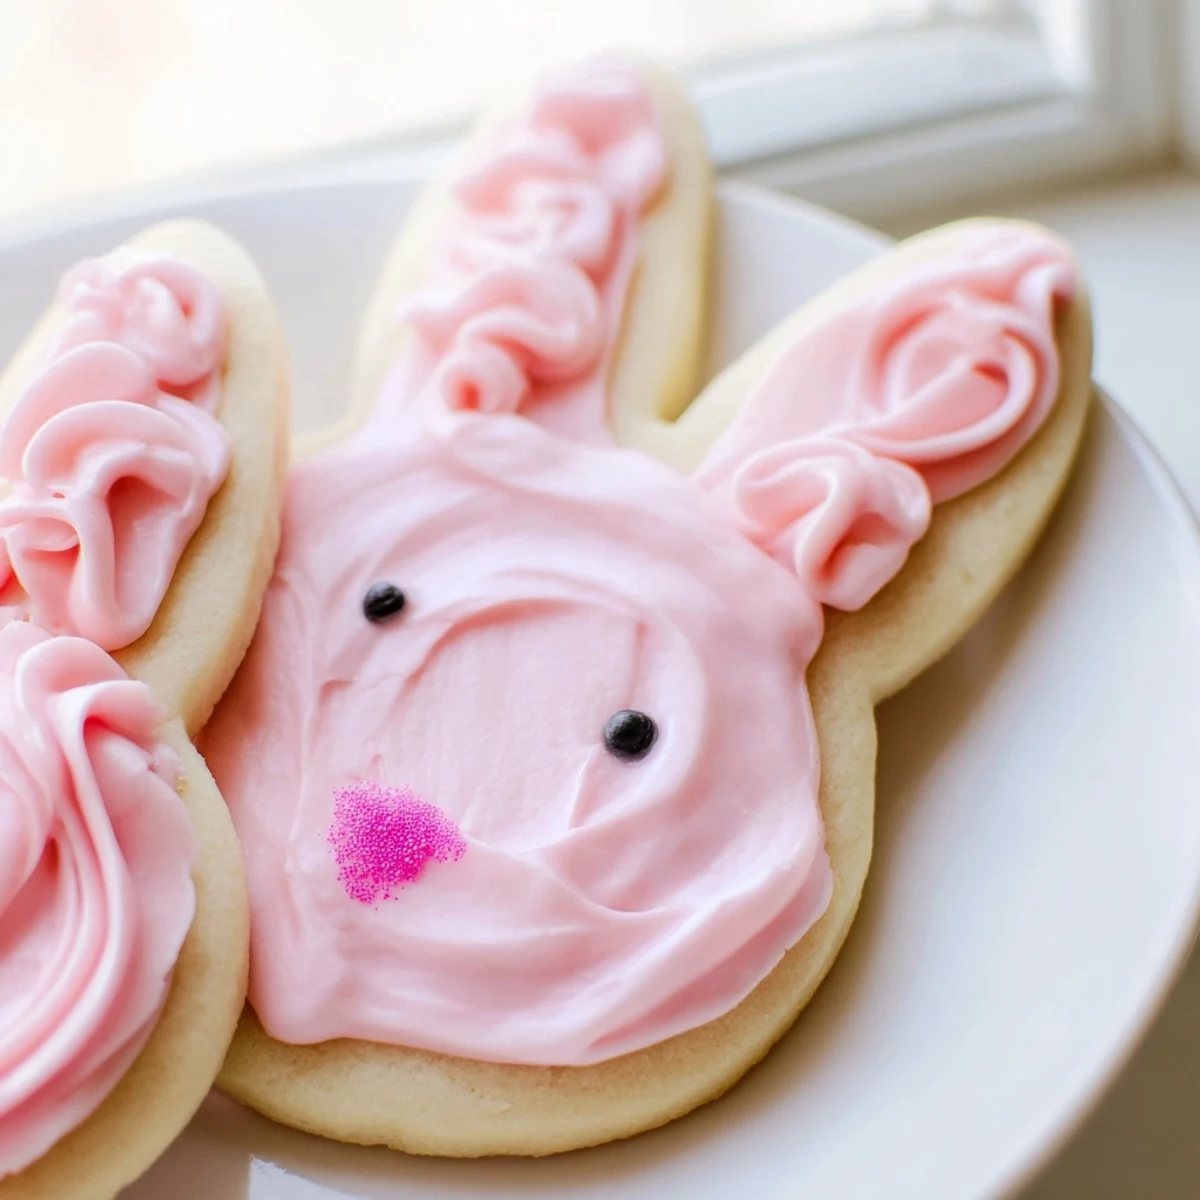
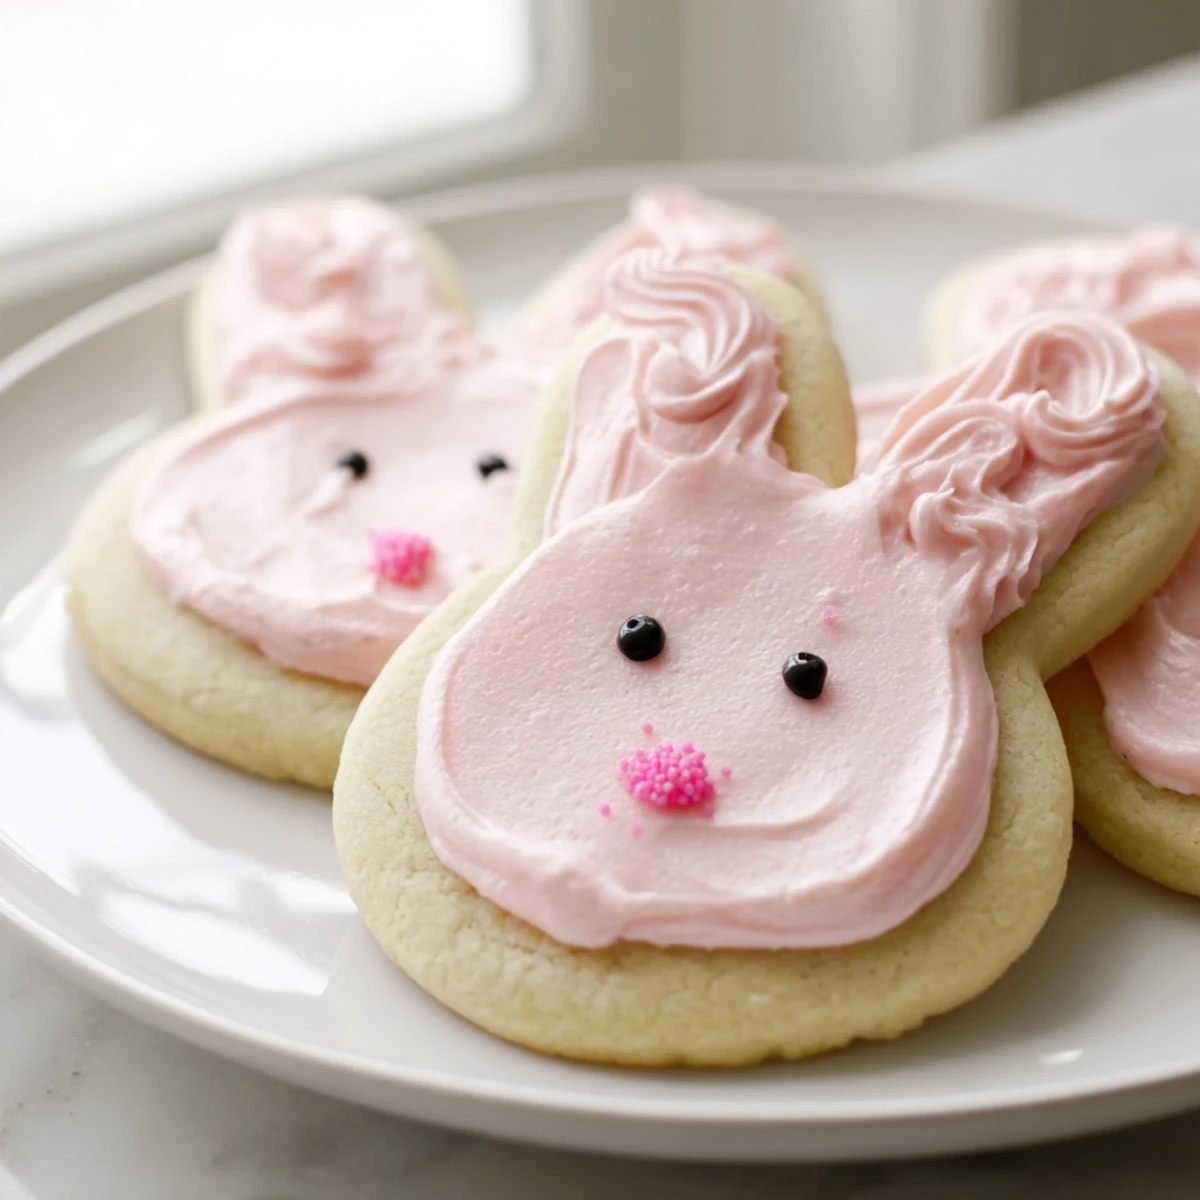
Save These delightful bunny-shaped treats combine tender, buttery sugar cookie dough with smooth vanilla buttercream frosting. The dough comes together quickly with basic pantry staples, then chills for easy rolling and cutting. After baking to golden perfection, each bunny gets decorated with silky frosting in pastel shades and playful candy eyes.
Ideal for spring gatherings, Easter celebrations, or anytime you want to add whimsy to dessert time. The cookies stay fresh for days, making them perfect for preparing ahead of festive occasions.
My niece came over last March with a bunny cookie cutter she'd found at a craft store, absolutely convinced we needed to make 'something magical' for spring. We ended up with flour dusted across every surface and more frosting on our fingers than on the actual cookies, but those little buttery bunnies turned out surprisingly adorable. Now they've become our annual tradition, the kind of baking project that matters less for perfection and more for the giggles.
Last Easter, I made three batches for a family gathering and ended up setting up a decorating station on the kitchen table. My brother who never bakes spent twenty minutes piping fluffy pink tails onto his bunny cookies with the kind of focus usually reserved for important work projects. Everyone's cookies looked completely different, from precisely piped ears to hastily sprinkled faces, and that chaotic variety made the whole afternoon feel special.
Ingredients
- All-purpose flour: Provides structure for these cutouts without making them tough
- Baking powder: Gives just enough lift for edges that stay tender
- Unsalted butter: Room temperature butter creams properly into the sugar for that signature buttery flavor
- Granulated sugar: Sweetens while creating the right texture in the dough
- Egg: Binds everything together and adds richness
- Pure vanilla extract: Deepens the buttery flavor that makes these cookies sing
- Softened butter for frosting: The absolute foundation of silky smooth buttercream that spreads like a dream
- Powdered sugar: Sweetens and thickens the frosting into something pipeable yet lush
- Whole milk: Thins the frosting to the perfect consistency without making it greasy
Instructions
- Warm up your workspace:
- Preheat oven to 350°F with racks positioned in the middle. Line baking sheets with parchment paper so nothing sticks later.
- Mix the dry foundation:
- Whisk flour, baking powder, and salt in a medium bowl until everything's evenly distributed.
- Cream butter and sugar:
- Beat softened butter and granulated sugar for about 3 minutes until the mixture looks pale and fluffy. This step creates the tender texture.
- Add egg and vanilla:
- Beat in the egg and vanilla extract until completely combined, scraping down the bowl sides once.
- Bring dough together:
- Gradually add dry ingredients, mixing just until dough forms. Overworking makes tough cookies.
- Chill the dough:
- Divide into two discs, wrap tightly, and refrigerate for at least 30 minutes. Cold dough cuts clean shapes.
- Roll and cut:
- On a floured surface, roll dough to 1/4 inch thickness. Cut bunny shapes and arrange 2 inches apart on prepared sheets.
- Bake until golden:
- Bake for 8 to 10 minutes until edges just start turning golden. Cool completely on wire racks before frosting.
- Make the buttercream:
- Beat softened butter until creamy. Gradually add powdered sugar, milk, and vanilla, beating until silky smooth. Tint with food coloring if desired.
- Decorate your bunnies:
- Frost cooled cookies using piping bags or spatulas. Add candy eyes, chocolate chip noses, or sprinkles for faces. Let frosting set before serving.
 Save
Save After that first year of making these, I kept finding random bunny shaped cookie cutters in kitchen drawers for months. My sister texted me photos of her own attempts at Halloween, Christmas, and even Fourth of July versions. The recipe had somehow become our family's default for 'we need to bake something together' moments, less about the holiday and more about the ritual of standing around a kitchen counter covered in sprinkles.
Making Ahead and Storage
The dough actually benefits from an overnight rest in the refrigerator, developing a deeper buttery flavor and becoming easier to roll. I've made dough on Friday evening and baked fresh cookies Saturday morning for brunch. Once decorated, these keep beautifully in airtight containers for days, though the frosting might develop slight condensation if refrigerated.
Decorating Possibilities
Pastel buttercream looks stunning, but I've also made version with tinted frosting in vibrant spring colors that somehow feel modern and playful. Piping bags give those fluffy, dimensional tails that make the bunnies look extra playful, while simple spreading with an offset spatula creates a clean, bakery style finish. Candy eyes turn them instantly adorable, but simple dots of contrasting frosting work just as well.
Getting Kids Involved
This recipe became my go to for baking with children because almost every step offers something hands on. Little hands can help cut the shapes, though the dough might need a quick rechill if it gets too warm. The decorating stage is where the real fun happens, especially if you set out bowls of sprinkles and let creativity take over.
- Keep extra flour nearby for dusting little hands and work surfaces
- Have a damp cloth ready for the inevitable frosting mishaps
- Photograph the results because those imperfect cookies become the best memories
 Save
Save There's something about setting out a plate of these bunny cookies that makes people pause and smile, even if they're not usually dessert people. Maybe it's the playful shapes or maybe it's just that buttercream frosting makes everything better.
Recipe FAQs
- → Can I make the dough ahead of time?
-
Yes, the dough can be prepared up to 24 hours in advance and stored wrapped in the refrigerator. You can also freeze the dough discs for up to 3 months—thaw overnight in the refrigerator before rolling and cutting.
- → What's the best way to achieve smooth buttercream?
-
Beat the softened butter until creamy before gradually adding powdered sugar. Scrape down the bowl sides frequently and mix until completely smooth. For best results, use room-temperature ingredients and avoid over-beating once the sugar is incorporated.
- → Can I use different cookie cutter shapes?
-
Absolutely! While bunnies are perfect for spring and Easter, you can use any seasonal cutter shape. The same dough and frosting work beautifully for hearts, stars, flowers, or any other shape that suits your celebration.
- → How should I store the decorated cookies?
-
Keep them in an airtight container at room temperature for up to 3 days. If you need longer storage, refrigerate for up to a week. Note that refrigeration may cause the buttercream to firm slightly, but it will soften again at room temperature.
- → Can I make these without food coloring?
-
Certainly! The vanilla buttercream is delicious plain white or cream-colored. You can also achieve natural colors using ingredients like freeze-dried fruit powder, matcha, or cocoa powder for subtle, beautiful hues without artificial coloring.
- → What if I don't have candy eyes for decoration?
-
Get creative! Mini chocolate chips, dots of chocolate frosting, or even carefully placed sprinkles work wonderfully for bunny faces. You can also pipe eyes and whiskers using contrasting frosting colors with a small round tip.
