 Save
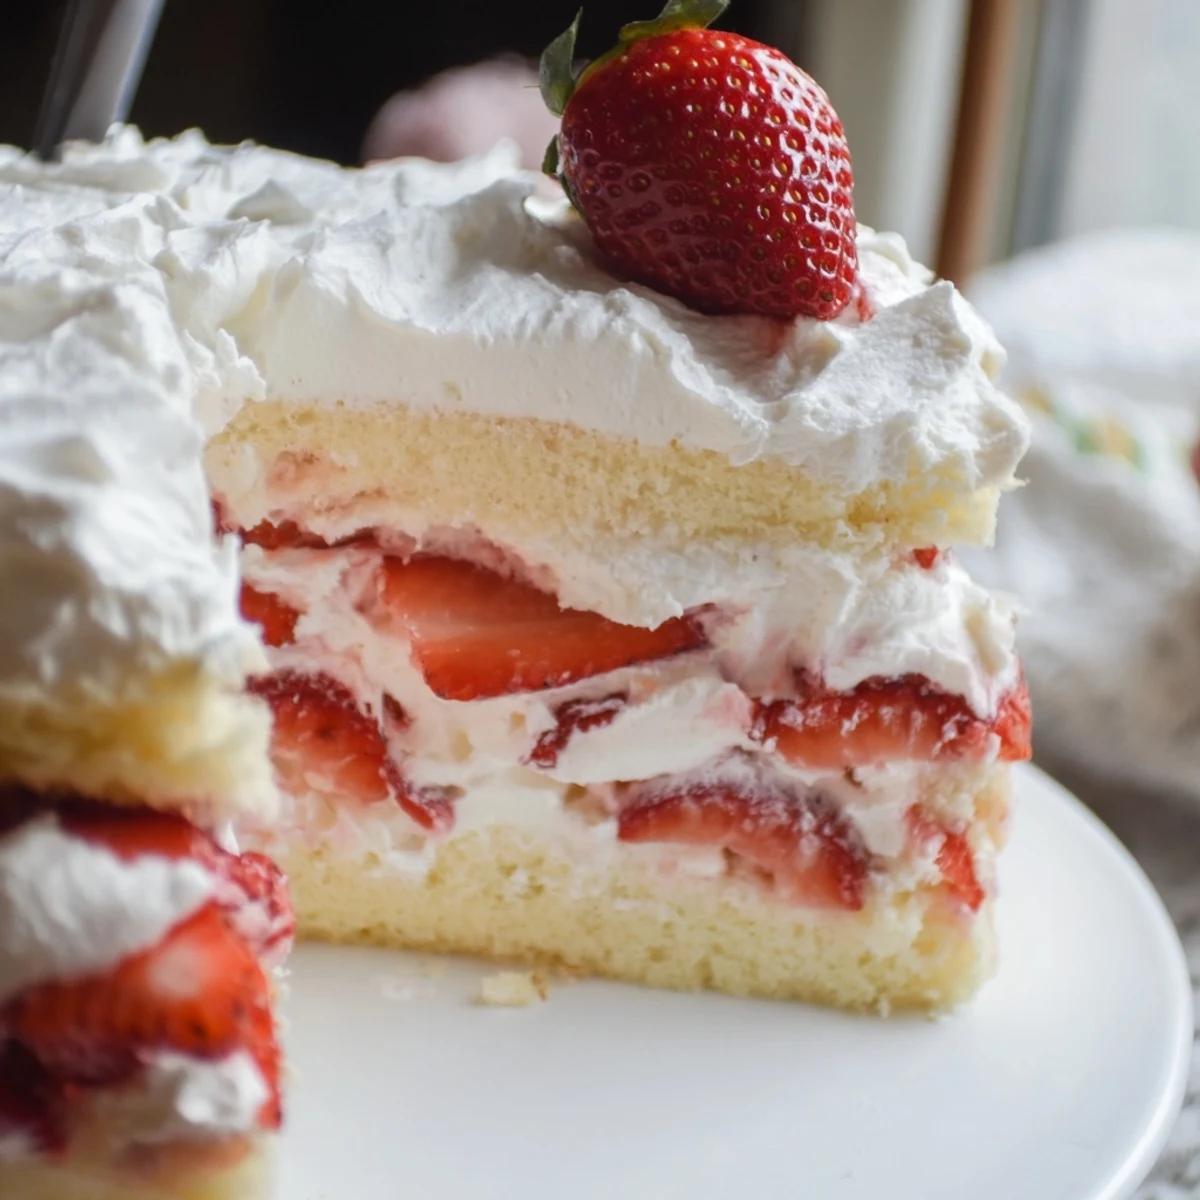
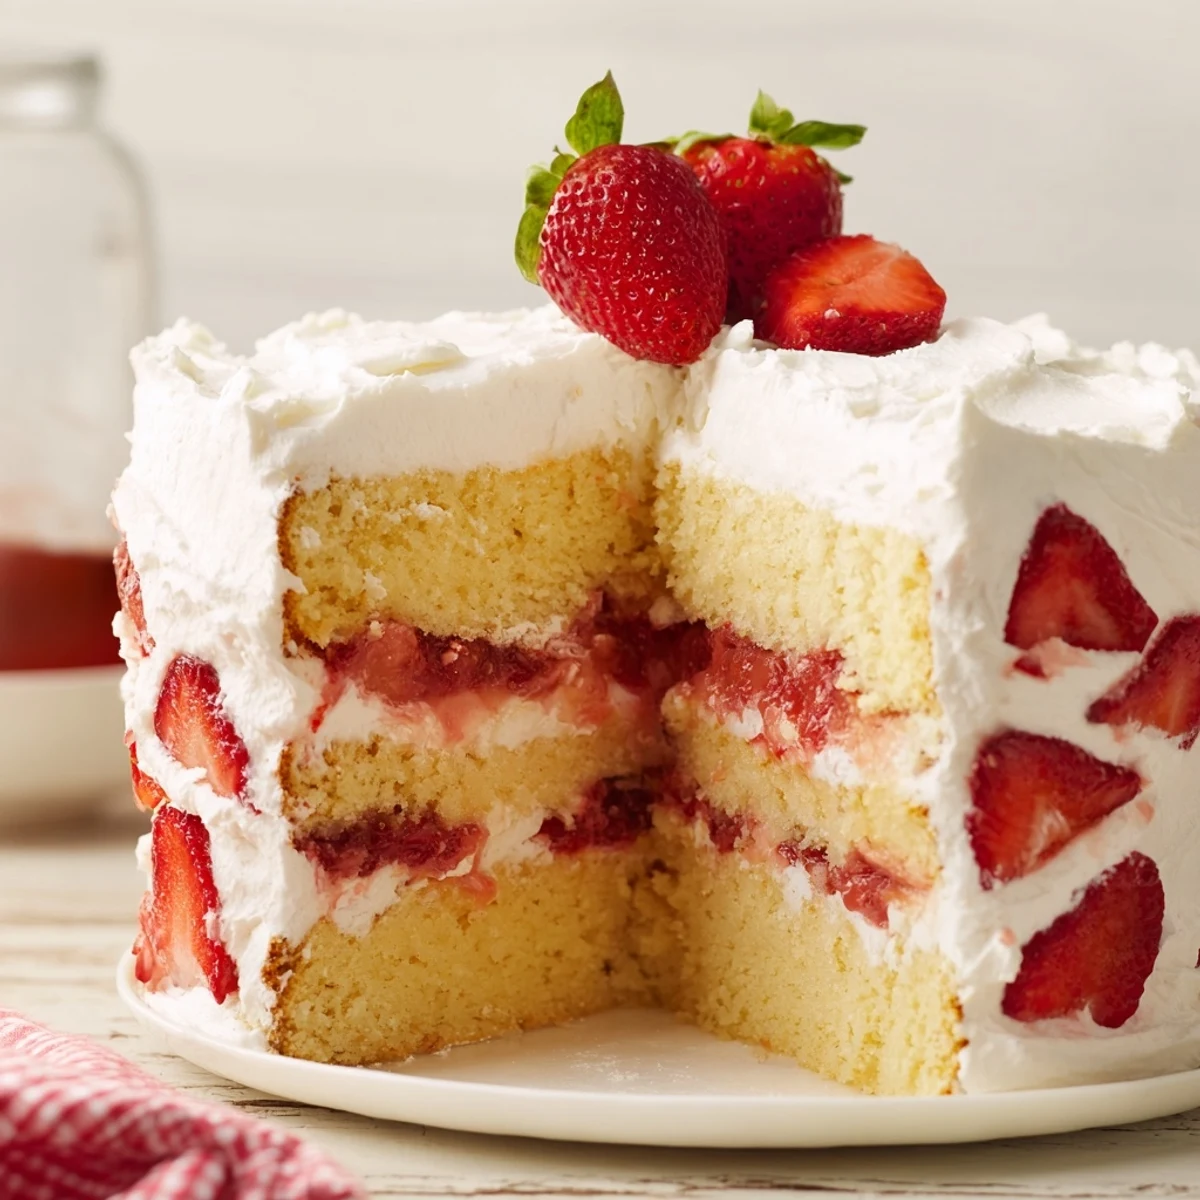
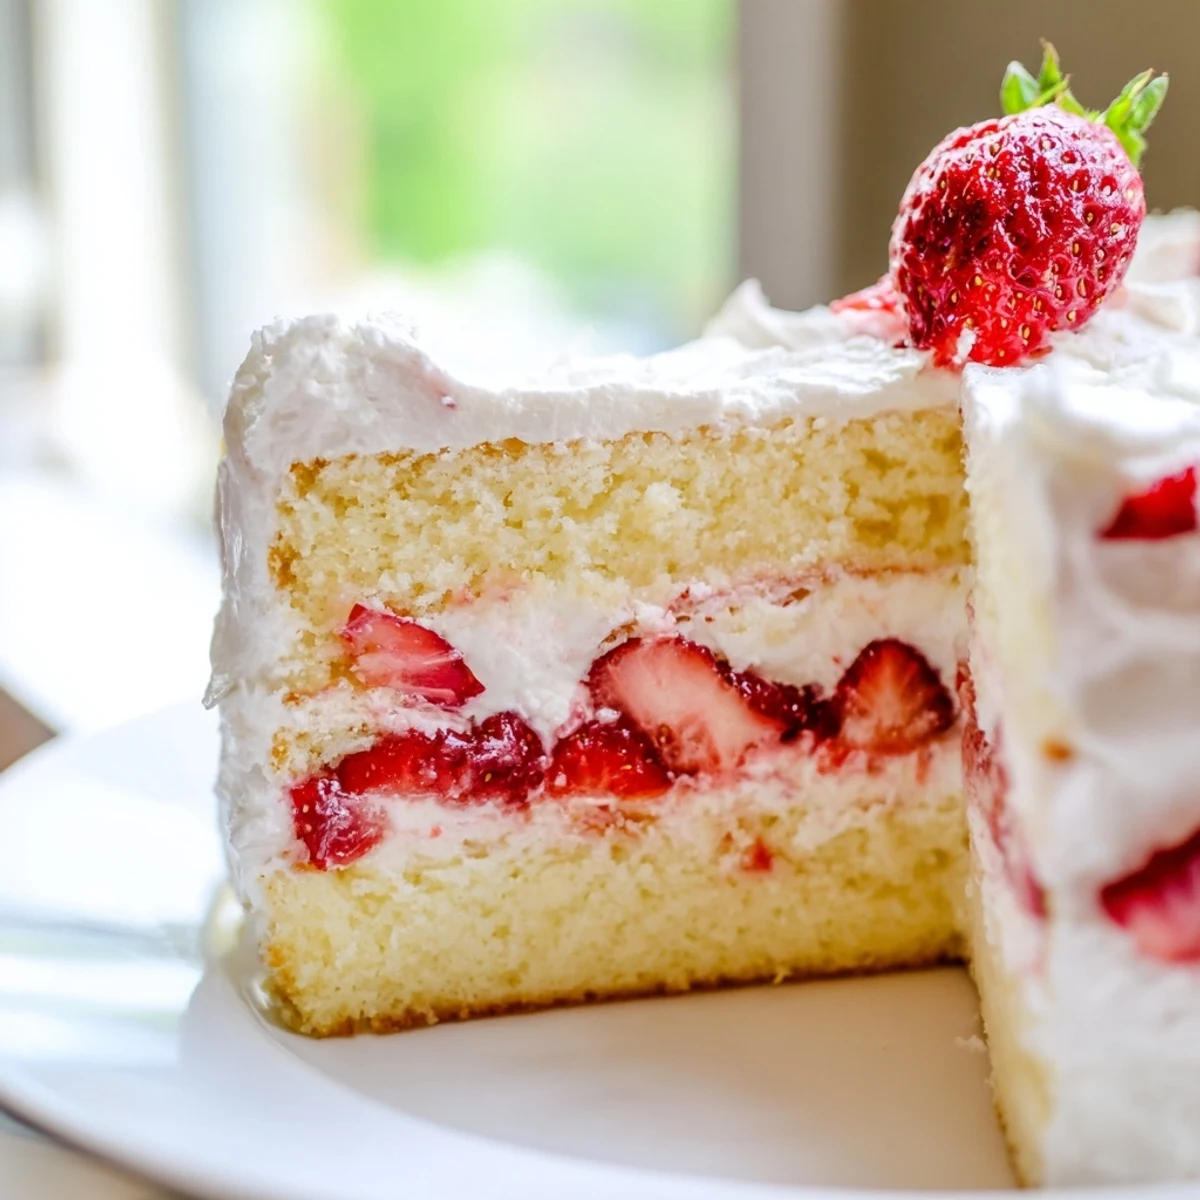
Save This stunning layer cake combines a tender vanilla sponge with macerated fresh strawberries and billowy whipped cream. The result is a light, airy dessert that perfectly balances sweetness and tang. Each bite delivers soft cake, juicy berries, and rich cream—a delightful upgrade on the traditional strawberry shortcake that's perfect for gatherings or special occasions.
My aunt June made this every summer for Fourth of July picnics, and I swear the entire neighborhood could smell when those strawberries hit the sugar. The way she whipped cream by hand with this old copper bowl that had been in the family forever made me believe the vessel itself held some kind of magic.
Last summer I made three of these cakes in one weekend for different gatherings, and each one disappeared faster than the last. My neighbor actually texted me the next day asking if there was any left, which is basically the highest compliment a dessert can receive.
Ingredients
- 2 cups all purpose flour: Spoon and level instead of scooping directly to avoid packing too much flour into your cake
- 2 tsp baking powder: Check the expiration date since old baking powder leads to flat, dense cakes
- ½ tsp baking soda: Works with the buttermilk to give the cake extra lift
- ½ tsp salt: Balances the sweetness and brings out the vanilla flavor
- ½ cup unsalted butter softened: Leave it out for exactly one hour so it creams properly without being greasy
- 1 cup granulated sugar: Cream this with the butter for a full 3 to 4 minutes to get maximum air bubbles
- 3 large eggs room temperature: Cold eggs can cause the butter to seize and ruin your batter
- 1 tbsp vanilla extract: Use pure vanilla not imitation, since this is a straightforward cake where quality really shows
- ¾ cup buttermilk: If you only have regular milk add 1 tablespoon of vinegar and let it sit for 5 minutes
- 1½ lbs fresh strawberries hulled and sliced: Choose berries that are fragrant and slightly give when gently squeezed
- ½ cup granulated sugar for filling: This draws out the strawberry juices to create that natural syrup
- 2 tsp lemon juice: Brightens the strawberry flavor and helps the maceration process
- 2 cups heavy whipping cream chilled: The cream whips better when everything including your bowl is cold
- ¼ cup powdered sugar: Stabilizes the whipped cream and adds just enough sweetness
- 1 tsp vanilla extract: Use the same quality vanilla as in the cake for consistent flavor
Instructions
- Get your oven and pans ready:
- Preheat that oven to 350°F and grease your two 8 inch round cake pans with butter then line the bottoms with parchment paper for insurance
- Whisk the dry ingredients together:
- In a medium bowl combine the flour baking powder baking soda and salt so theyre evenly distributed before you start mixing
- Cream the butter and sugar:
- Beat that softened butter and granulated sugar together until its pale and fluffy about 3 to 4 minutes of serious mixing
- Add the eggs one at a time:
- Beat in each egg completely before adding the next one then mix in the vanilla until everything is silky smooth
- Combine the wet and dry:
- Add the flour mixture in three parts alternating with the buttermilk in two parts starting and ending with the flour and mixing only until just combined
- Bake the layers:
- Divide the batter between your prepared pans and bake for 22 to 25 minutes until a toothpick comes out clean then cool for 10 minutes before removing
- Macreate the strawberries:
- Toss those sliced berries with the sugar and lemon juice and let them sit for at least 20 minutes gently stirring a few times until theyre swimming in their own juices
- Whip the cream:
- In a chilled bowl beat the cold cream with powdered sugar and vanilla until you have stiff peaks that hold their shape
- Build your masterpiece:
- Place one cake layer down spoon half the strawberries and their juices over it spread with half the whipped cream then repeat with the second layer and finish with the rest of the berries and cream
- Chill before serving:
- Let the cake rest in the fridge for at least an hour so all the flavors settle and everything cuts cleanly
 Save
Save This cake has become my go to for birthday celebrations because it feels special without being fussy. Last month my six year old niece helped me assemble it and her face when she saw the layers come together was absolutely precious.
Making It Ahead
You can bake the cake layers up to two days in advance just wrap them tightly in plastic once theyre completely cool and store at room temperature. The strawberry filling should be made the day you plan to serve since it breaks down after about 24 hours.
Getting Even Layers
If your cakes baked up with a domed top use a long serrated knife to carefully slice off the tops so both layers are flat and level. This tiny step makes such a huge difference in how professional your final cake looks.
Serving Suggestions
This cake is honestly perfect on its own but a cup of hot coffee makes it feel like a proper dessert moment after dinner.
- Let the cake sit at room temperature for about 15 minutes before serving so the texture is perfect
- Use a sharp knife dipped in hot water and wiped clean between cuts for the prettiest slices
- Any leftover cake should be stored in the fridge though ours rarely lasts past day one
 Save
Save Theres something about a homemade strawberry cake that just makes people happy. Hope this becomes one of your summer traditions too.
Recipe FAQs
- → How long should I chill the assembled cake?
-
Refrigerate for at least 1 hour before slicing. This allows the flavors to meld and the structure to set, making cleaner cuts easier.
- → Can I make this ahead of time?
-
Yes, bake the cake layers up to 2 days ahead. Store wrapped at room temperature. Prepare whipped cream and strawberry filling the same day you assemble for best texture.
- → What's the best way to slice the cake?
-
Use a sharp serrated knife dipped in hot water, wiping clean between cuts. Chill thoroughly first—this prevents the cream from squishing out.
- → Can I use frozen strawberries?
-
Fresh berries work best as they hold their shape and provide better texture. If using frozen, thaw completely and drain excess liquid before macerating with sugar.
- → How do I know when the cake layers are done?
-
Insert a toothpick into the center—it should come out clean or with just a few moist crumbs. The edges should pull slightly from the pan sides, around 22-25 minutes.
- → Can I make this gluten-free?
-
Absolutely. Substitute the all-purpose flour with a high-quality gluten-free flour blend measure-for-measure. The texture remains remarkably similar.
