 Save
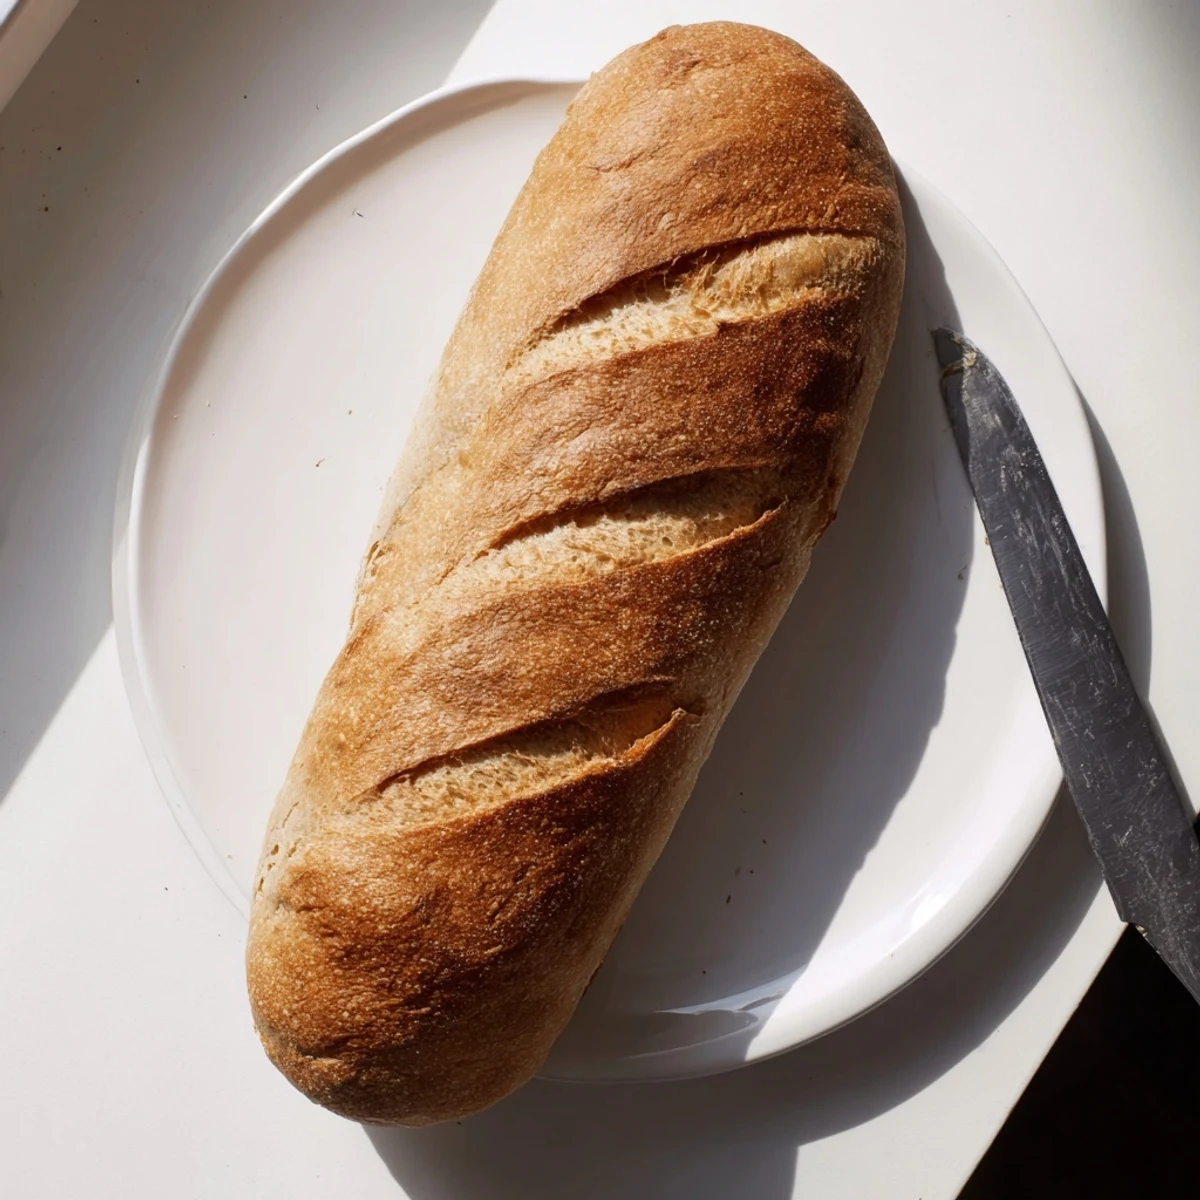
Save Create bakery-worthy Italian bread at home with this straightforward method. The secret lies in the steam technique during baking, which produces that signature crackly golden crust while keeping the interior tender and elastic. Perfect for sopping up sauces, layering into sandwiches, or enjoying simply with quality olive oil and sea salt.
The first time I pulled this loaf from the oven, the crackle of the crust echoed through my tiny apartment kitchen like applause. I had spent three anxious hours watching dough bubble and rise, wondering if I had just wasted an afternoon on flour and water. When that golden dome emerged, hollow-sounding and impossibly crisp, I understood why bread making has captivated home cooks for centuries.
My roommate walked in while the loaf was cooling on the rack, her eyes widening at the sight of something that looked like it came from a corner bakery. We tore into it while still warm, dipping chunks in olive oil and laughing at our bread stained fingers. That loaf disappeared faster than anything I had ever baked, and I knew this recipe would become a weekly ritual.
Ingredients
- 500 g bread flour: The higher protein content creates that satisfying chewy crumb and sturdy structure
- 1 ½ tsp salt: Essential for flavor enhancement and controlling yeast activity
- 2 tsp sugar: Feeds the yeast and helps develop that gorgeous golden crust color
- 2 tsp active dry yeast: The living magic that transforms simple ingredients into risen bread
- 300 ml warm water: Should feel like bath temperature, about 40°C, to activate yeast without killing it
- 2 tbsp olive oil: Adds subtle richness and helps keep the crumb tender
- 1 tbsp cornmeal: Prevents sticking and adds a rustic texture to the bottom crust
Instructions
- Wake up the yeast:
- Dissolve the yeast and sugar in warm water, watching for tiny bubbles to form on the surface like a miniature champagne
- Build the foundation:
- Mix flour and salt in a large bowl, creating a well in the center like a flour volcano waiting to erupt
- Bring it together:
- Pour the foamy yeast mixture and olive oil into the well, stirring until a shaggy, scrappy dough forms that looks hopeless but holds promise
- Work for it:
- Knead the dough on a floured surface for 8 to 10 minutes, feeling it transform from sticky chaos into smooth, elastic perfection that bounces back when pressed
- Let it rest:
- Place the dough in an oiled bowl, cover it, and walk away for an hour and a half while it works its magic, doubling in size
- Shape your loaf:
- Punch down the risen dough gently, form it into a tight oval, and let it rise again for 45 minutes until puffy and eager for the oven
- Create the steam:
- Preheat your oven to 425°F with an empty metal pan on the bottom rack, ready to transform water into bread baking steam
- The moment of truth:
- Slash the top of your loaf with confident strokes, pour hot water into the empty pan, and quickly close the door to trap the steam
- Bake to perfection:
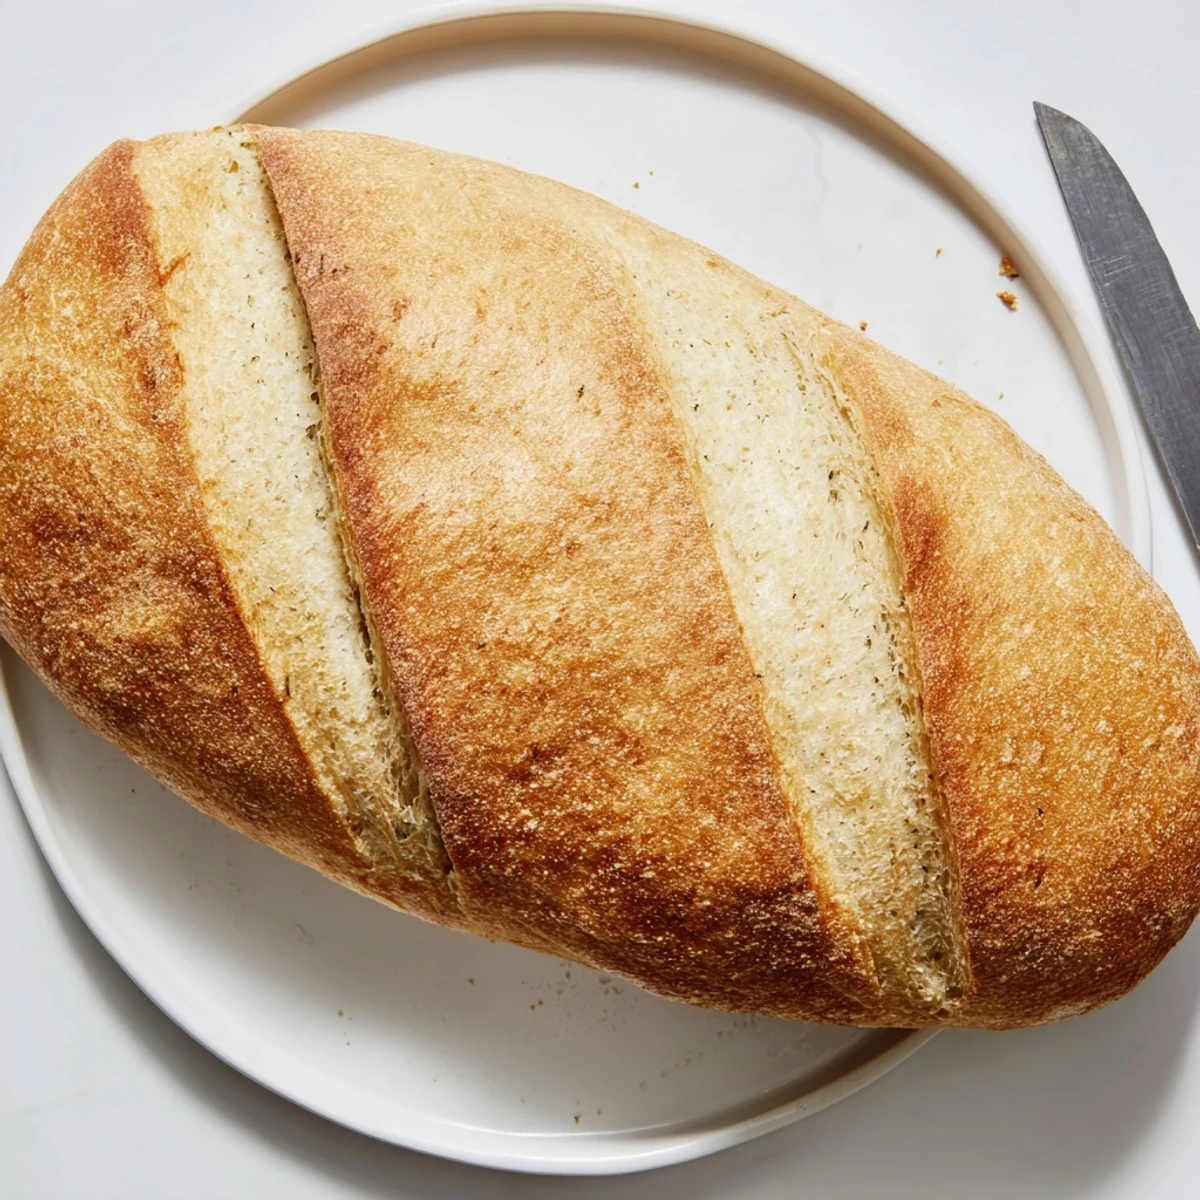
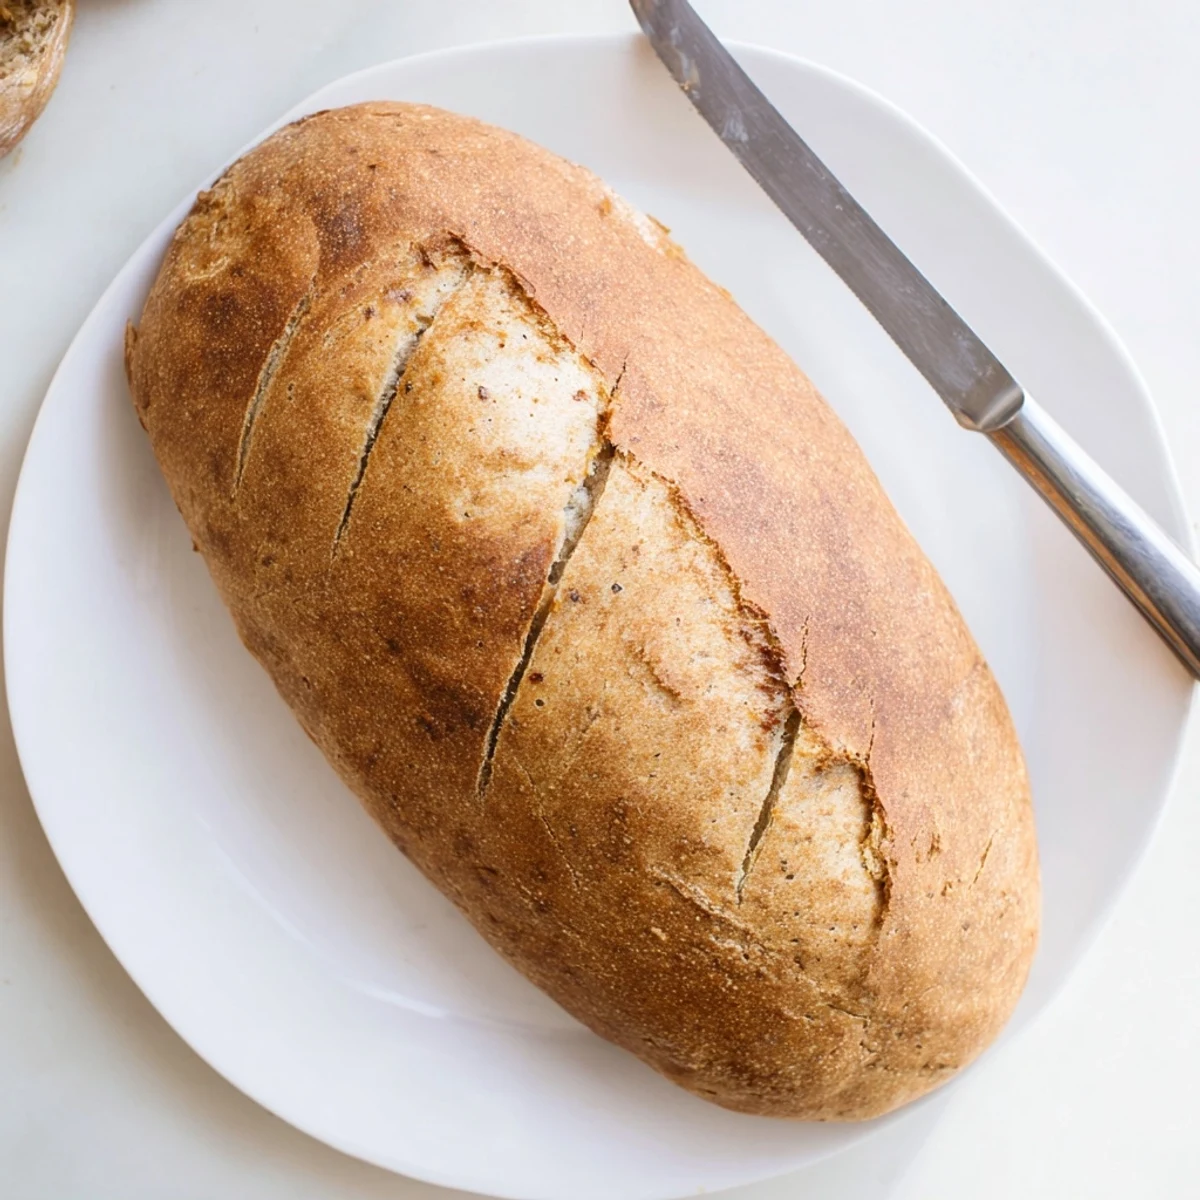
- Bake for 30 to 35 minutes until deep golden brown, tapping the bottom to hear that hollow sound that tells you everything went right
- Patience pays off:
- Cool completely on a wire rack, resisting the urge to slice into it while it is still too hot and gummy inside
 Save
Save When I finally mastered the slash pattern across the top of the loaf, something clicked, making me feel like part of an ancient baking brotherhood. Friends started requesting loaves for dinner parties, and I began experimenting with adding dried rosemary or roasted garlic to the dough. Each loaf taught me something new about patience, temperature, and the miraculous chemistry of flour and water.
The Steam Secret
Pouring hot water into a preheated pan creates bursts of steam that keep the crust soft in those crucial first minutes, allowing the bread to expand fully before a hard shell forms. This simple trick makes all the difference between a dense homemade loaf and one that rivals any bakery.
Timing Your Rise
Find the warmest spot in your kitchen, I used to set mine near a sunny window or on top of a preheating oven. The dough will tell you when it is ready, leaving an indentation when you poke it gently with your finger instead of springing back immediately.
Serving Suggestions
This bread transforms any meal into something memorable, from morning toast with melting butter to an impromptu cheese board with friends. The texture holds up beautifully for sandwiches, and day old slices make the most incredible French toast you have ever tasted.
- Slice and freeze extra loaves while fresh, toasting directly from frozen
- Rub a cut clove of garlic over warm slices for instant garlic bread
- Use slightly stale chunks to make the most luxurious bread pudding or panzanella
 Save
Save There is something profoundly satisfying about creating something so essential from scratch, and the ritual of bread making has become my favorite form of kitchen meditation. May your kitchen always smell of flour and possibility.
Recipe FAQs
- → What makes Italian bread crusty?
-
The steam created by pouring hot water into the preheated baking pan generates moisture in the oven. This allows the crust to expand rapidly before setting, creating that signature crackly exterior that artisan breads are known for.
- → Can I use all-purpose flour instead of bread flour?
-
Bread flour works best due to its higher protein content, which develops more gluten for that characteristic chewy texture. All-purpose flour will produce a softer loaf, though still enjoyable if that's your preference.
- → Why is my dough not doubling in size?
-
This usually means your yeast wasn't active or the environment was too cool. Ensure your water is warm to the touch (about 105°F) and find a warm, draft-free spot. You can also let it rise longer—the dough will eventually rise, just give it more time.
- → How do I know when the bread is done baking?
-
The crust should be deeply golden brown, and when you tap the bottom of the loaf, it should sound hollow. An instant thermometer inserted into the center should read 190-200°F for fully baked bread.
- → Can I freeze this bread?
-
Absolutely. Cool completely, slice, wrap tightly in plastic, then freeze. Thaw individual slices at room temperature or toast directly from frozen for the best results. This preserves that fresh-baked quality for weeks.
